

Avatar Builder
Create a custom Style avatar—lifelike or stylized—from a starter concept, panel controls, or a text prompt, then use it to create videos in that avatar's style.
Use Avatar Builder when a stock avatar doesn't fit what you need—a specific look, a mascot, or a stylized character instead of a realistic presenter. Build a Style avatar once, then reuse it across as many videos as you like.
Note:Access to the Avatar Builder can be managed on both organization and workspace levels via organization settings and workspace settings.
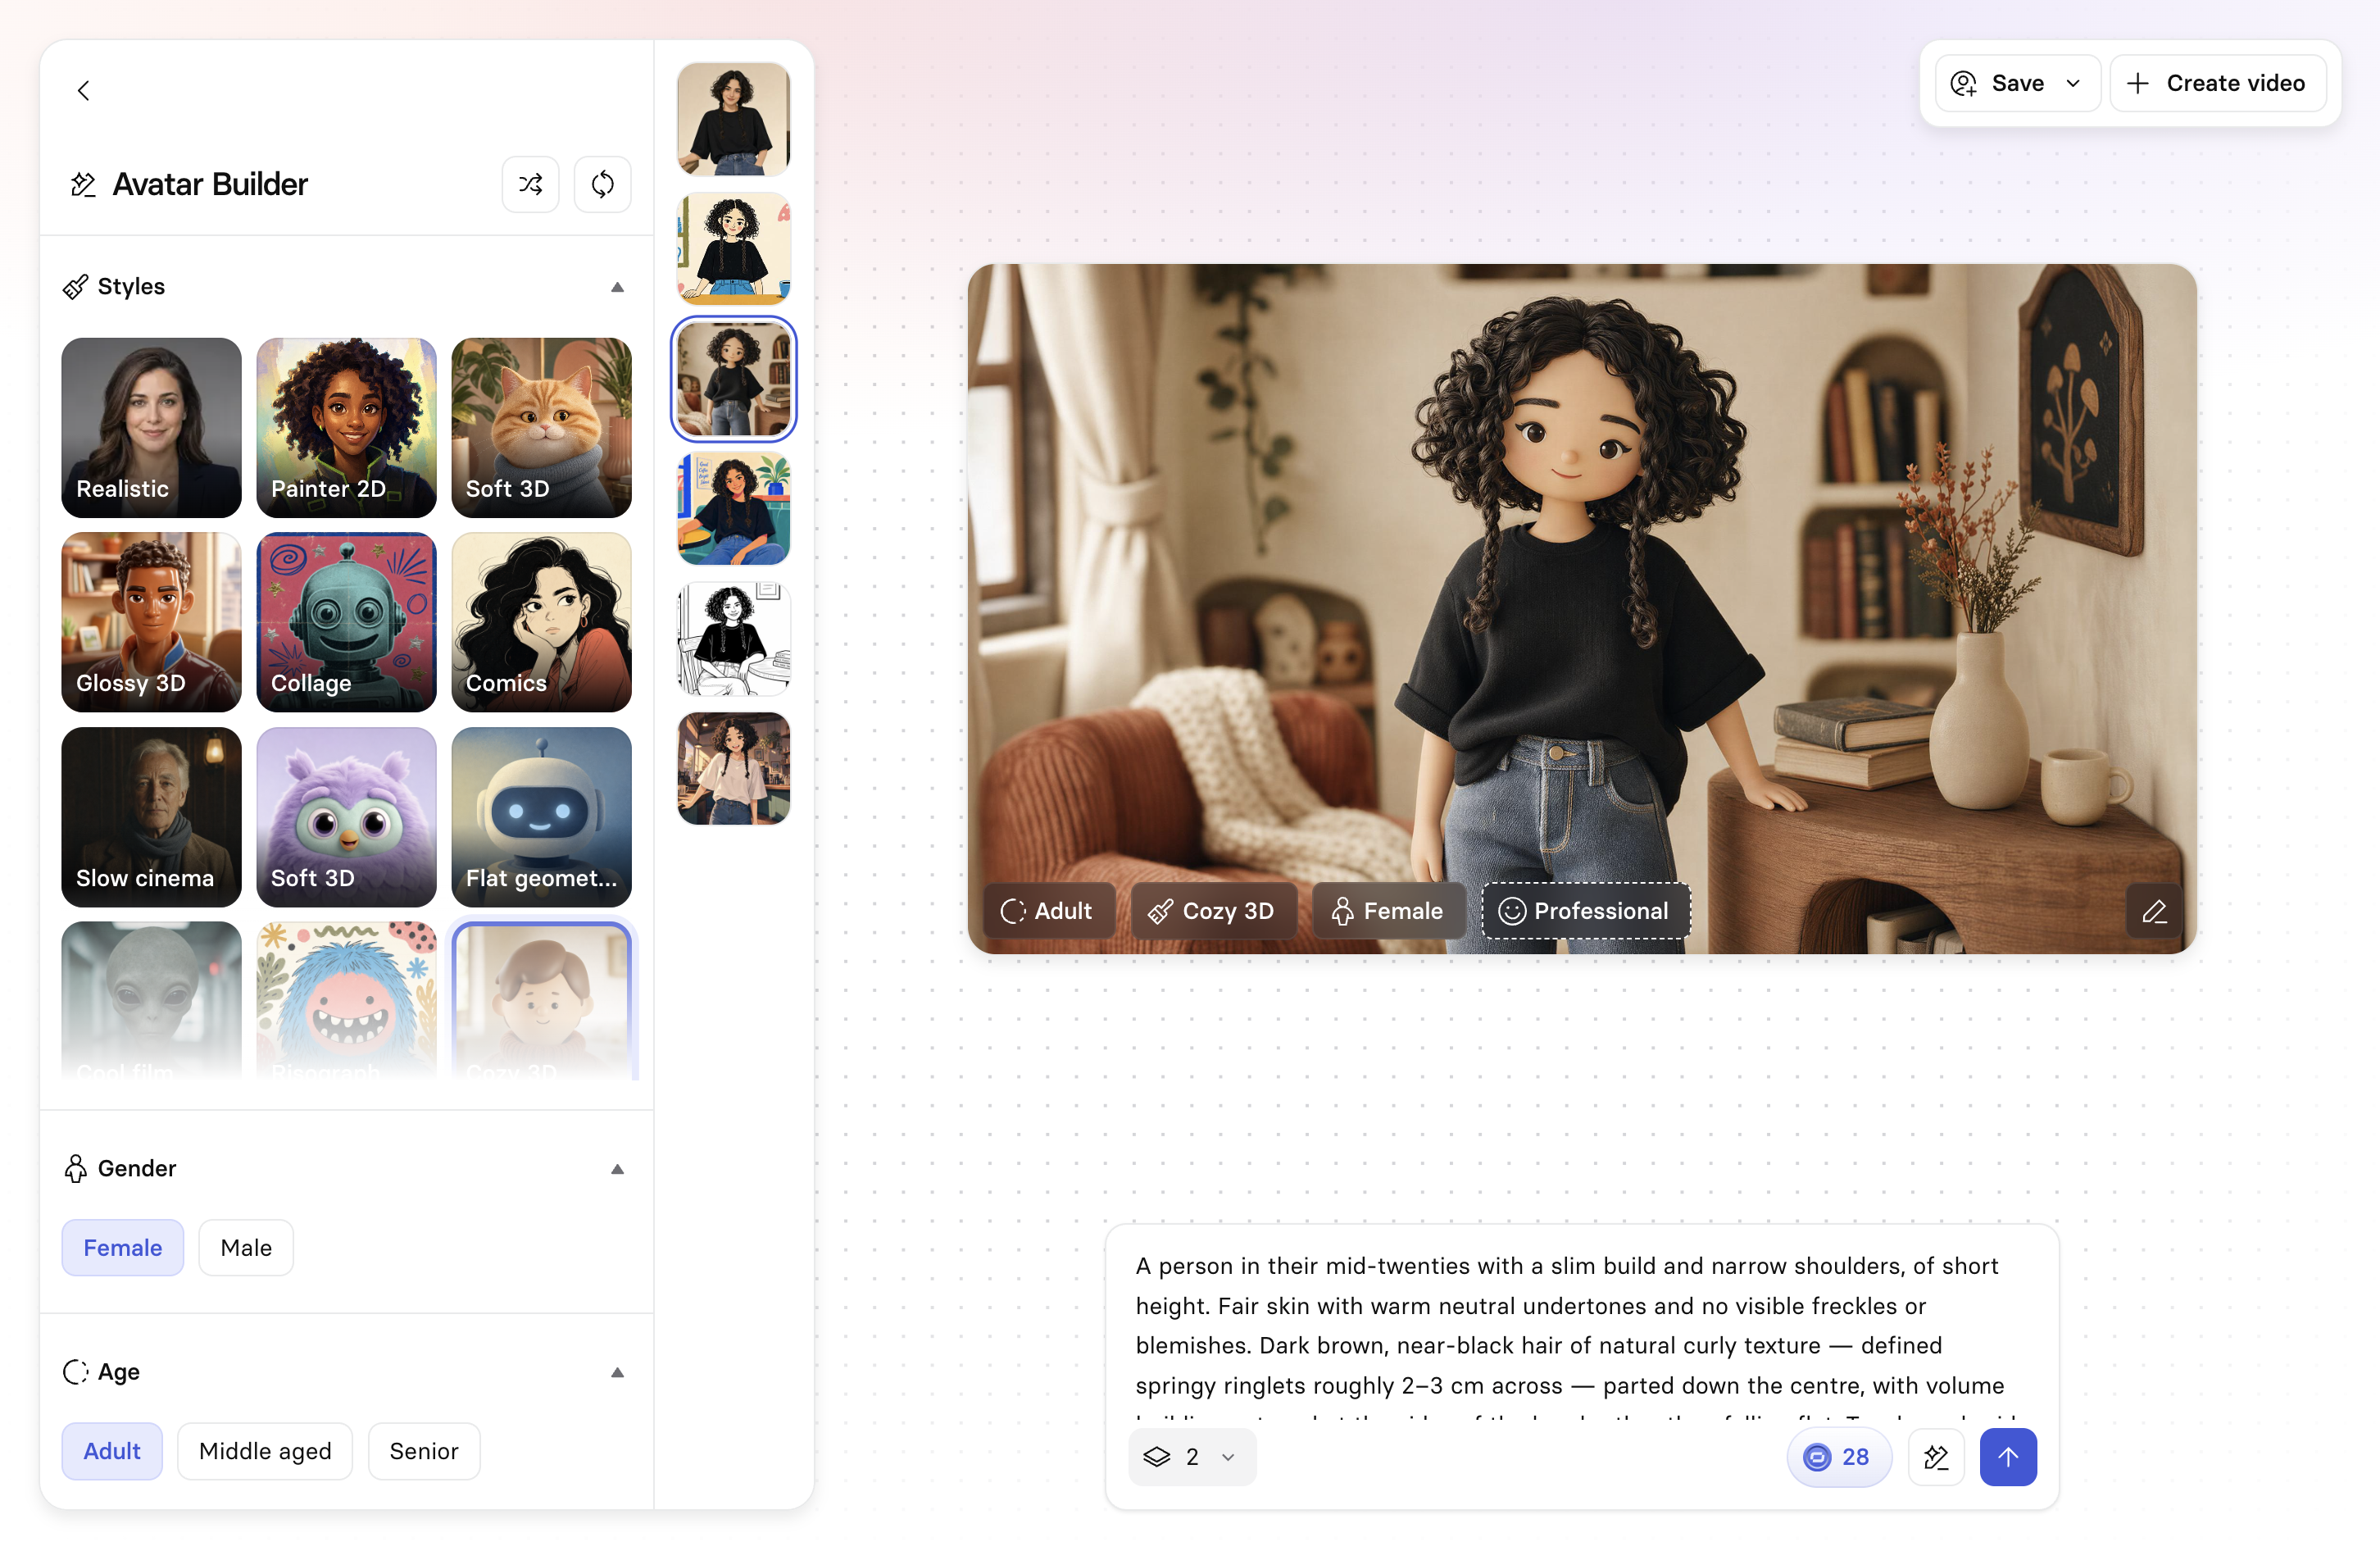
Create an avatar
To build an avatar:
-
Go to the Avatars page.
-
Select
+ Create Avatar. -
Launch Avatar Builder, then choose a Starter Library option, or select
Build your ownat the bottom-right to start from scratch: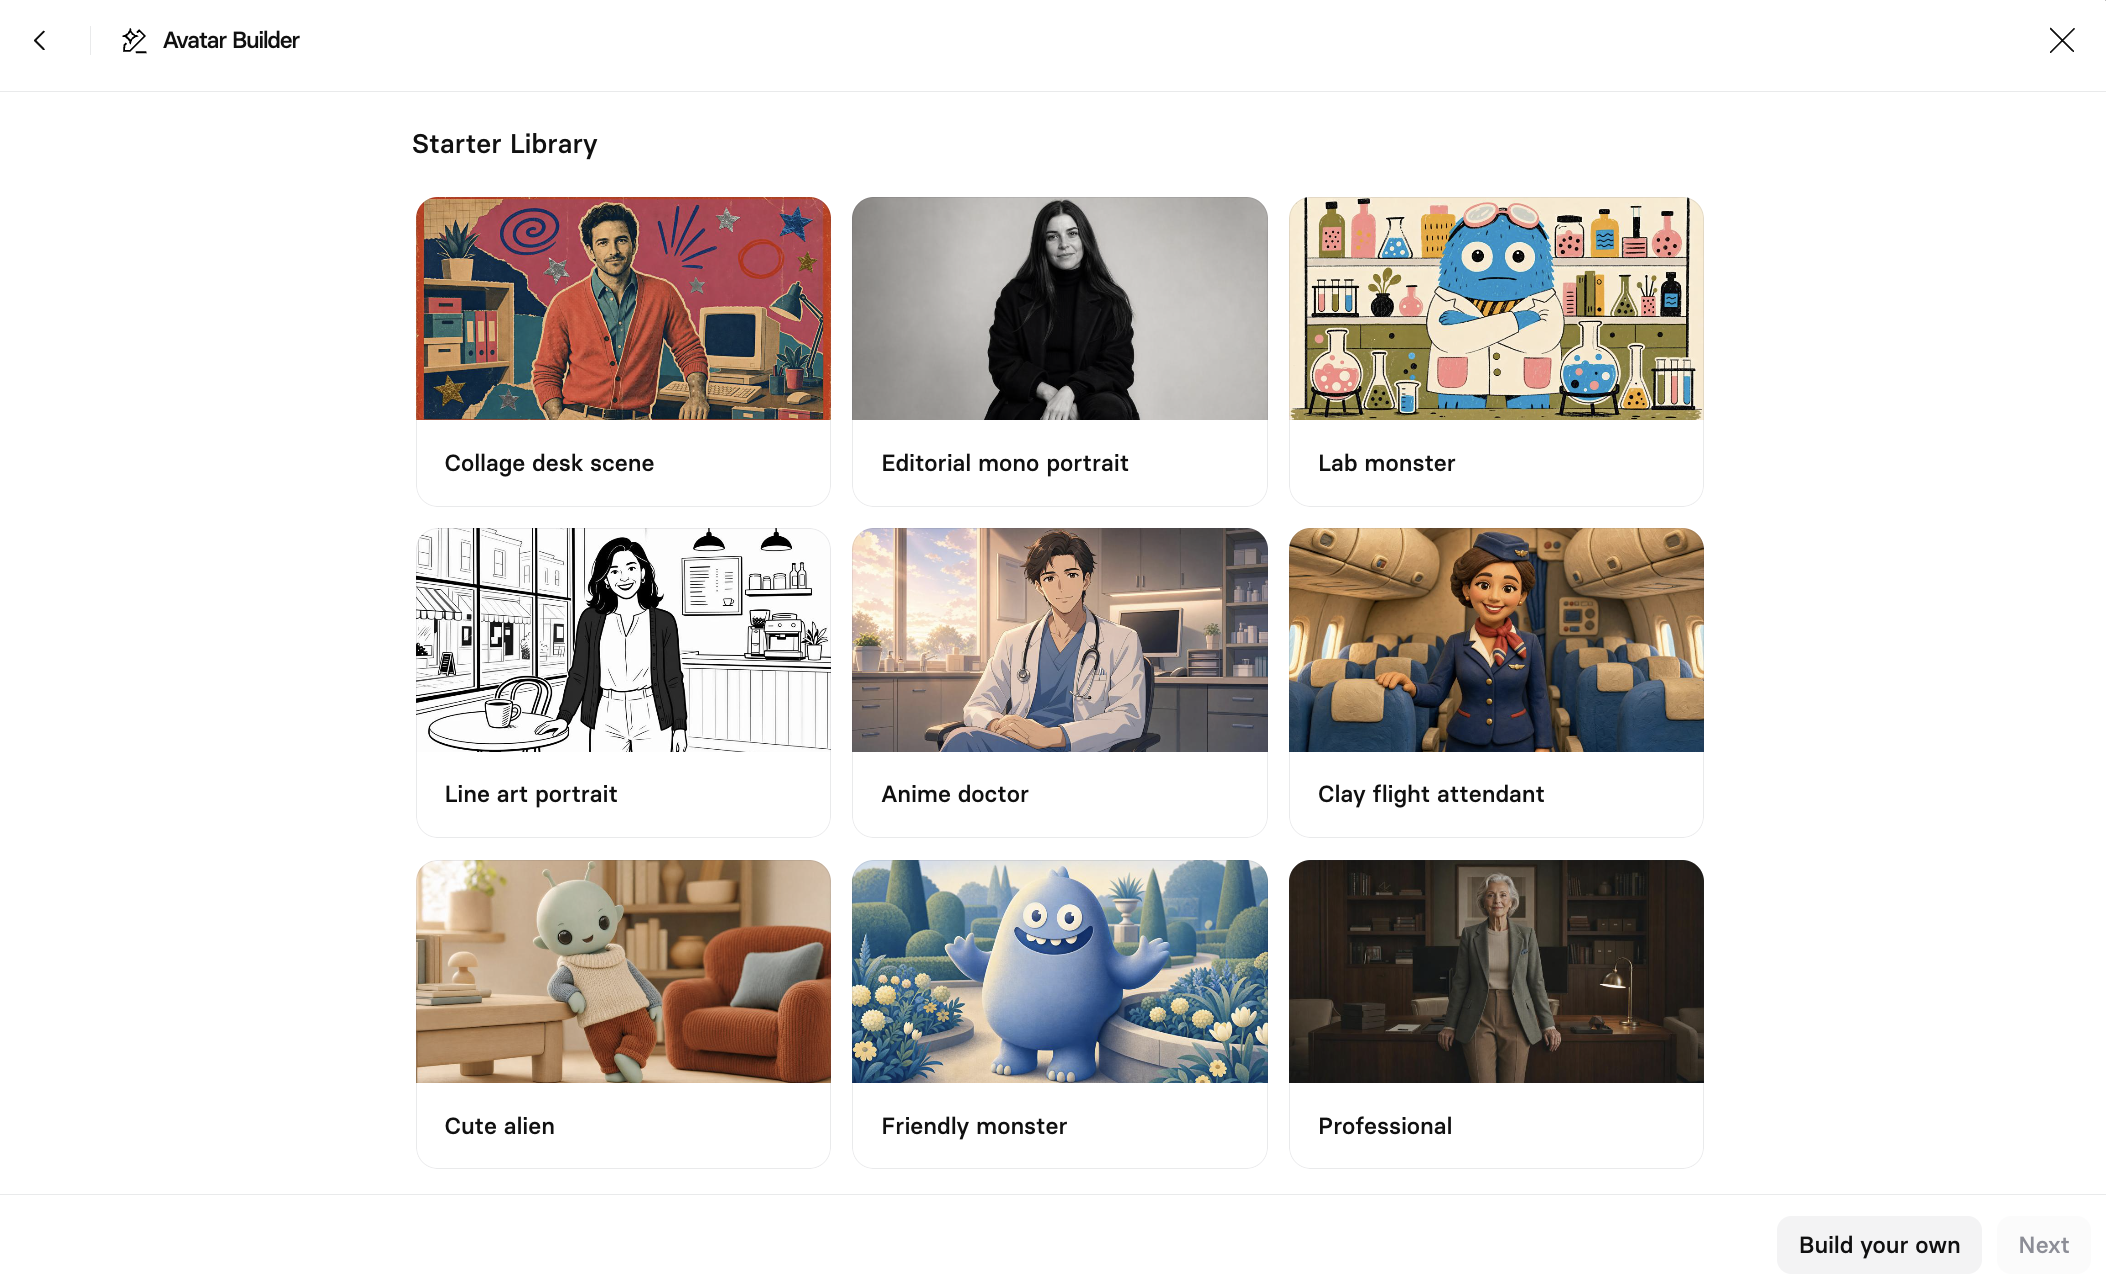
-
Pick a style from the Styles panel (see available styles).
-
Refine the avatar using the panel controls, the prompt box, or both.
-
Specify how many options to generate, then select the arrow button to generate. Each option consumes 14 credits (i.e. 2 options will consume 28 credits, 3 options will consume 42 credits, 4 options will consume 56 credits).
-
Review the generated options and select the one you want.
-
To save your avatar, click
Saveat the top right, edit the avatar's name and select aVoicefor it, then selectSave: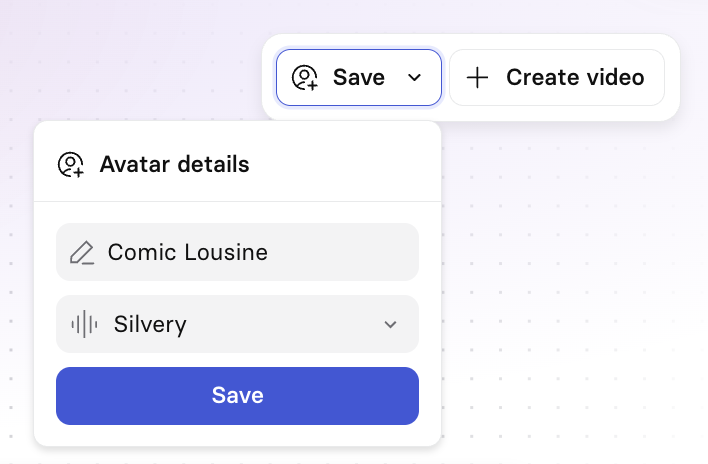
-
Once saved, your Style avatar behaves like other customizable avatars and appears in your avatar library—filter to
My avatarsto find it.
Past generations from the same session are kept in a scrollable rail, so you can flip back through earlier attempts before deciding. You can also select any past attempt, then click the pencil icon in the bottom-right of the preview to reuse and tweak your prompt, or try it out with different styling options from the panel controls:
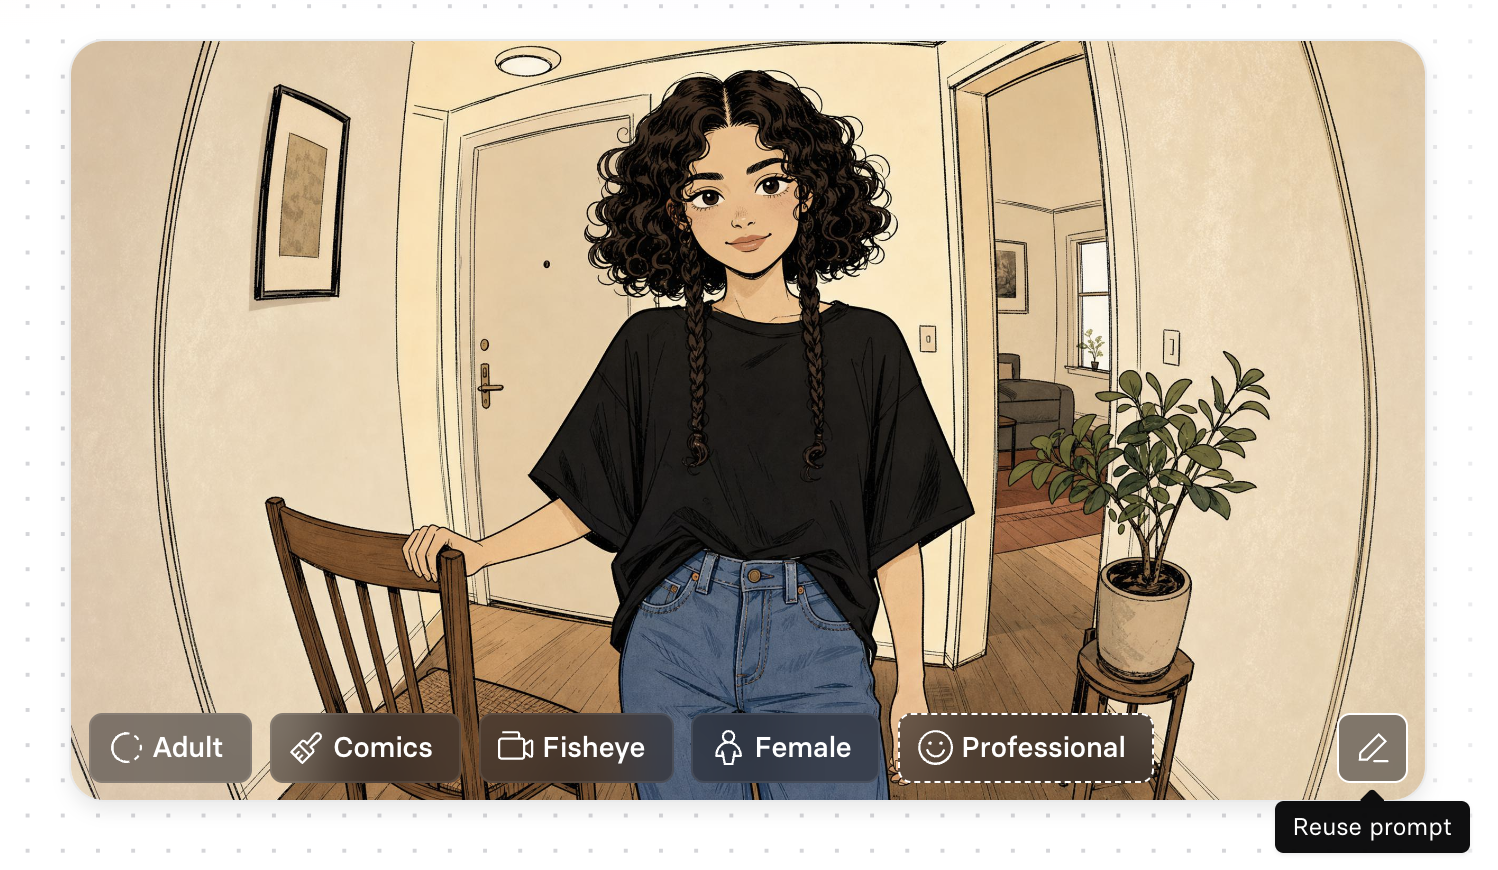
Note:Customizing non-human or stylized avatars may not always follow the avatar's own style. For example, placing a cartoonish avatar in a realistic space should make the space cartoonish too, but the opposite result may occur.
Header actions

Randomize: Randomize all of the current panel settings at once.Reset: Reset all panel settings back to their defaults.
Panel controls
Panel sections you can expand to refine the Style avatar:
| Section | Options |
|---|---|
| Styles | Realistic, Painter 2D, Soft 3D, Glossy 3D, Collage, Comics, Slow cinema, Flat geometric, Cool film, Risograph, Cozy 3D, Gouache, Illustrated, Painterly, Charcoal, Anime, Vintage Film, Black & White, Claymation |
| Gender | Female, Male |
| Age | Adult, Middle aged, Senior |
| Vibe | Professional, Friendly, Energetic, Calm, Serious, Playful, Confident, Warm, Dramatic |
| Camera | Standard, Fisheye, Wide angle, Telephoto, Shallow DoF, Tilt shift, Dutch angle, Action cam |
| Framing | Wide, Waist up, Chest up, Headshot |
| Pose | Standing, Seated, 3/4 Turn, Leaning, Arms crossed |
| Position | Center, Left, Right |
| Expression | Neutral, Soft smile, Warm smile, Broad smile, Grin, Knowing smile, Serious, Intense |
| Lighting | Natural, Soft studio, Golden hour, Hard rim, Neon, Low key, High key, Dramatic |
Prompt box
Type a description of the avatar you want, instead of or alongside using the panel controls.
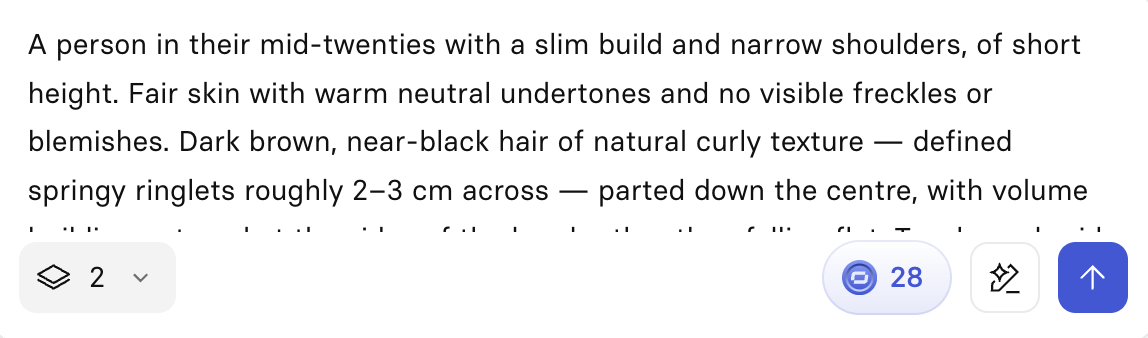
- Select
Suggest a description(the sparkling pencil icon) or pressTabto have Avatar Builder generate a description for you, based on your current panel settings. - Use the Number of assets selector to choose how many avatar options to generate at once (defaults to 2).
Create a video with your Style avatar
- Select
Create videofrom a saved Style avatar to open Assistant. Describe the video you want, and Assistant generates it—including B-roll and motion—in the style of that avatar. - Or, click
Saveto add a name and voice for the avatar, save it to your avatar library, and use it directly in the editor, like any other avatar.
Updated about 1 month ago