The Synthesia Editor
Use the Synthesia editor to customize, refine, and perfect every aspect of your video.

The Synthesia editor
There are 5 main sections of the editor:
- The toolbar, at the top
- The scene list, on the left
- The canvas, in the center
- The inspector panel, on the right
- The script box, at the bottom
Toolbar

The toolbar
The toolbar is where you can go to access the video actions menu, set a title for your video, undo and redo actions, add elements to the canvas, add comments and collaborate with invited users, preview a draft of your video, and generate your video.
Video actions menu
Video actions menu
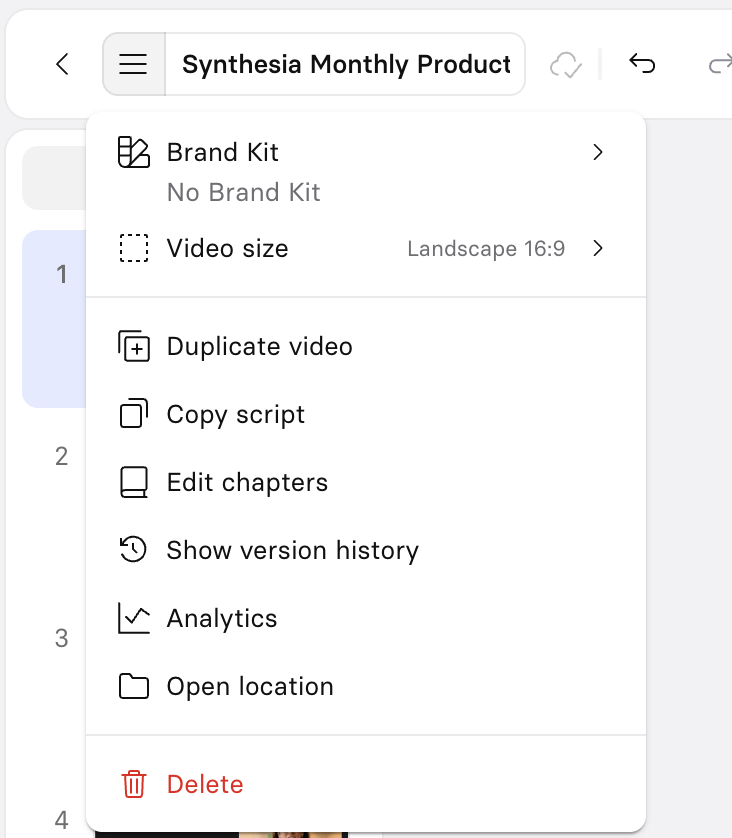
Click the hamburger icon next to the video title to adjust the following video settings:
- Brand kit: The brand kit to apply.
- Video size: The video's aspect ratio.
- Duplicate video: Duplicate the current video into your My video section.
- Copy Script: Copy the entire video script in markdown format.
- Edit chapters: Define and edit your video chapters.
- Show version history: Shows the video versions available.
- Analytics: Displays the video analytics for this video.
- Open location: Navigate to the folder containing the video.
- Delete: Delete your video. Once deleted, your video goes into the Trash section.
Video size
Create your video in one of several aspect ratios—we recommend selecting an aspect ratio before designing your scenes:
| Name | Ratio | Width (px) | Height (px) |
|---|---|---|---|
| Landscape | 16:9 | 1920 | 1080 |
| Portrait | 9:16 | 1080 | 1920 |
| Square | 1:1 | 1080 | 1080 |
| Tall | 4:5 | 1080 | 1350 |
| Wide | 5:4 | 1350 | 1080 |
Version history
Every 30 minutes, a snapshot version of your video is auto-saved. A snapshot version is also saved each time you generate a given video.
Video actions menu
Restoring and duplicating snapshots
To restore (or duplicate) a given snapshot of your video:
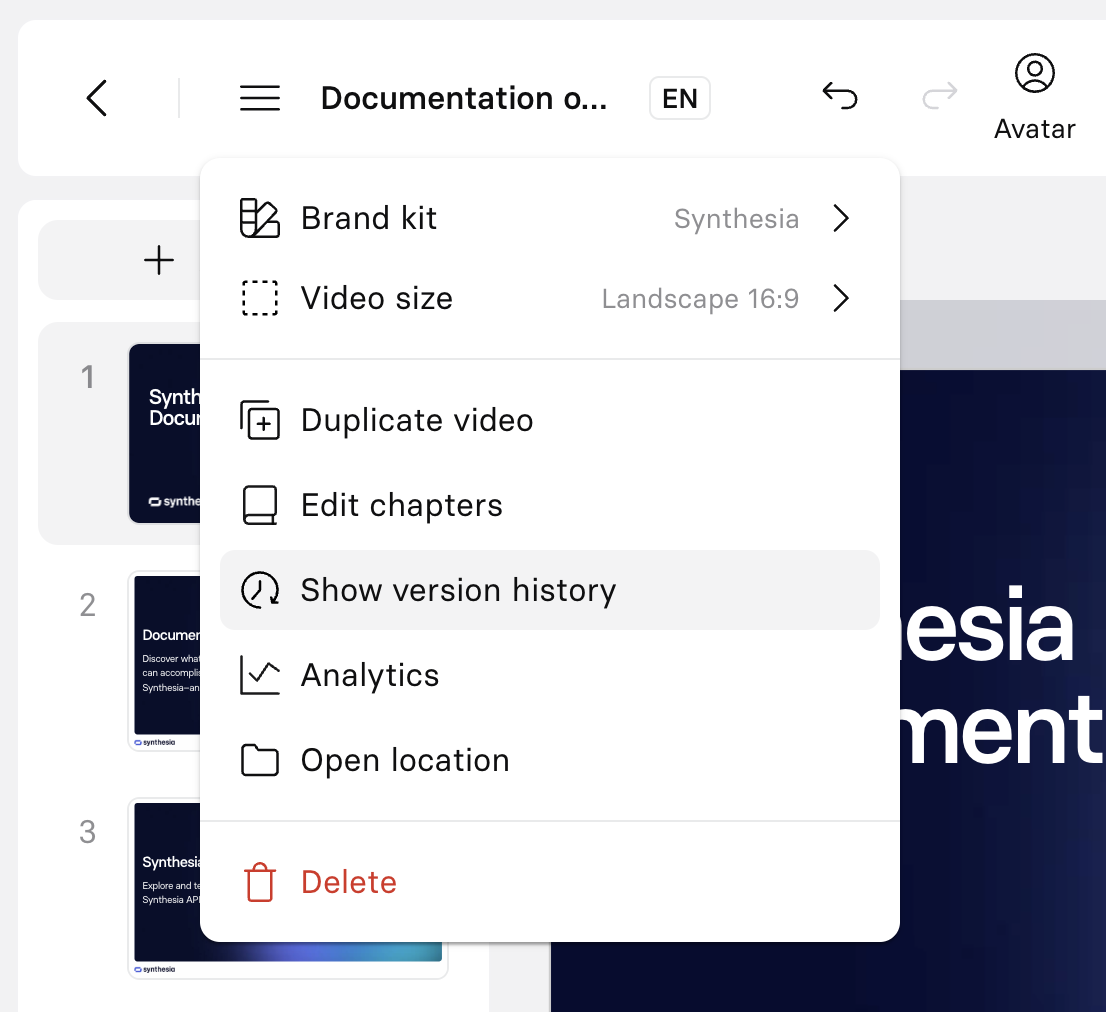
- Click the hamburger menu icon at the left of the toolbar to access the Video actions menu.
- Select the
Show version historyoption. - Access the Version history list on the right side of the editor.
- Select the version you wish to restore or duplicate from.
- To restore this specific version:
- Hover over the version and click the three dot menu icon next to the version name.
- Select the
Restoreoption from the context menu. - Click on
Restorein the upper left corner of the page.
- To duplicate this specific version:
- Hover over the version and click the three dot menu icon next to the version name.
- Select the
Duplicateoption from the context menu. - Click on
Duplicatein the upper left corner of the page.

Note:While the Version history includes which collaborators were editing a video at the time a given snapshot was auto-saved, or the collaborator who generated the video, granular information about who made which specific edits is not logged.
Elements
In the center of the toolbar is a selection of different types of elements you can add to the canvas for the scene you're currently in.
Comment mode
Click on the Comment button or use a keyboard shortcut to enter or exit comment mode.
| Enter/exit comment mode (Mac) | Enter/exit comment mode (PC) |
|---|---|
⌥ + c | Ctrl + c |
Comment mode
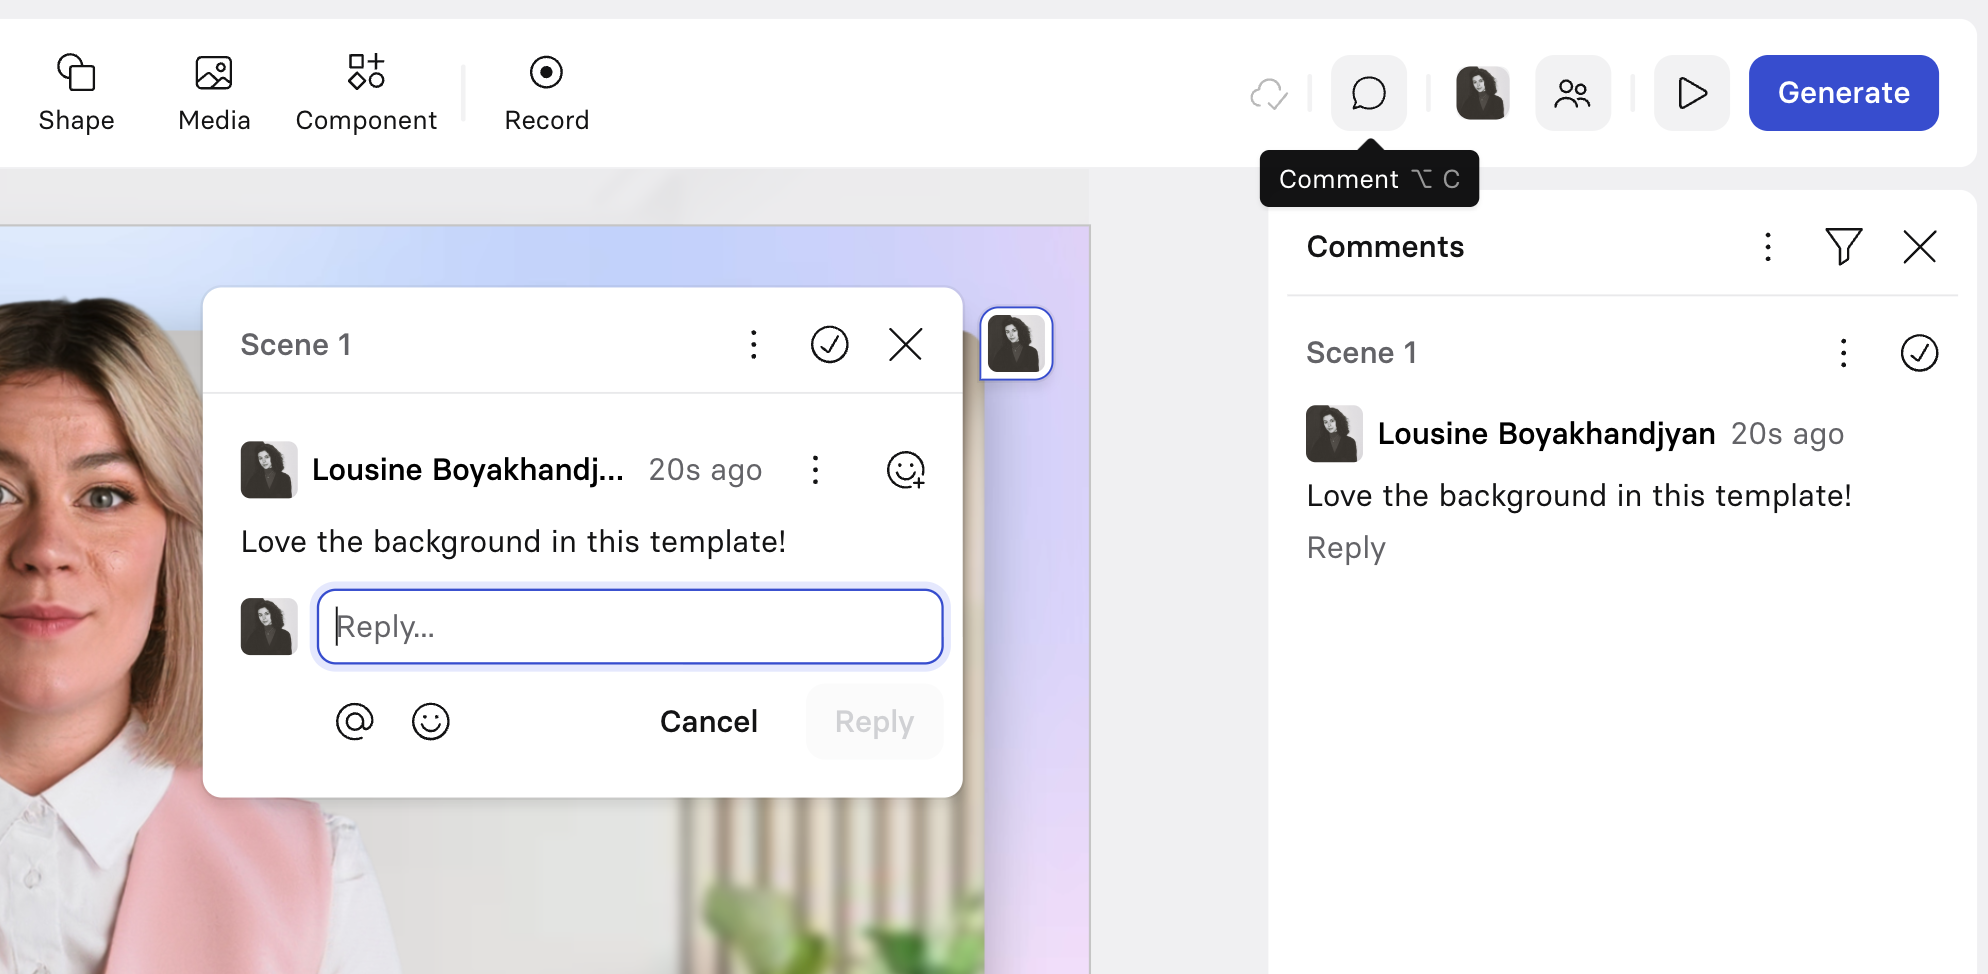
In comment mode, you can navigate to different scenes and add comments by clicking on the canvas.
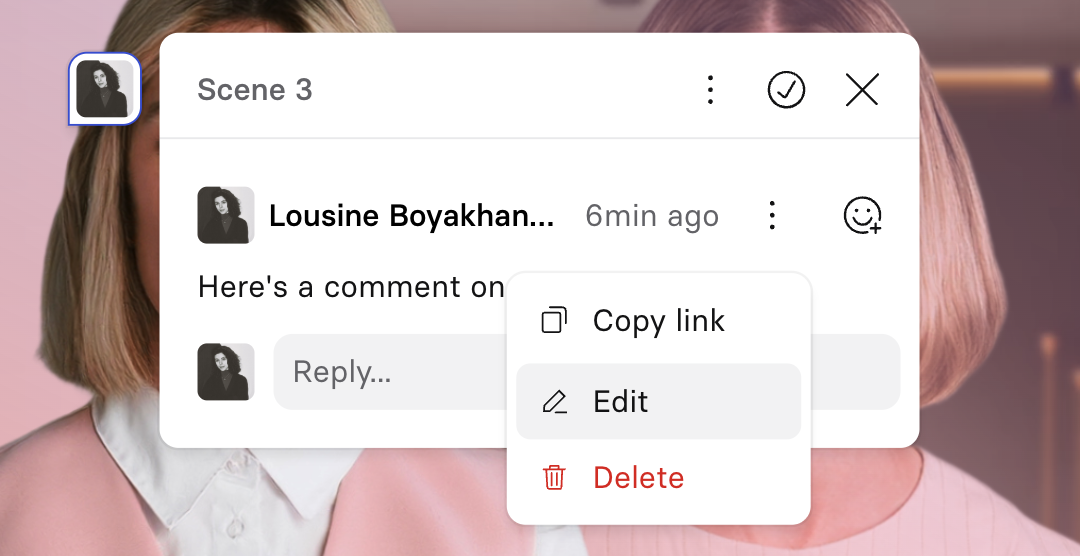
You can reply, @mention other collaborators, react with emojis, and resolve comments. Click on the 3-dot icon to copy a link to the comment, edit your comment, or delete it.
You also have the option to move a comment to a different part of the canvas by clicking and dragging it to the desired location.
Comment panel
Comments on each scene will be visible on the left in the comment panel.

Filter settings in the comment panel
From the comment panel:
- Click the 3-dot icon and either mark all comment as read or exit comment mode
- Click the filter icon and choose to see comments from all versions of the video, the latest version, or filter by comment status
- Click the ✕ to exit comment mode
Collaborate
Click on the Collaborate button to share the current video with another Synthesia user. The shared video will appear in their Shared with me page:
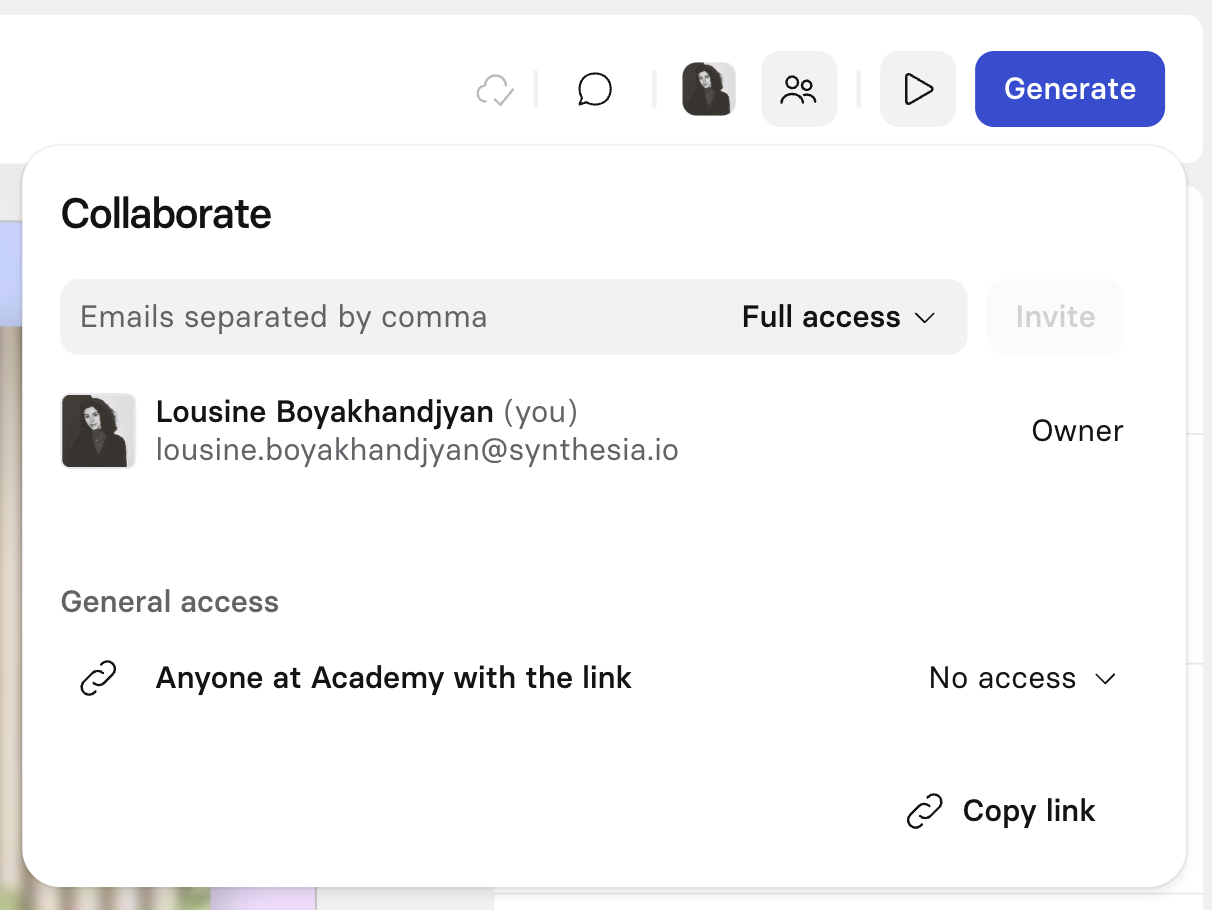
Collaboration options
Add the email of someone you'd like to collaborate with and chose one of the following level of access:
- Full access: User can comment, edit, and share the video.
- Can edit: User can comment and edit the video but can't share it.
- Can comment: User can comment but can't either edit or share the video.
You can also adjust your general access settings to apply any of the above options to all users in your workspace.
Preview video
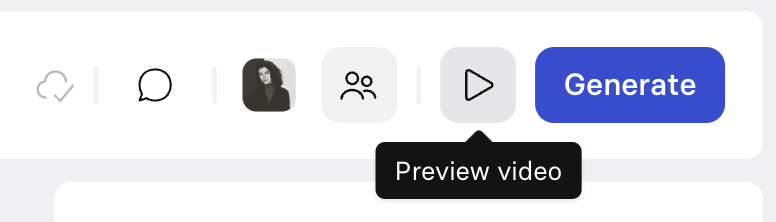
Preview video button
Click on the play button in the upper right corner of the page to launch a preview of the entire video. You should always launch a preview before generating a video in order to verify that everything is in order.
Note:
- Avatars will not be animated during previews.
- Interactive elements will be functional in order for you to test them.
Generate
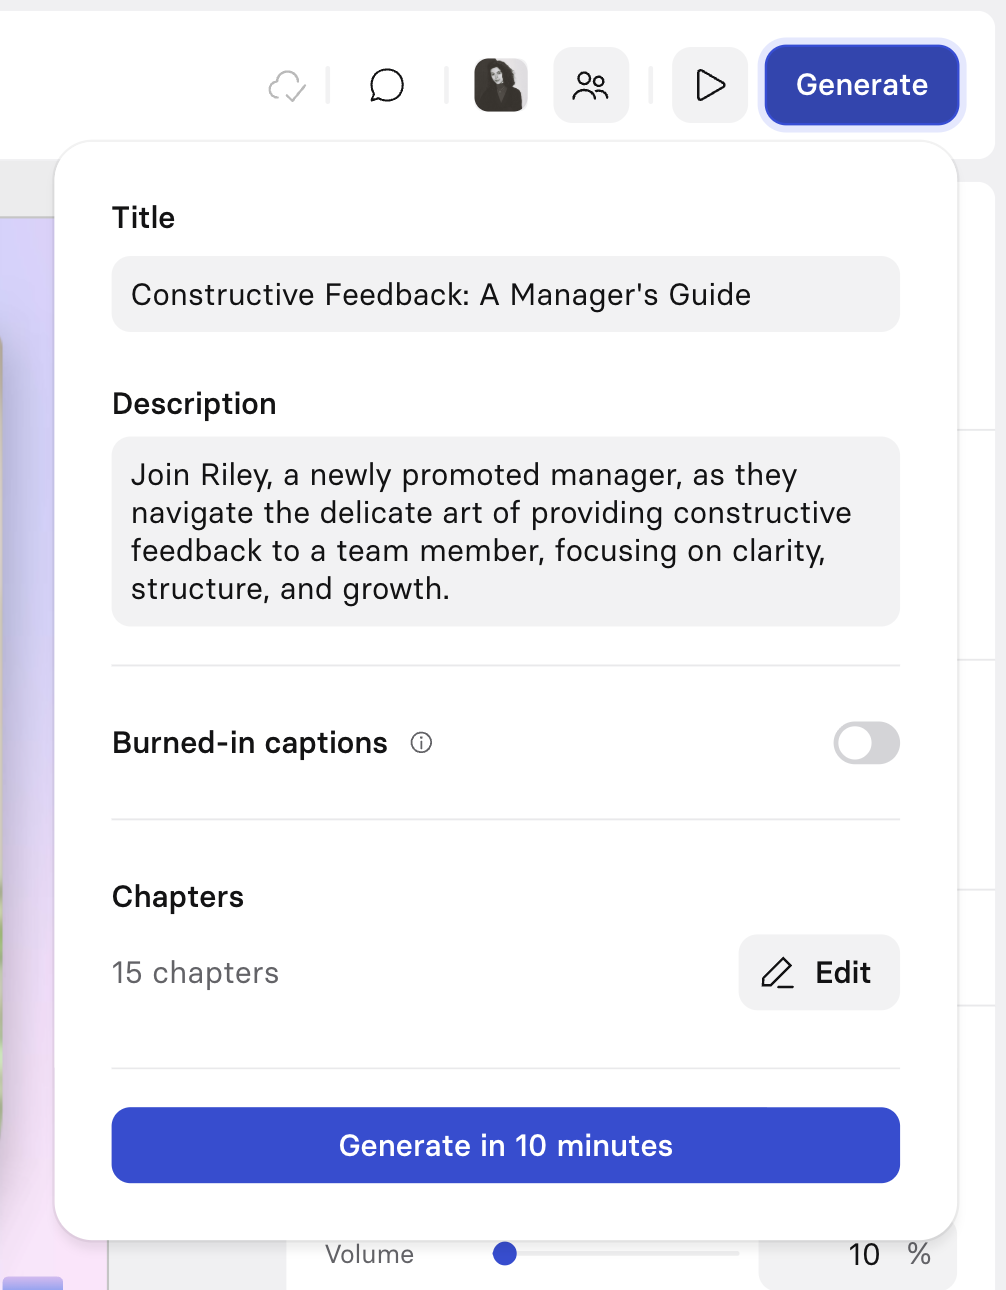
Generate panel
To generate your video, click on the Generate button at the right of the toolbar. This will open up the generate panel, where you can adjust the following:
- Title: The video title displayed in your Synthesia account and on the share page
- Description: The video description that is displayed on the share page.
- Chapters: The different chapters for your video.
- Whether burned-in captions should be included in the generated video or not.
Video captions
Your video's captions depend on the script you've added to your scenes. When publishing videos using Synthesia's video player, your viewers will be able to toggle captions on and off on their own, unless they have been burned-in, in which case they are permanent.
Burned-in captions are most useful if you are downloading your video to upload to another platform that doesn't have the option for uploading a subtitle file. You can download subtitle files for your video in .srt and .vtt formats from the video overview page.
Issues
If there are any issues preventing generation of your video, like unsupported characters in the script or lack of permissions for an avatar or voice, you'll be notified in the issues section.
You'll be shown a list of issues that you can click on, then navigate directly to the scene with the issue so you can fix it and generate your video:

Issues preventing video generation
Scene list
A Synthesia video is composed of multiple scenes in a row, linked by scene transitions.
Note:The maximum amount of scenes per video is 150 scenes, each up to 5 minutes long—in total, a Synthesia video can be up to 4 hours long.
New scene
Select the + on the left panel to add a new scene to your video.
You'll have the option to add a layout (or all layouts at once) from the current template you're working from, or go back to select a template from Synthesia's stock template library or one of your custom templates so you can mix and match.
Template and layout selection
Scene transitions
To add a transition:
- Make sure you don't have any elements selected in the canvas (press
Escon your keyboard to deselect anything that's currently selected). - From the inspector panel on the right, toggle the scene transition setting on.
- Select the desired transition.
- If desired, click
Change allin the pop-up that appears at the bottom of the editor to update all transitions for your scenes to be the same as the transition you just selected.

Scene transition options
List of scene transitions
Here’s a comprehensive list of all possible scene transitions available when creating a video in Synthesia:
| Transition | Effect |
|---|---|
| Fade | Gradually fades out the current scene and fades in the next one. |
| Fade black | Gradually fades out the current scene and fades to black. |
| Fade white | Gradually fades out the current scene and fades to white. |
| Fade scale | Gradually fades out the current scene and fades and scales to the next scene. |
| Wipe left | The new scene wipes over to replace the previous scene from the right. |
| Wipe right | The new scene wipes over to replace the previous scene from the left. |
| Push left | The new scene pushes the previous scene to the left to replace it. |
| Push right | The new scene pushes the previous scene to the right to replace it. |
| Push up | The new scene pushes the previous scene up to replace it. |
| Push down | The new scene pushes the previous scene down to replace it. |
| Slide over left | Slides the new scene in from the right, slightly overlapping the previous scene. |
| Slide over right | Slides the new scene in from the left, slightly overlapping the previous scene. |
| Slide over up | Slides the new scene in from the bottom, slightly overlapping the previous scene. |
| Slide over down | Slides the new scene in from the top, slightly overlapping the previous scene. |
| Direct cut | A straightforward, immediate switch from one scene to the next. |
Previewing scene transitions
You can preview any of these scene transitions by dragging the playhead at the top of the script box to the very end of the timeline:
Scene music
Set the tone for your video and increase audience engagement by adding music to your scenes.
To add music to a scene:
- Make sure you don't have any elements selected in the canvas (press
Escon your keyboard to deselect anything that's currently selected). - Turn on the Music toggle from the inspector panel on the right.
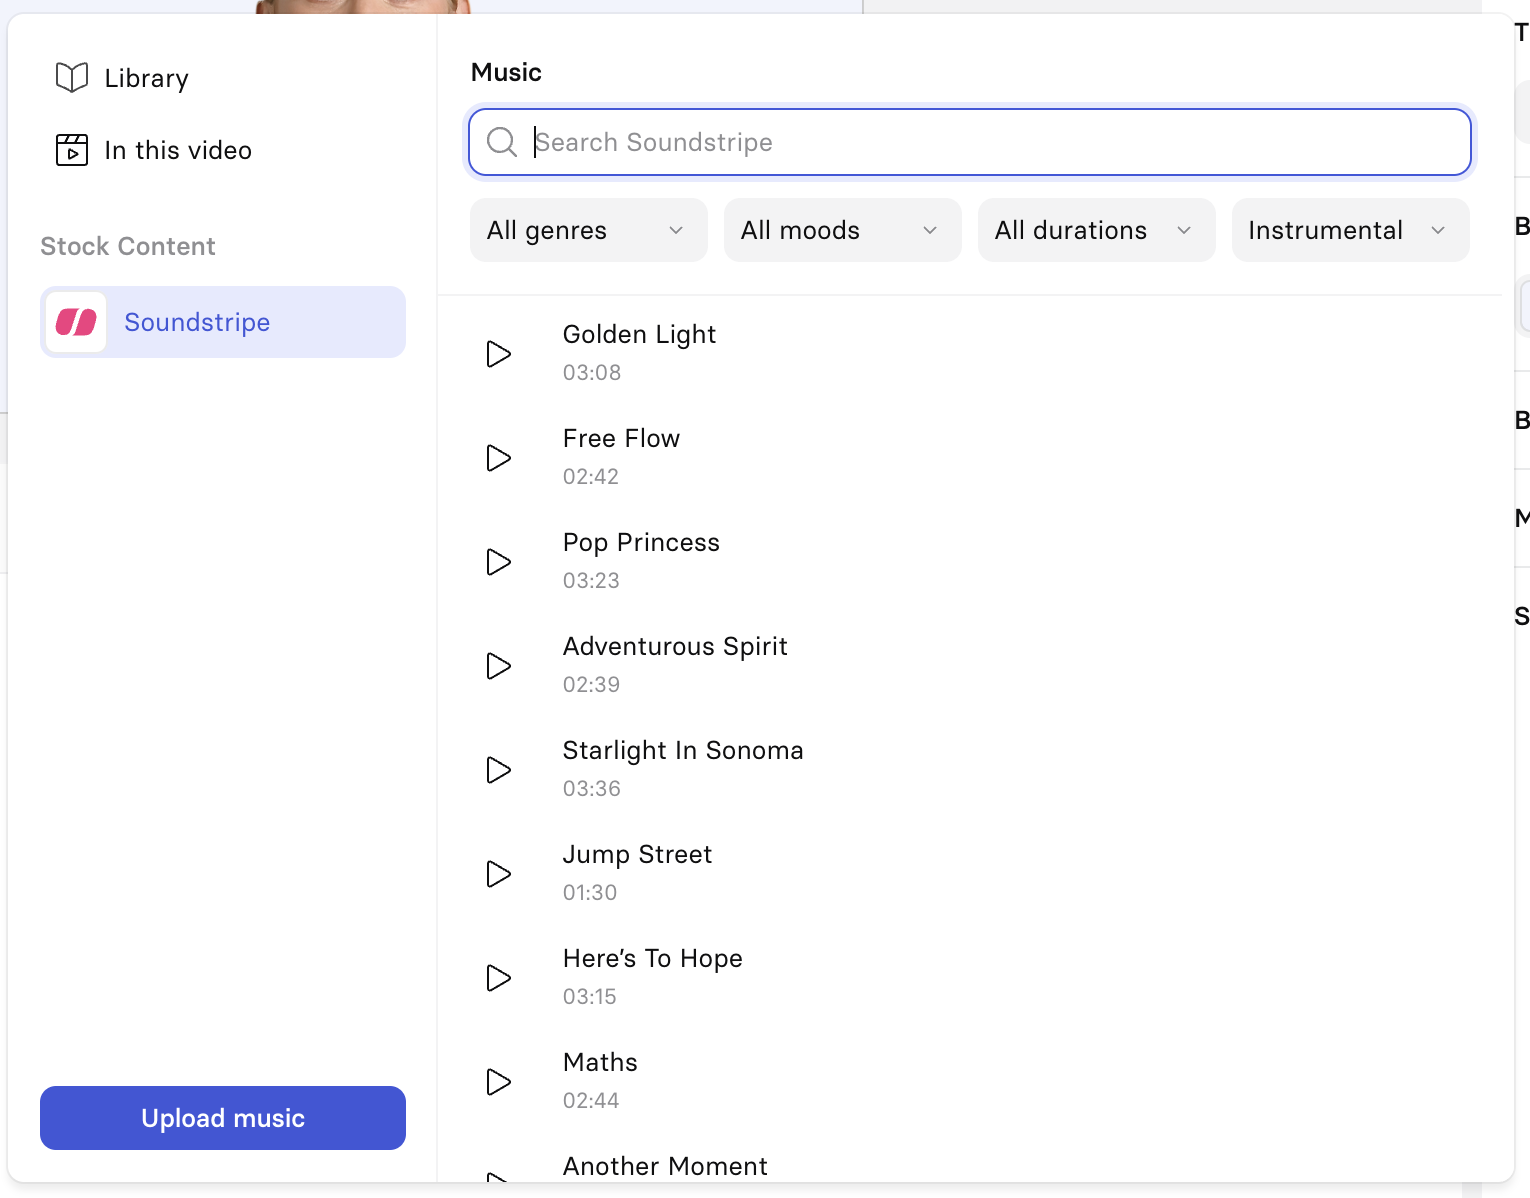
- Choose from your music asset library or the Soundstripe library. Use the search bar to find specific tracks and preview them. You can filter your music tracks by Genre, Mood, Duration, or Instrumental.
- Click "Add" to insert the selected track into your scene. See How do I add music to my Synthesia video? to see it in action.
- If desired, click
Changein the pop-up that appears at the bottom of the editor to update all music for your scenes to be the same as the transition you just selected.
Selecting music
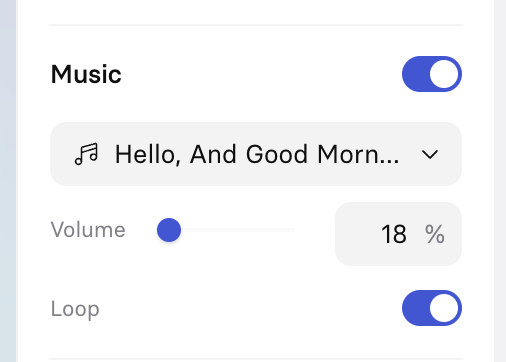
Once music is added:
- Control its volume: The music volume is set to 10% by default. Drag the slider to adjust the volume—you'll have the option to adjust the volume for all the scenes that have that same track applied.
- Loop the music: Decide whether or not to loop the music if the track ends before the scene does.
Music controls
If you've used the same music track for successive scenes, the music will play seamlessly through those scenes.
If you plan to upload a video that includes music from Soundstripe's library to YouTube, don't forget to generate Youtube codes for your video.YouTube codes prove that you had the right to use music from Soundstripe in your video.
Music upload
There are two ways to upload your own music to add to your scenes:
- From the music menu in the editor, by clicking the
Upload musicbutton. - From the Library page.
Supported formats: mp3, .wav, .ogg, .aac, and .flac.
Canvas
The canvas is where you design the visuals for each scene. Add elements to the canvas from the toolbar, then animate, edit, and customize them as desired.
Inspector panel
The inspector panel is on the right side of the editor.
- If you don't have any elements selected, it will show you settings for the scene itself, like background media, music, and scene transition.
- If you select an element in the canvas, like an avatar, text element, or shape, the available settings in the inspector panel will switch to the relevant settings for that element.
Script box
The script controls what is happening in your scene, use it to set the avatar that is speaking, its language and voice. Use triggers to trigger animations for elements based on the words in your script.
See the Script documentation to learn more.
Updated 2 months ago