Timeline
Use the Timeline to control when elements appear in your scene. Layer, sequence, and fine-tune animations and effects — and edit your scene at any point in time.
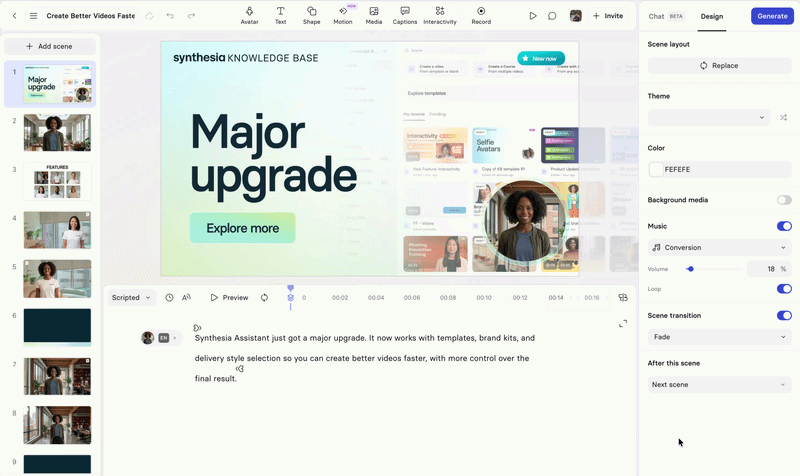
The Timeline is a visual editing tool that shows every element in your scene as a layer. Use it to control when animations start, how long they last, and how they relate to each other.
Use the Timeline when you want to:
- Manage multiple animated elements in a single scene.
- Add or reposition elements at a specific moment in the scene.
- Reorder or rename elements for clearer scene organization.
- Chain or stagger animations to build precise visual sequences
How to access the Timeline
- Open a video project and select a scene.
- Select the Timeline button at the top right of the script editor.
To return to the script view, select the Hide Timeline button in the same location.
Key capabilities
Visual layer management
Every element in your scene — text, images, shapes, avatars — appears as a layer in the Timeline.
| Action | How to do it |
|---|---|
| Reorder layers | Drag layers up or down on the left side of the Timeline. |
| Rename layers | Double-click the layer name, edit the name, then press Enter or click away to confirm. You can also rename a group and its child elements. |
| Group and ungroup layers | Hold Shift and select multiple layers, then right-click and select Group or press ⌘/Ctrl • G |
When elements are grouped, you can add animations to the group as a whole. Individual child elements in a group cannot have their own animations or effects.
Point-in-time editing
Point-in-time editing lets you preview and edit your scene at the same time. Drag the playhead to any moment and the canvas freezes at that point. Any element you add or reposition is anchored to that exact moment.
To edit at a specific point in time:
- Drag the playhead to the moment you want to edit.
- The canvas shows a frozen preview of the scene at that moment.
- Select a layer to add or adjust an element — your changes are applied at that point in time.
Precise timing with scene preview
Drag the playhead to scrub through your scene. Use keyboard shortcuts to move the playhead without a mouse:
- Nudge playhead:
[: This bracket key nudges the playhead back by 1s.]: This bracket key nudges the playhead forward by 1s.Shift+[: This nudges the playhead back by 0.1s.Shift+]: This nudges the playhead forward by 0.1s.
- Jump to cluster:
</>: The angle-bracket key nudges the playhead to the start of the previous/next cluster in the timeline.
- Start and end:
J/K: Tapping J will take you to the start of the timeline (0:00) and K will jump you to the end.
Animation and effect control
- Add animations/effects: Move the seeker to the moment you want, then click the plus icon to add.
- Chain animations: Create sequences where one animation starts as another ends.
- Stagger timings: Offset multiple animations to match narration pacing.
- Stack effects: Layer effects on top of each other to create clusters of effects.
- Adjust timing: Drag an animation or effect to change when it starts. Dragging behavior depends on whether or not you hold down the
Shiftkey while dragging the animation or effect. You can also use keyboard shortcuts to adjust timing.- Drag without
Option/Alt: Snaps the trigger to the nearest word in the script and adds the needed delay to match its timeline position. - Drag with
Option/Altheld: Adjusts the delay relative to its current trigger point—useful for fine-tuning. - Adjust timing with keyboard:
Opt/Alt+⬅: This moves the trigger to the previous available existing cluster (a trigger that is already in use).Opt/Alt+⮕: This moves the trigger to the next available existing cluster (a trigger that is already in use).Shift+Opt/Alt+⬅: This moves the trigger to the previous word and creates a new trigger cluster.Shift+Opt/Alt+⮕: This moves the trigger to the next word and creates a new trigger cluster.
- Drag without
- Duration: For animations, drag the right edge to change duration, or use keyboard shortcuts. Effects have a set duration.
Ctrl/⌘+⬅/⮕: This nudges the duration by 0.1s.Shift+Ctrl/⌘+⬅/⮕: This nudges the duration by 0.01s.
- Delay: While the Timeline with automatically calculate delay, you can also nudge it manually using your keyboard.
⬅/⮕: This nudges the delay by 0.1s.Shift+⬅/⮕: This nudges the delay by 0.01s.
- Change animation/effect: Right click on a trigger to edit its animation settings.
- Multi-select edits: Hold
Shiftand click to select multiple animations or effects. You can:- Drag the selection to move all triggers together in time.
- Drag the right edge of any selected animation to increase its duration. This applies only to animations—effects have fixed durations and won't be affected.
- Zoom in/out: Hold
Ctrland scroll, or pinch on trackpad, for detailed view.
Updated about 1 month ago