

Library
All the assets you reuse across your Synthesia videos.
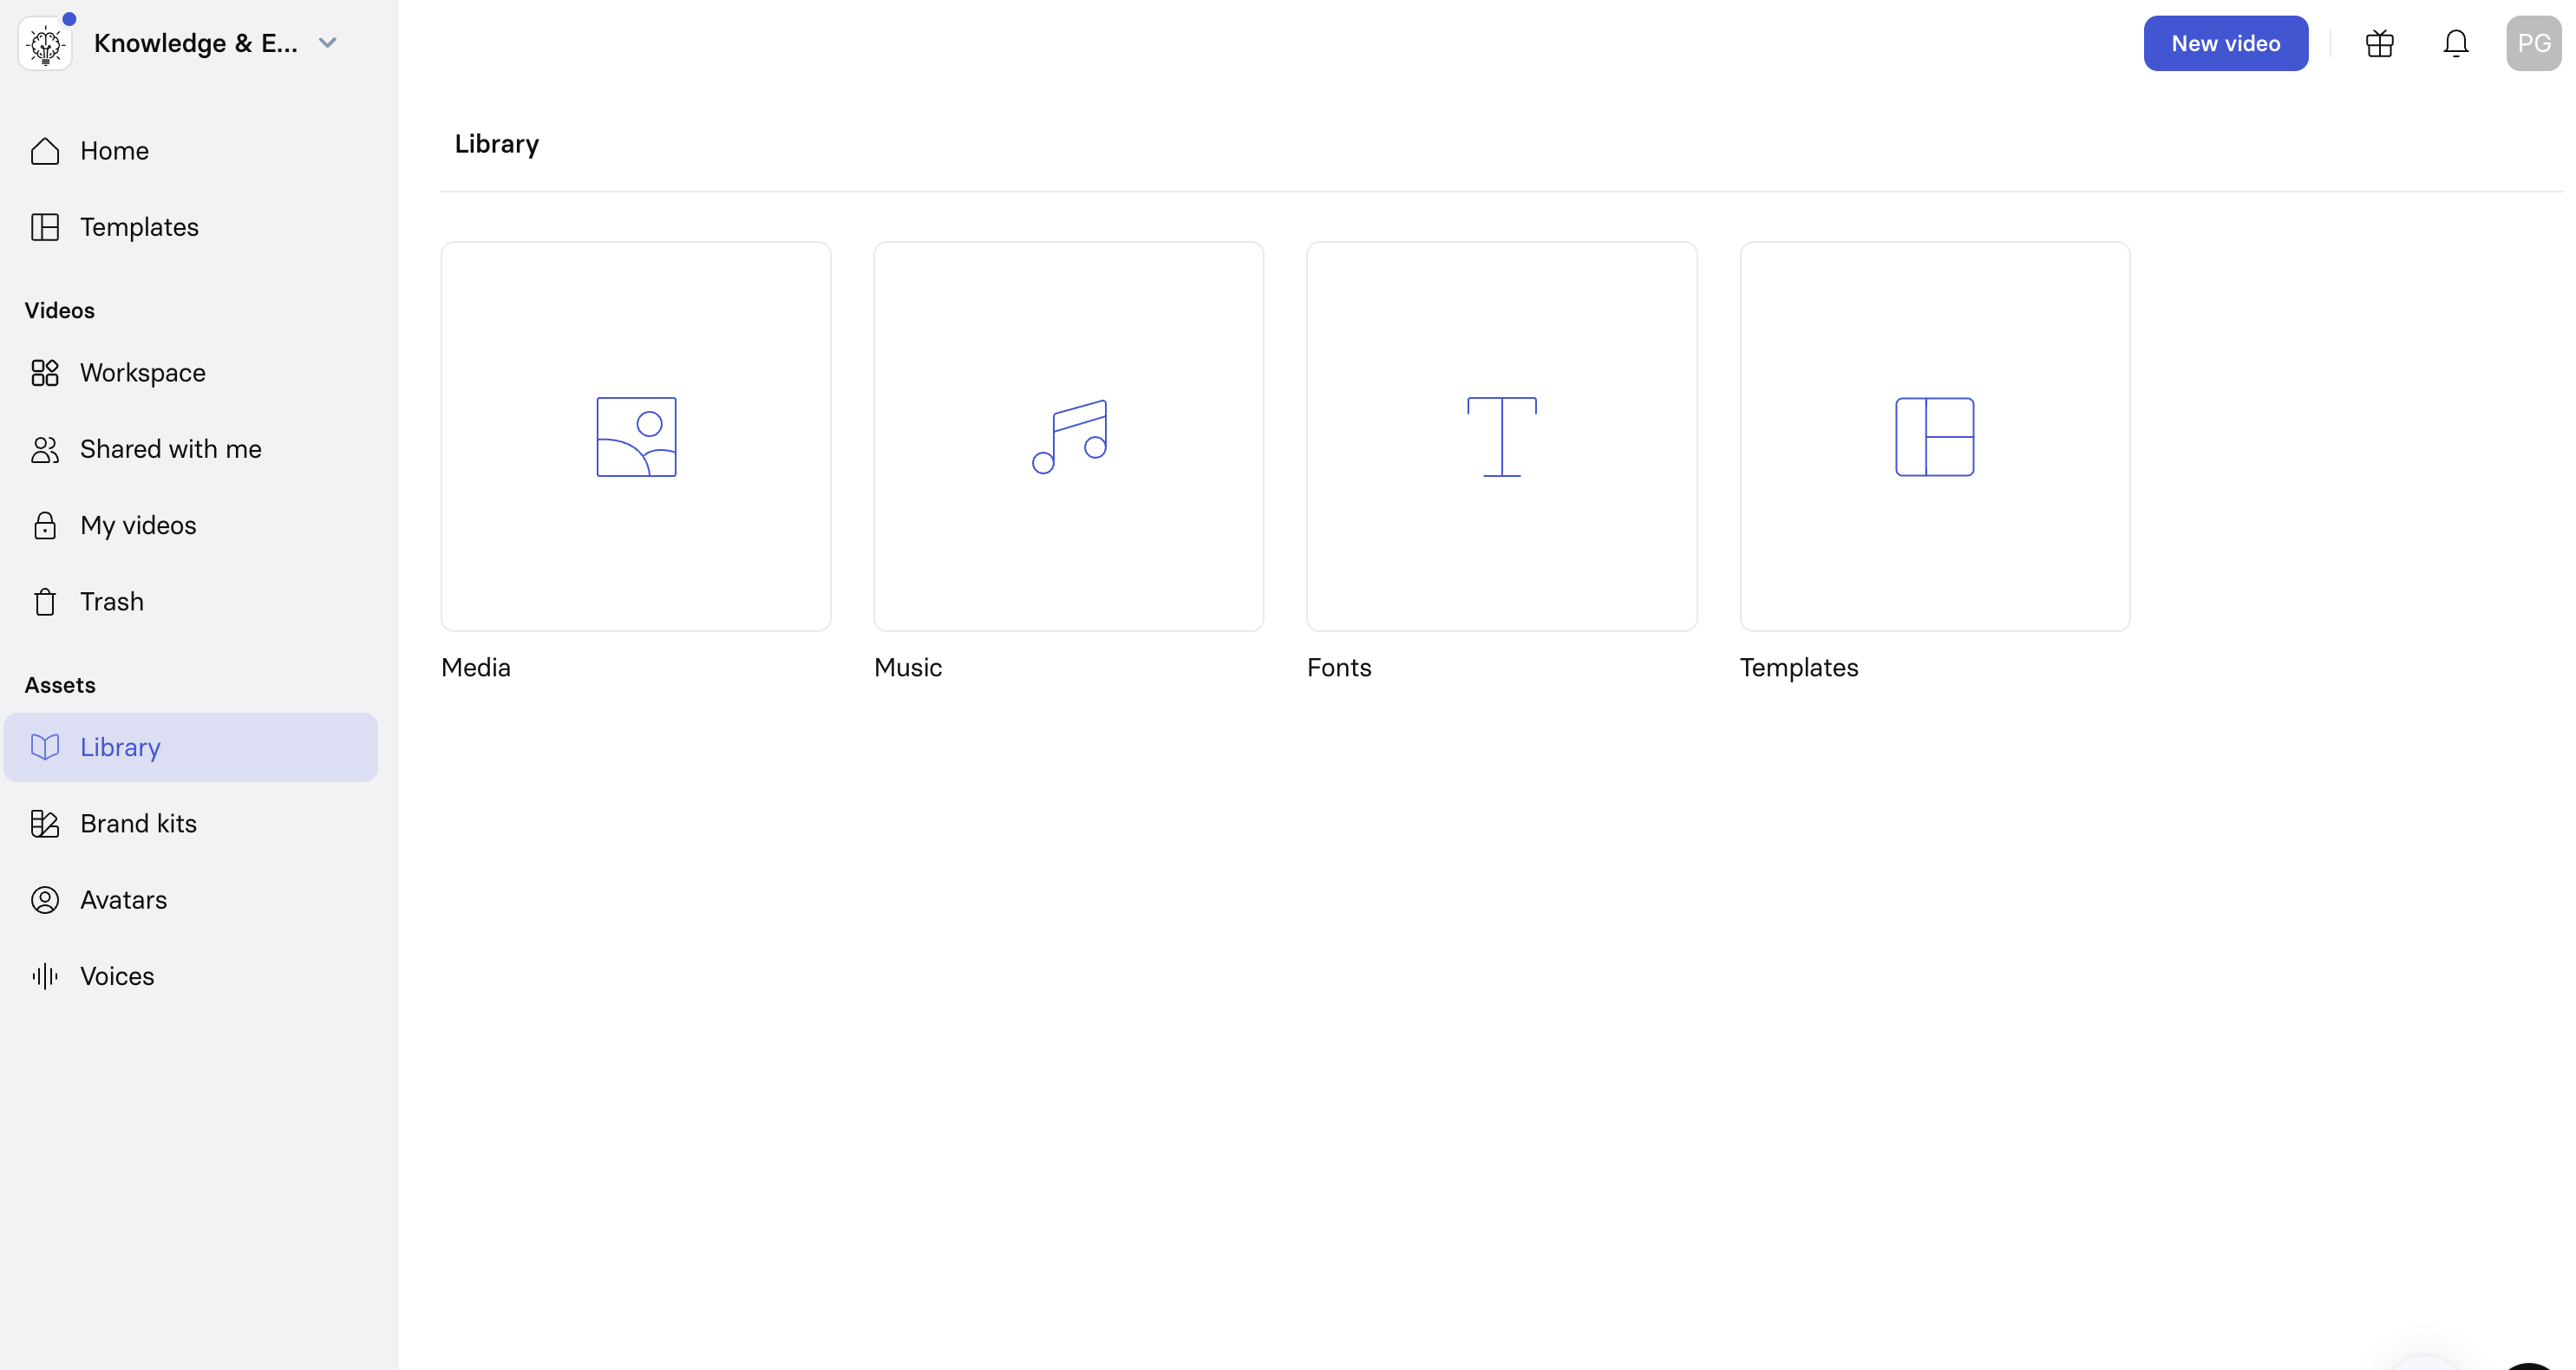
Types of library assets you can manage:
- Media (images, videos, animations)
- Music (audio files)
- Fonts
- Templates
Note:Templates can't be uploaded as files. See Creating a custom template to create one from scratch or from an existing video.
Media
Go to Library → Media to view and manage custom images and videos. Media uploaded here is available to everyone in your workspace, from Media > Library in the editor, whenever they're working on a video.
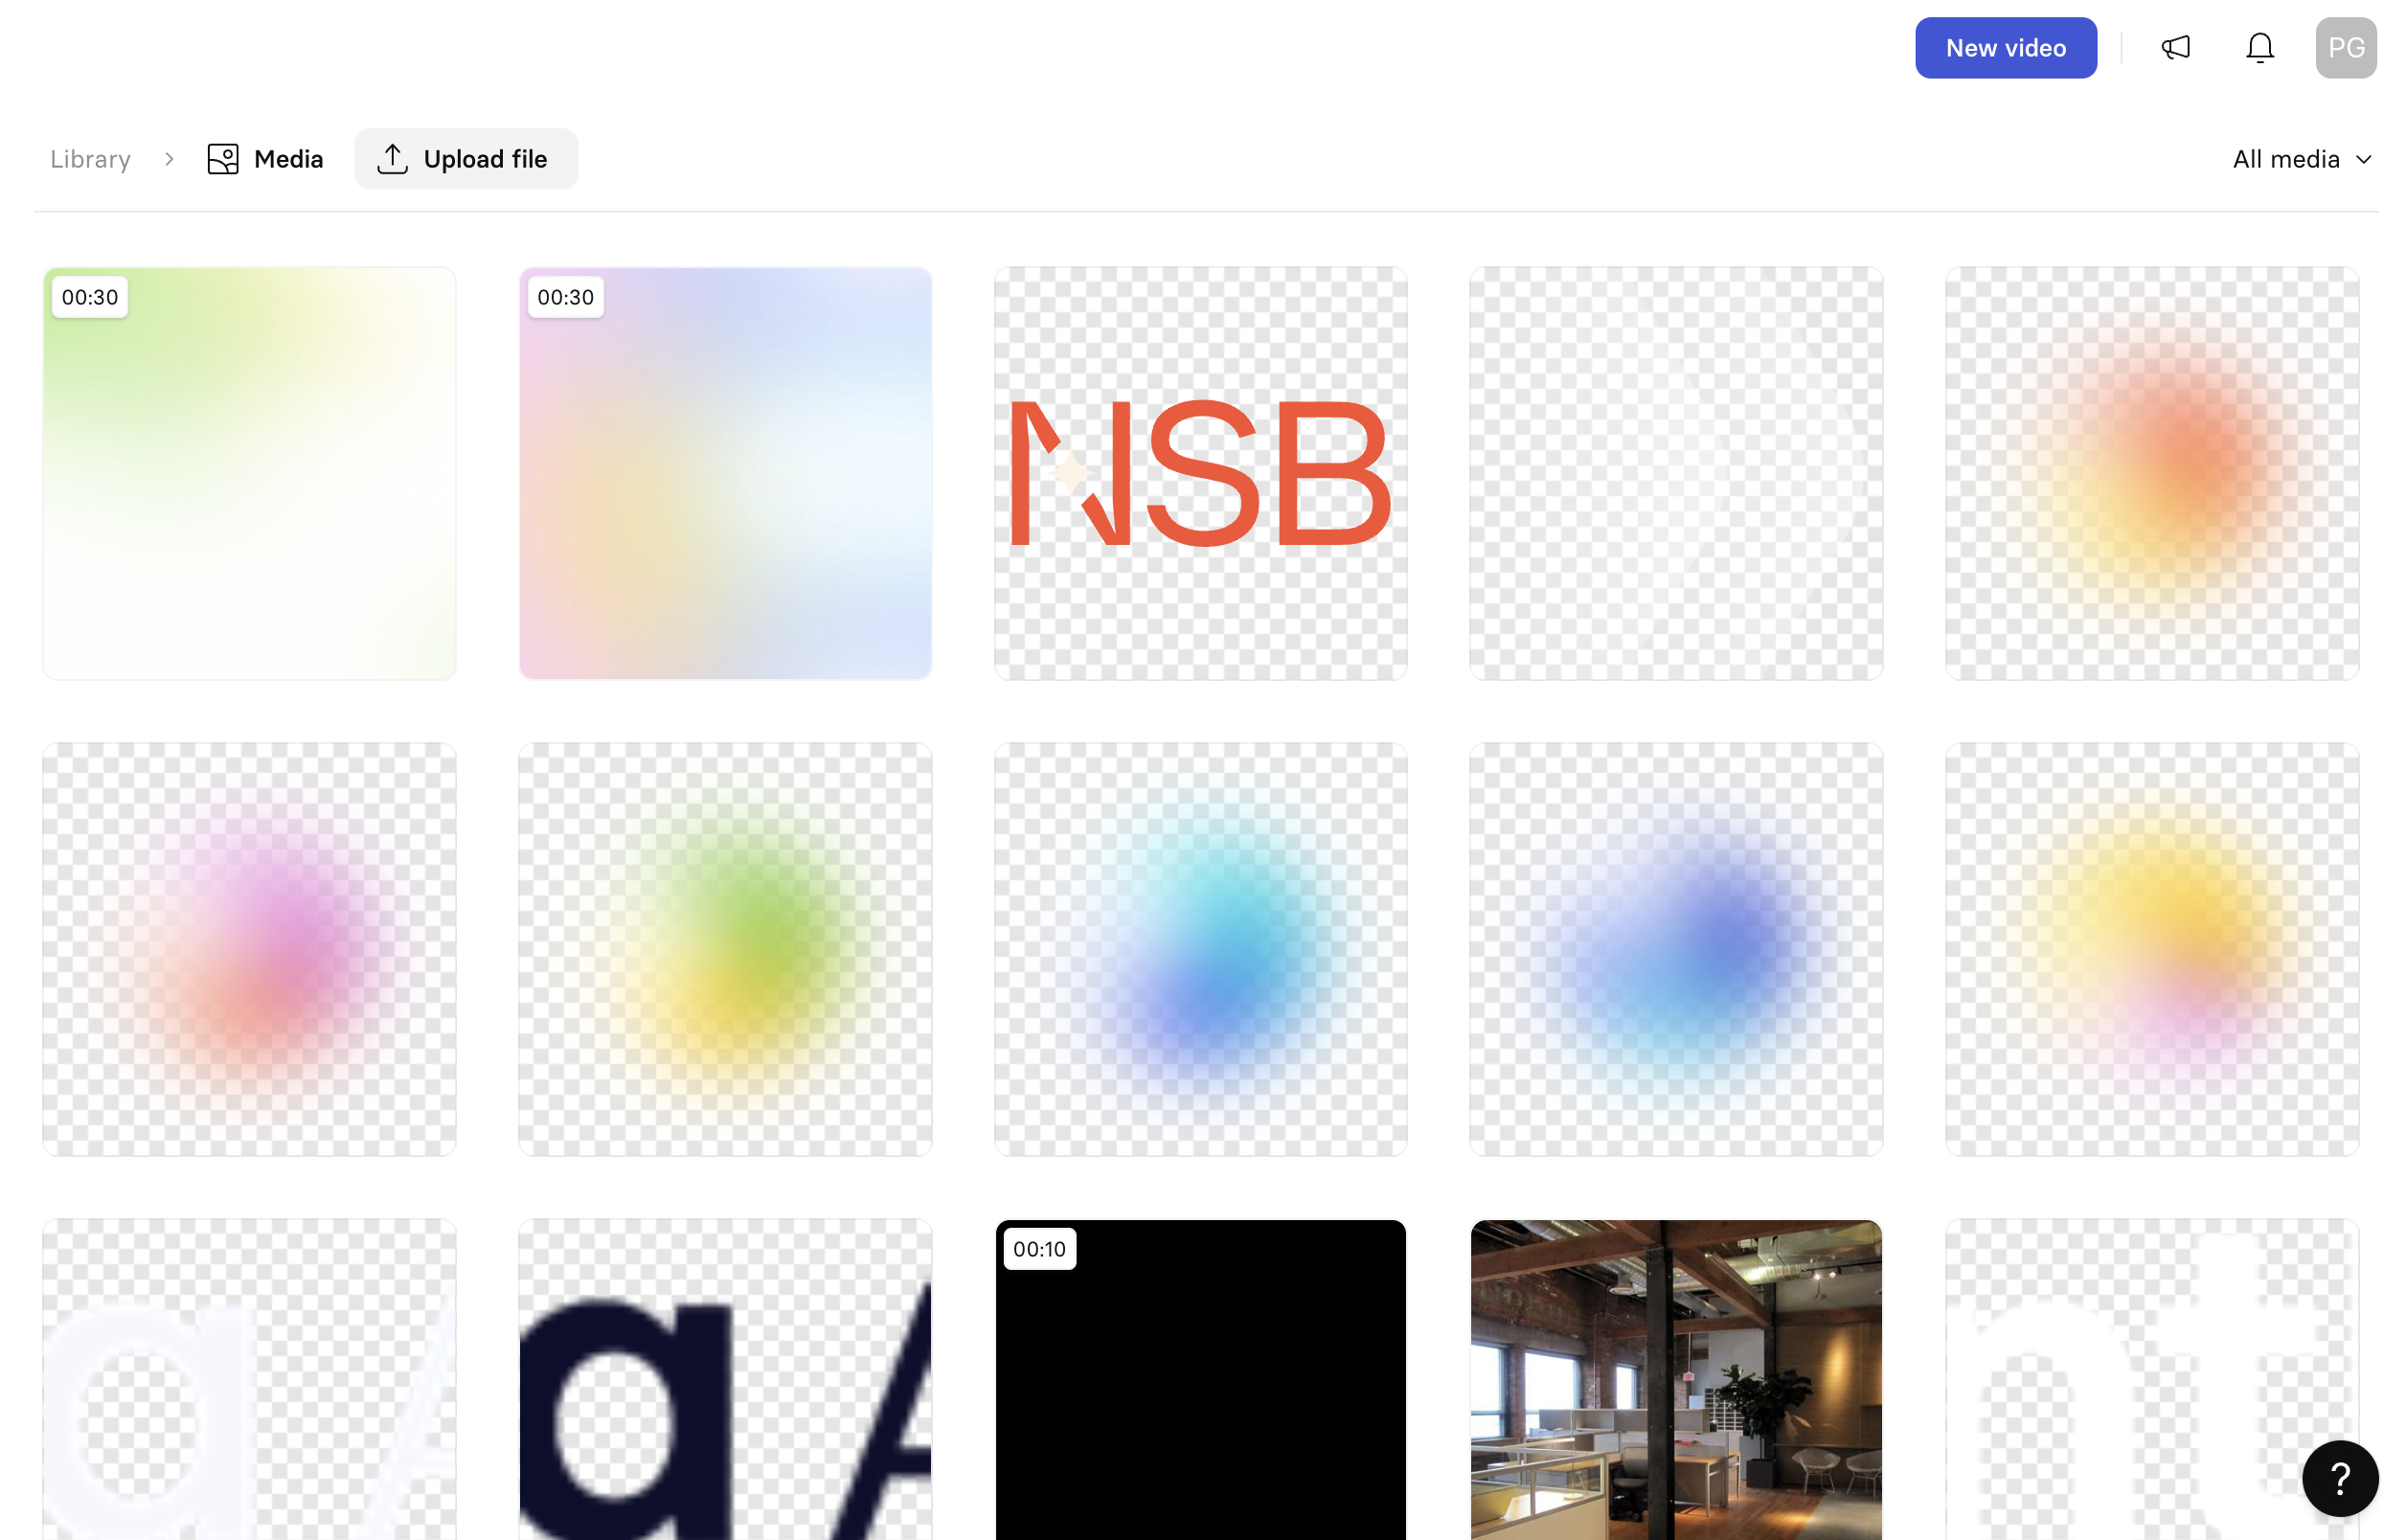
To upload media, select Upload file. You can select and upload multiple files at once—it isn't limited to one file at a time.
Note:Synthesia doesn't integrate with digital asset management (DAM) platforms. Upload files directly to your computer instead.
Supported formats:
- Images:
.jpg,.png,.svg(maximum file size: 250 MB) - Videos:
.mp4,.webm(maximum file size: 250 MB) - Lottie animations:
.json(maximum file size: 250 MB) - GIFs:
.gif(maximum file size: 250 MB)
To manage existing media assets, select the three-dot menu next to any item. Available actions include:
- Copy asset ID: Copy the asset's ID to use it as a variable with Synthesia's API.
- Rename asset
- Download asset
- Delete asset
Music
Go to Library → Music to view and manage custom audio files.
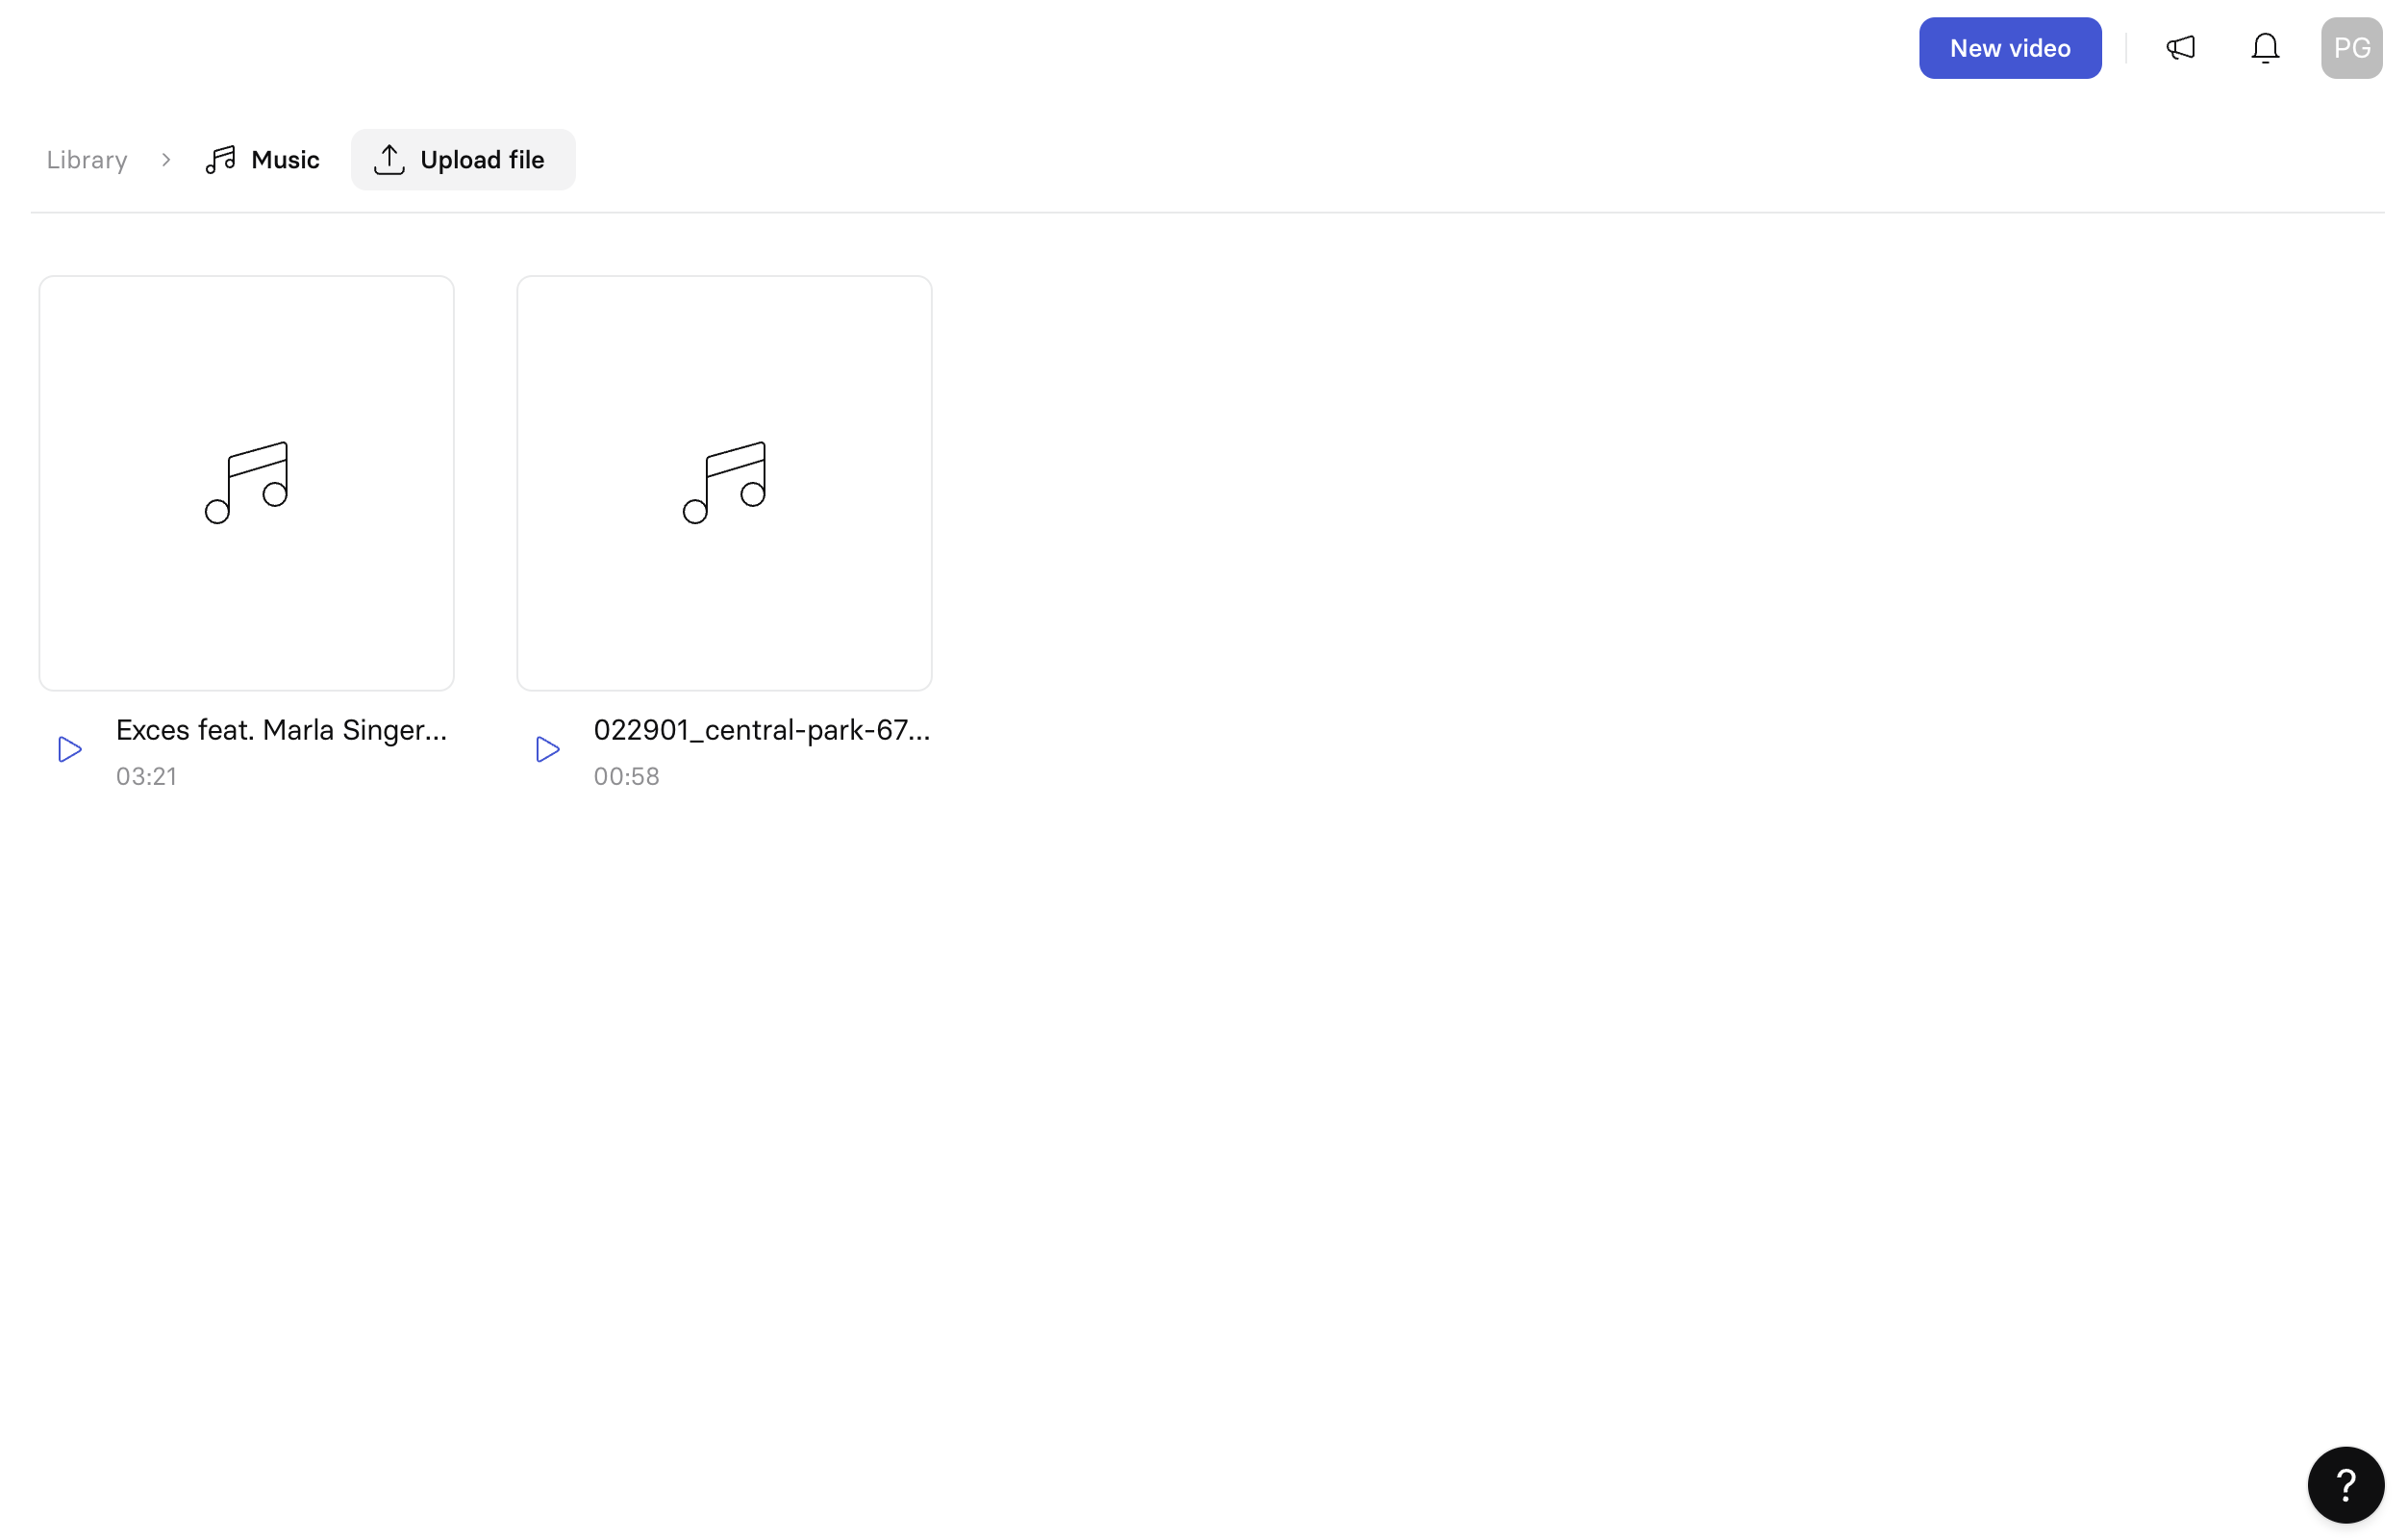
To upload music, select Upload file and choose your audio file.
Supported formats: .mp3, .wav, .oga, .aac, .flac.
To manage existing music assets, select the three-dot menu next to any item. Available actions include:
- Copy asset ID
- Rename asset
- Download asset
- Delete asset
Fonts
Go to Library → Fonts to view and manage custom fonts.
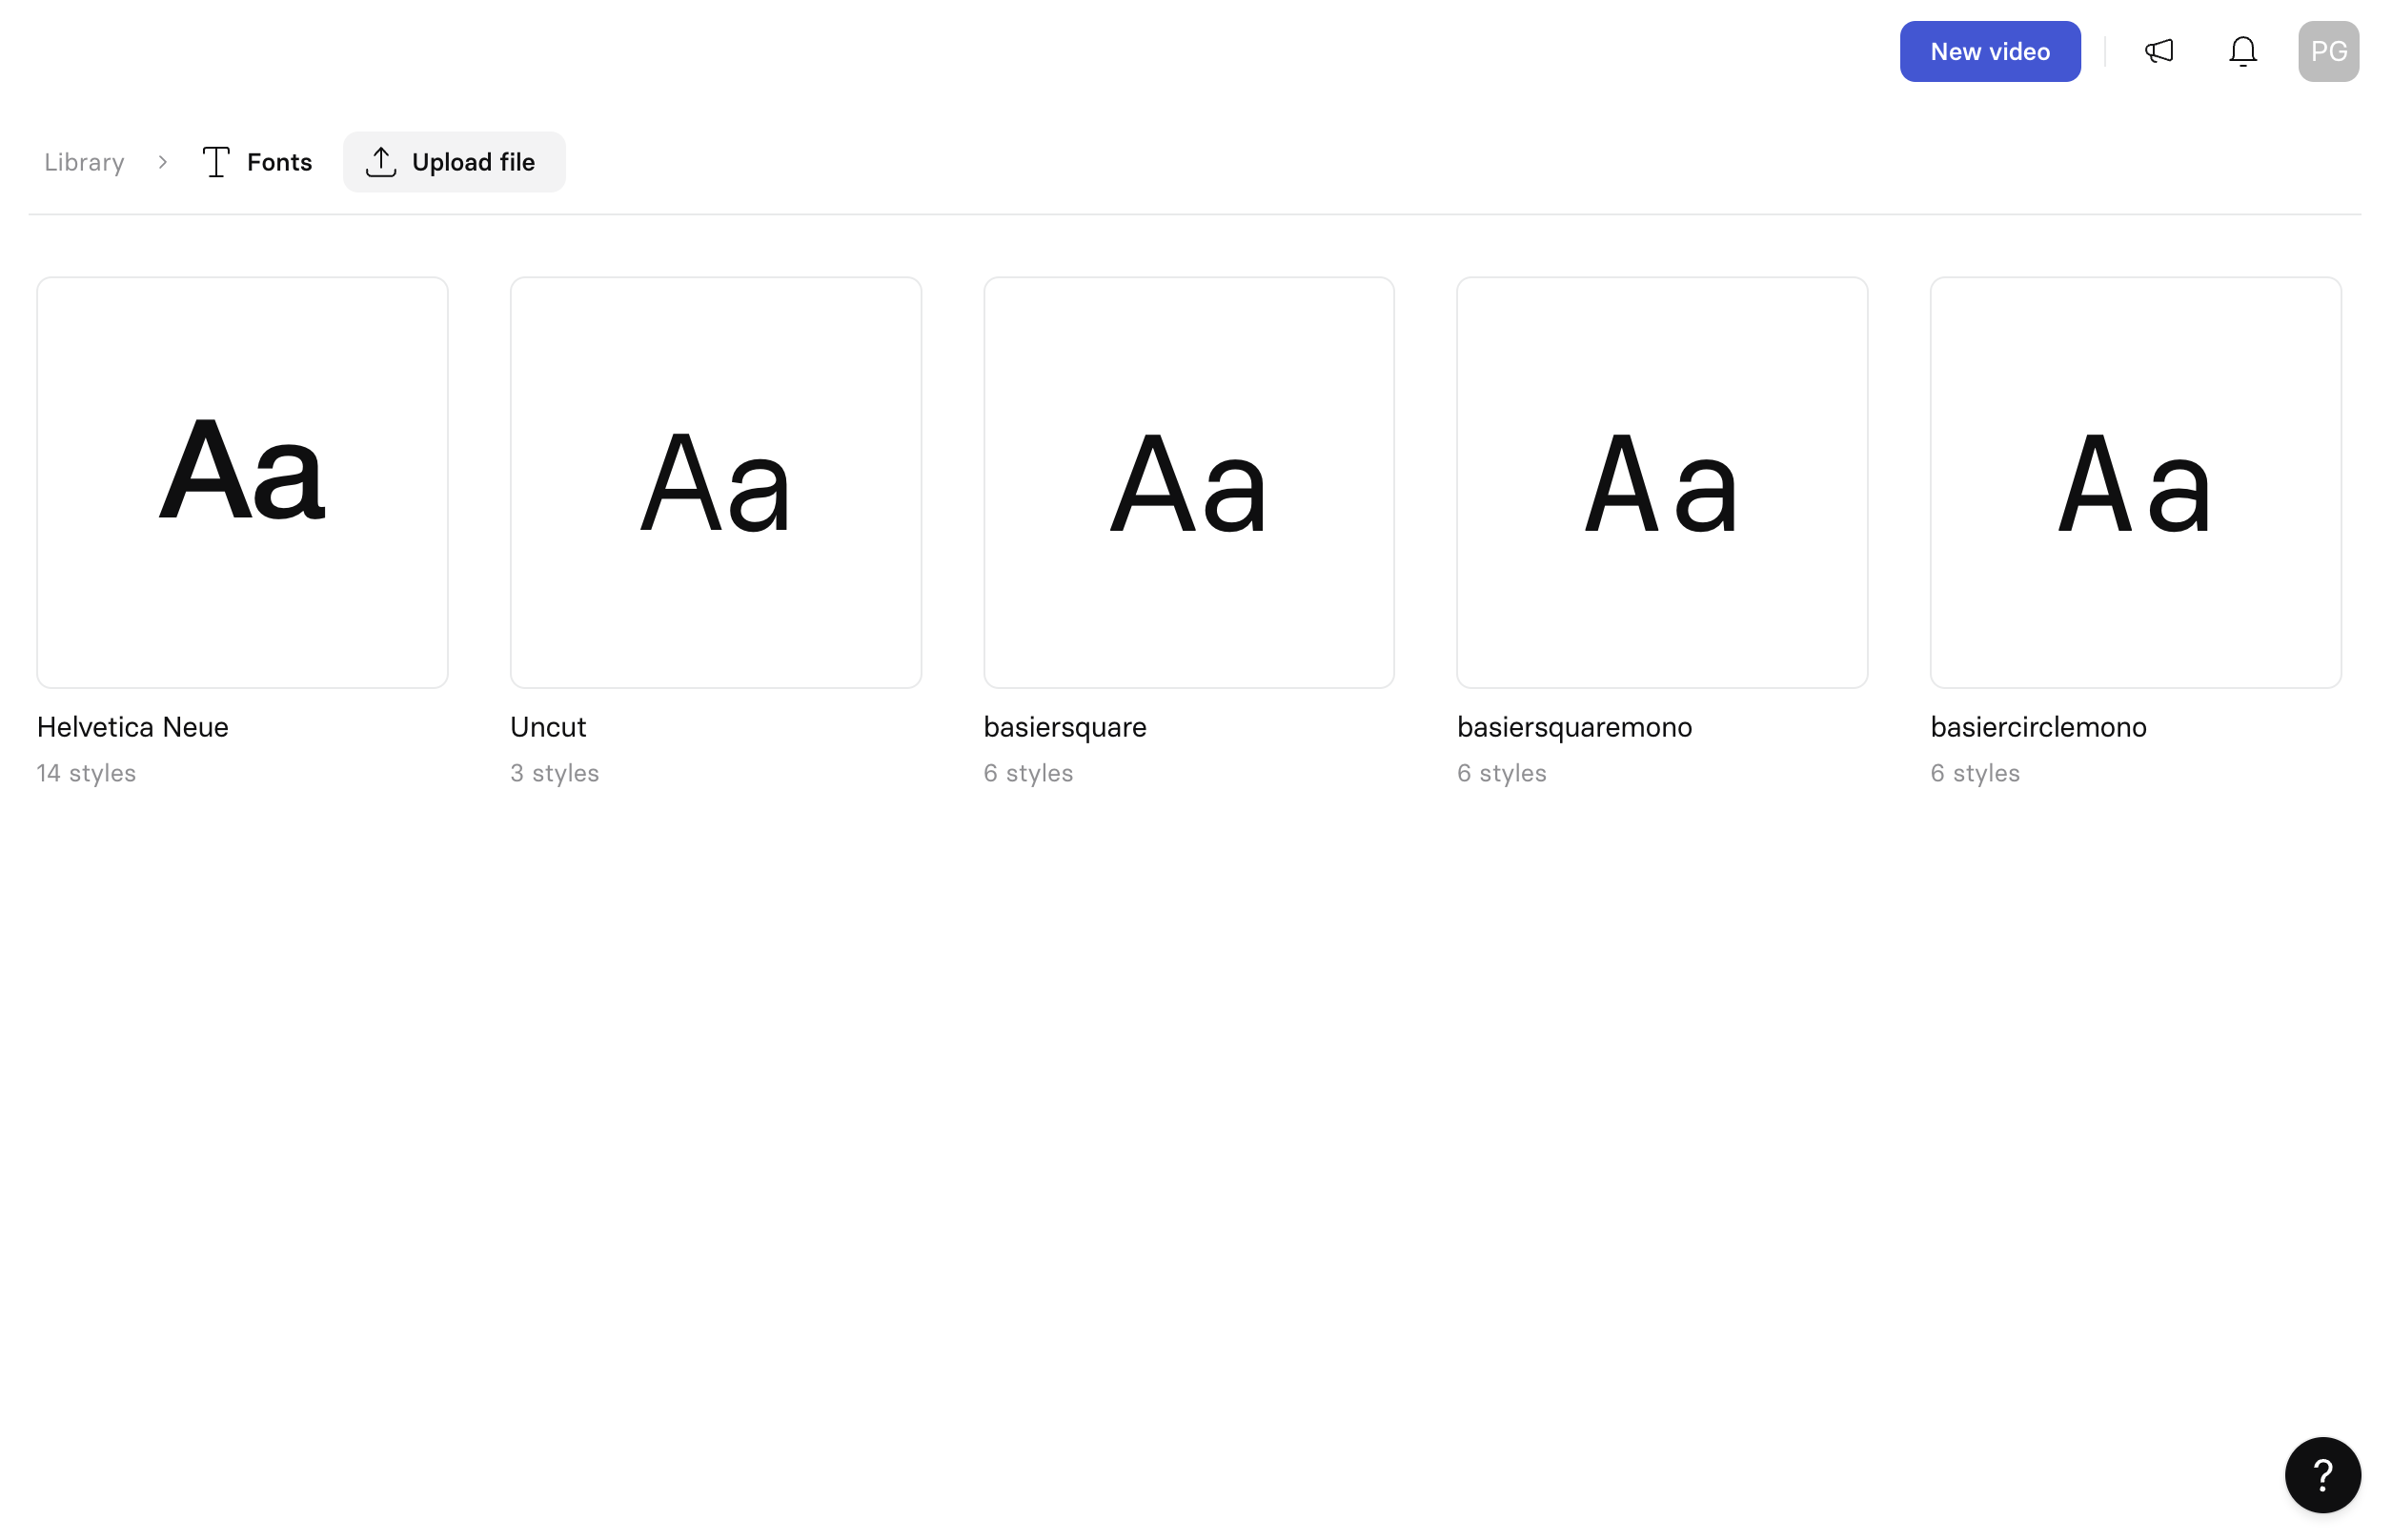
To upload a font:
- Select
Upload file, then select a font file for a specific weight and style. Only upload fonts from the same font family at a time—Synthesia combines them into a single family for you. Supported formats:.ttf,.otf,.woff, and.woff2. - Review your uploaded fonts. For each file, you'll see the font name, file name, weight (on a 100 Thin to 900 Heavy scale), style (Italic or Normal), and a preview.
- Each weight and style is a separate file. To add more, for example a Normal weight to go with an Italic you already uploaded, select
Add fontsin the top-right corner. - Enter a Font family name to identify the uploaded fonts, then select
Publish fonts to workspaceto make them available wherever you select a font. SelectCancelto discard the upload instead.
Once uploaded, your custom fonts are available when styling text or setting up a brand kit.
To manage existing fonts, select the three-dot menu next to any item. Available actions include:
- Copy asset ID
- Rename asset
- Delete asset
Templates
Go to Library → Templates to view custom templates available in your workspace. Select + Create new template to create a custom template. See Creating a custom template to create one from scratch or from an existing video.
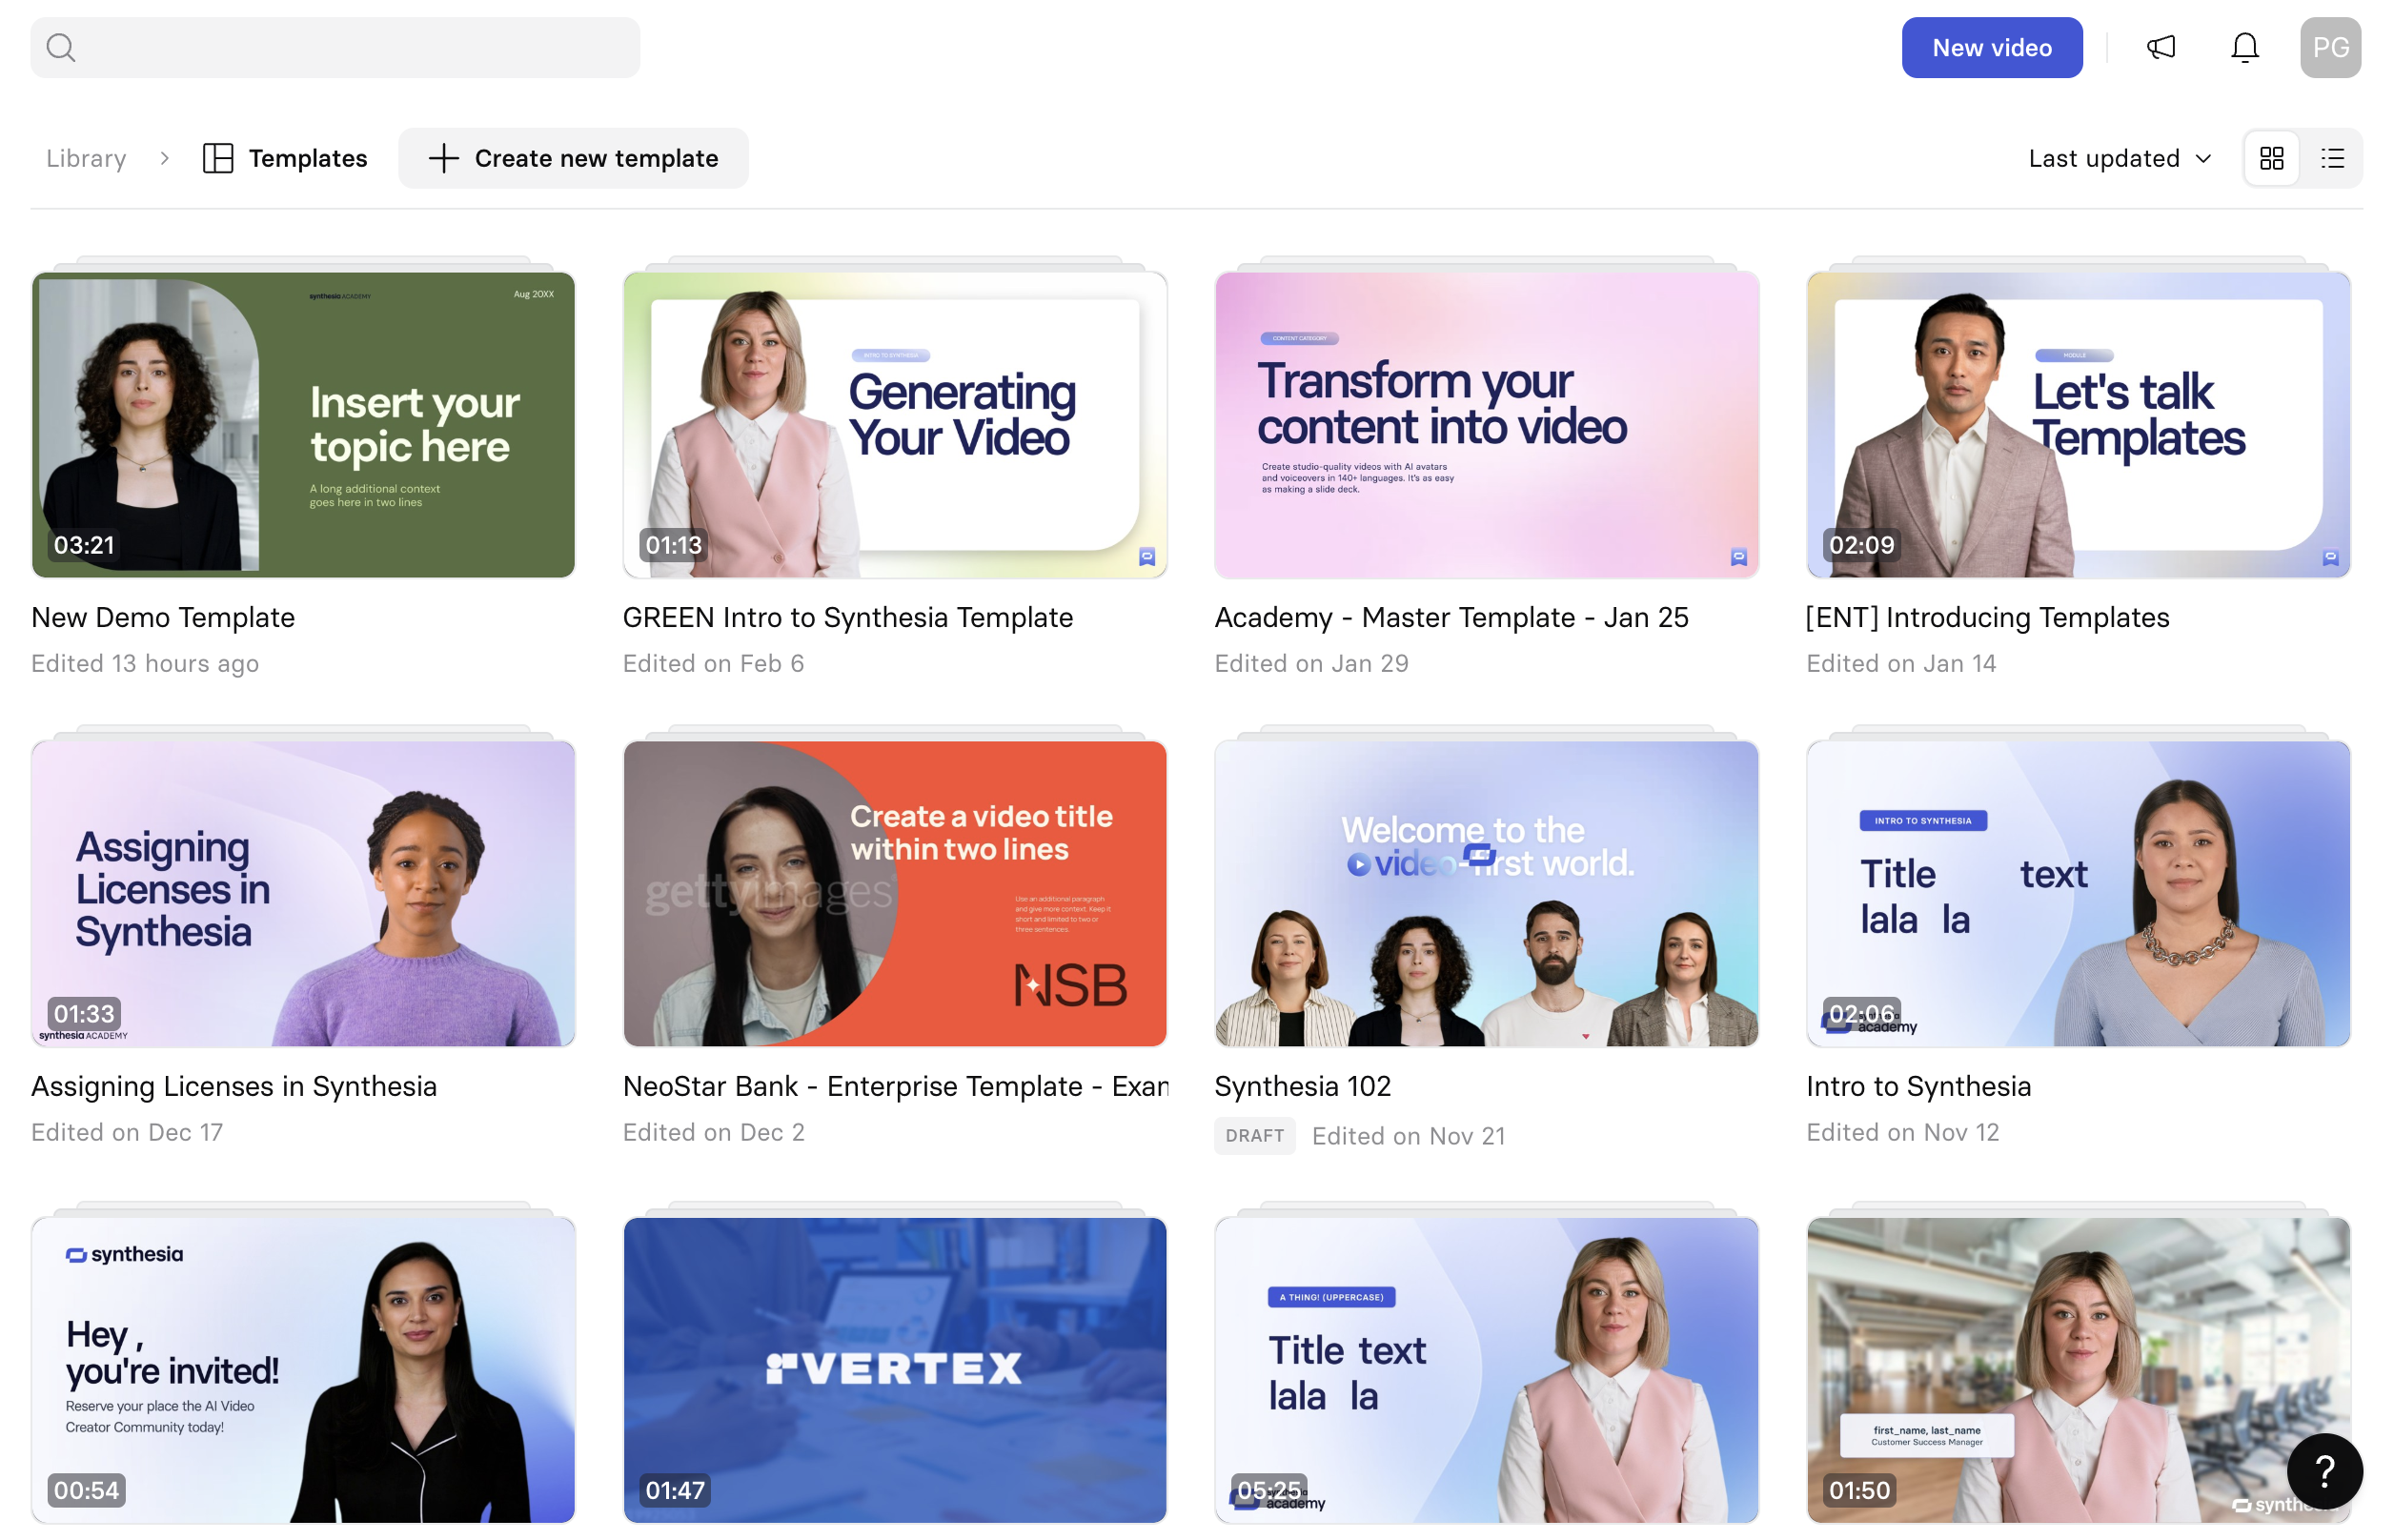
Edit a template
To edit an existing template, hover over it and select Edit to modify it. If you make a change, select Publish Template in the upper-right corner of the edit page when finished, to make sure changes are saved.
Template management options
To manage an existing template, hover over it and select the three-dot menu to access the following options:
- Open in new tab: Opens the template in a separate browser tab.
- Share: Allows sharing across workspaces or organizations.
- Copy ID: Copies the template's unique identifier.
- Set as default: Designates this template as the workspace default—all new videos use this template as their starting point. Only available to workspace admins.
- Download: Downloads the template audio as a
.wavfile. - Rename: Changes the template name.
- Move to: Transfers the template to a different workspace.
- Duplicate: Creates a copy of the template.
- Create video: Starts a new video using this template.
- Remove: Deletes the template.
Updated 11 days ago