Avatars
Browse and manage custom Avatars, shared Avatars, and Synthesia stock Avatars.
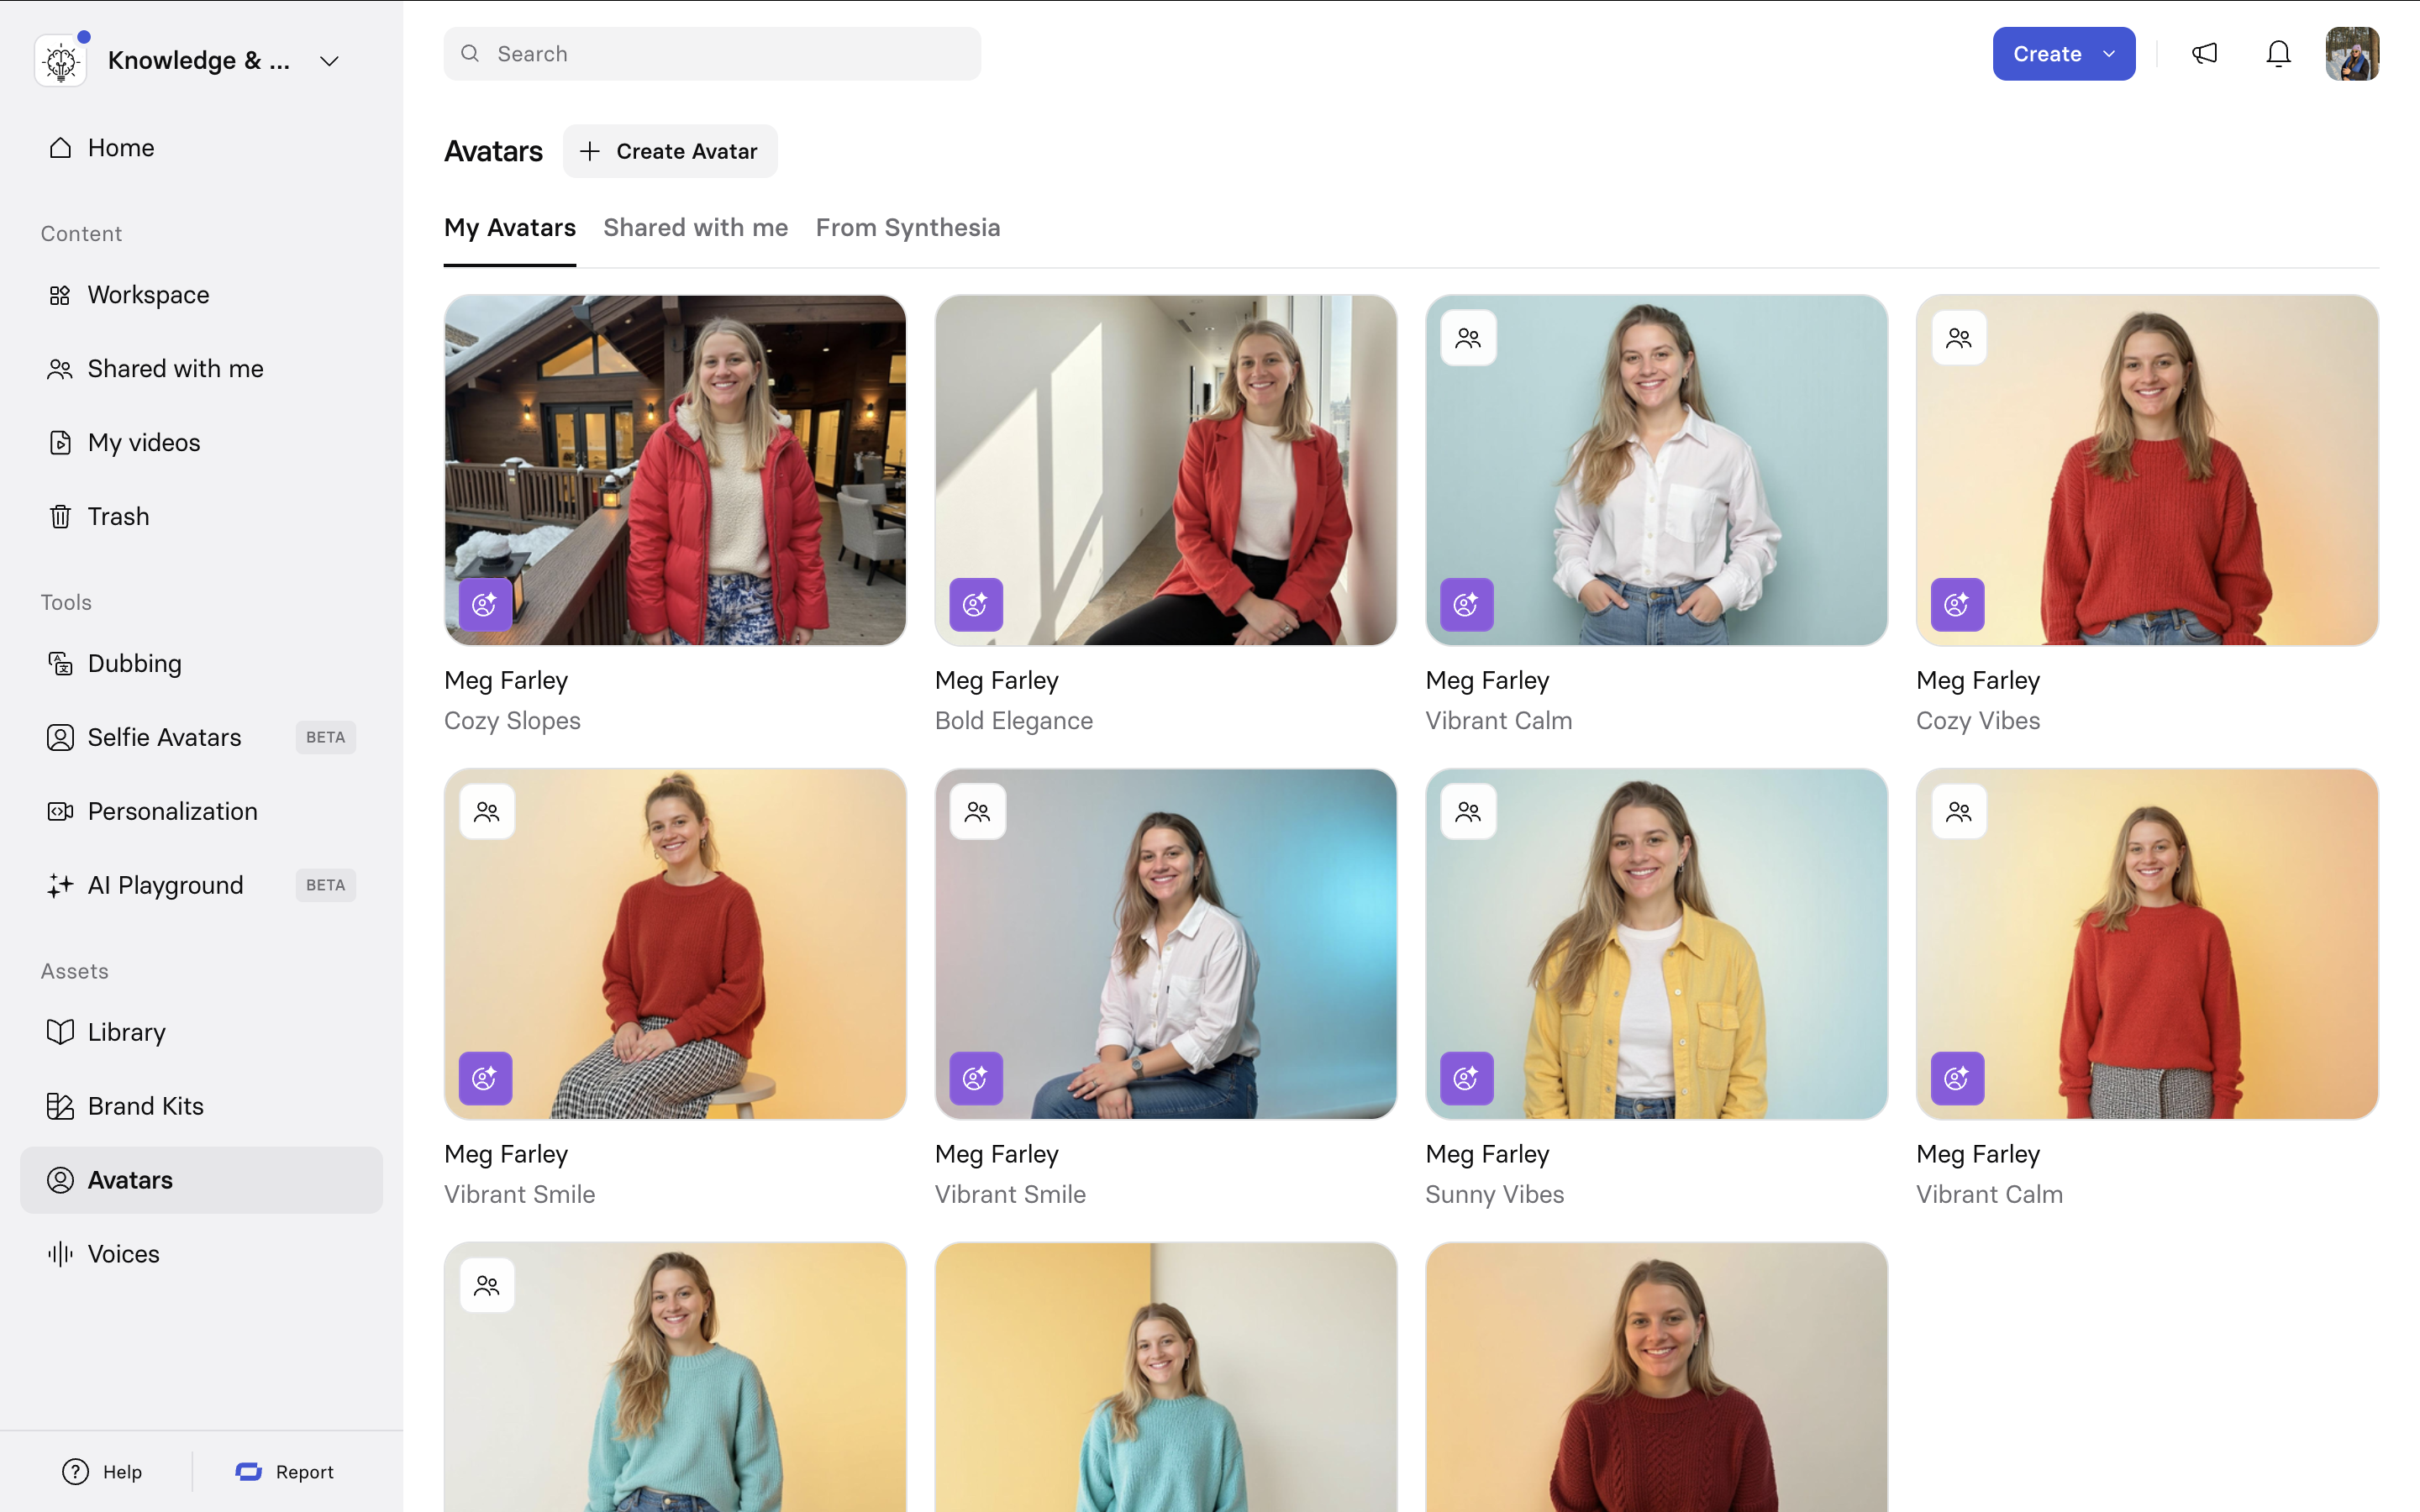
My Avatars
These are your personal avatars. Create, browse, and manage the avatars that represent you.
My Avatars
My AvatarsThese are your personal avatars. Create, browse, and manage the avatars that represent you.
<Image align="center" border=ea3208 caption="My Avatars" src="https://files.readme.io/83cea320833
This Avatar has been shared with others.
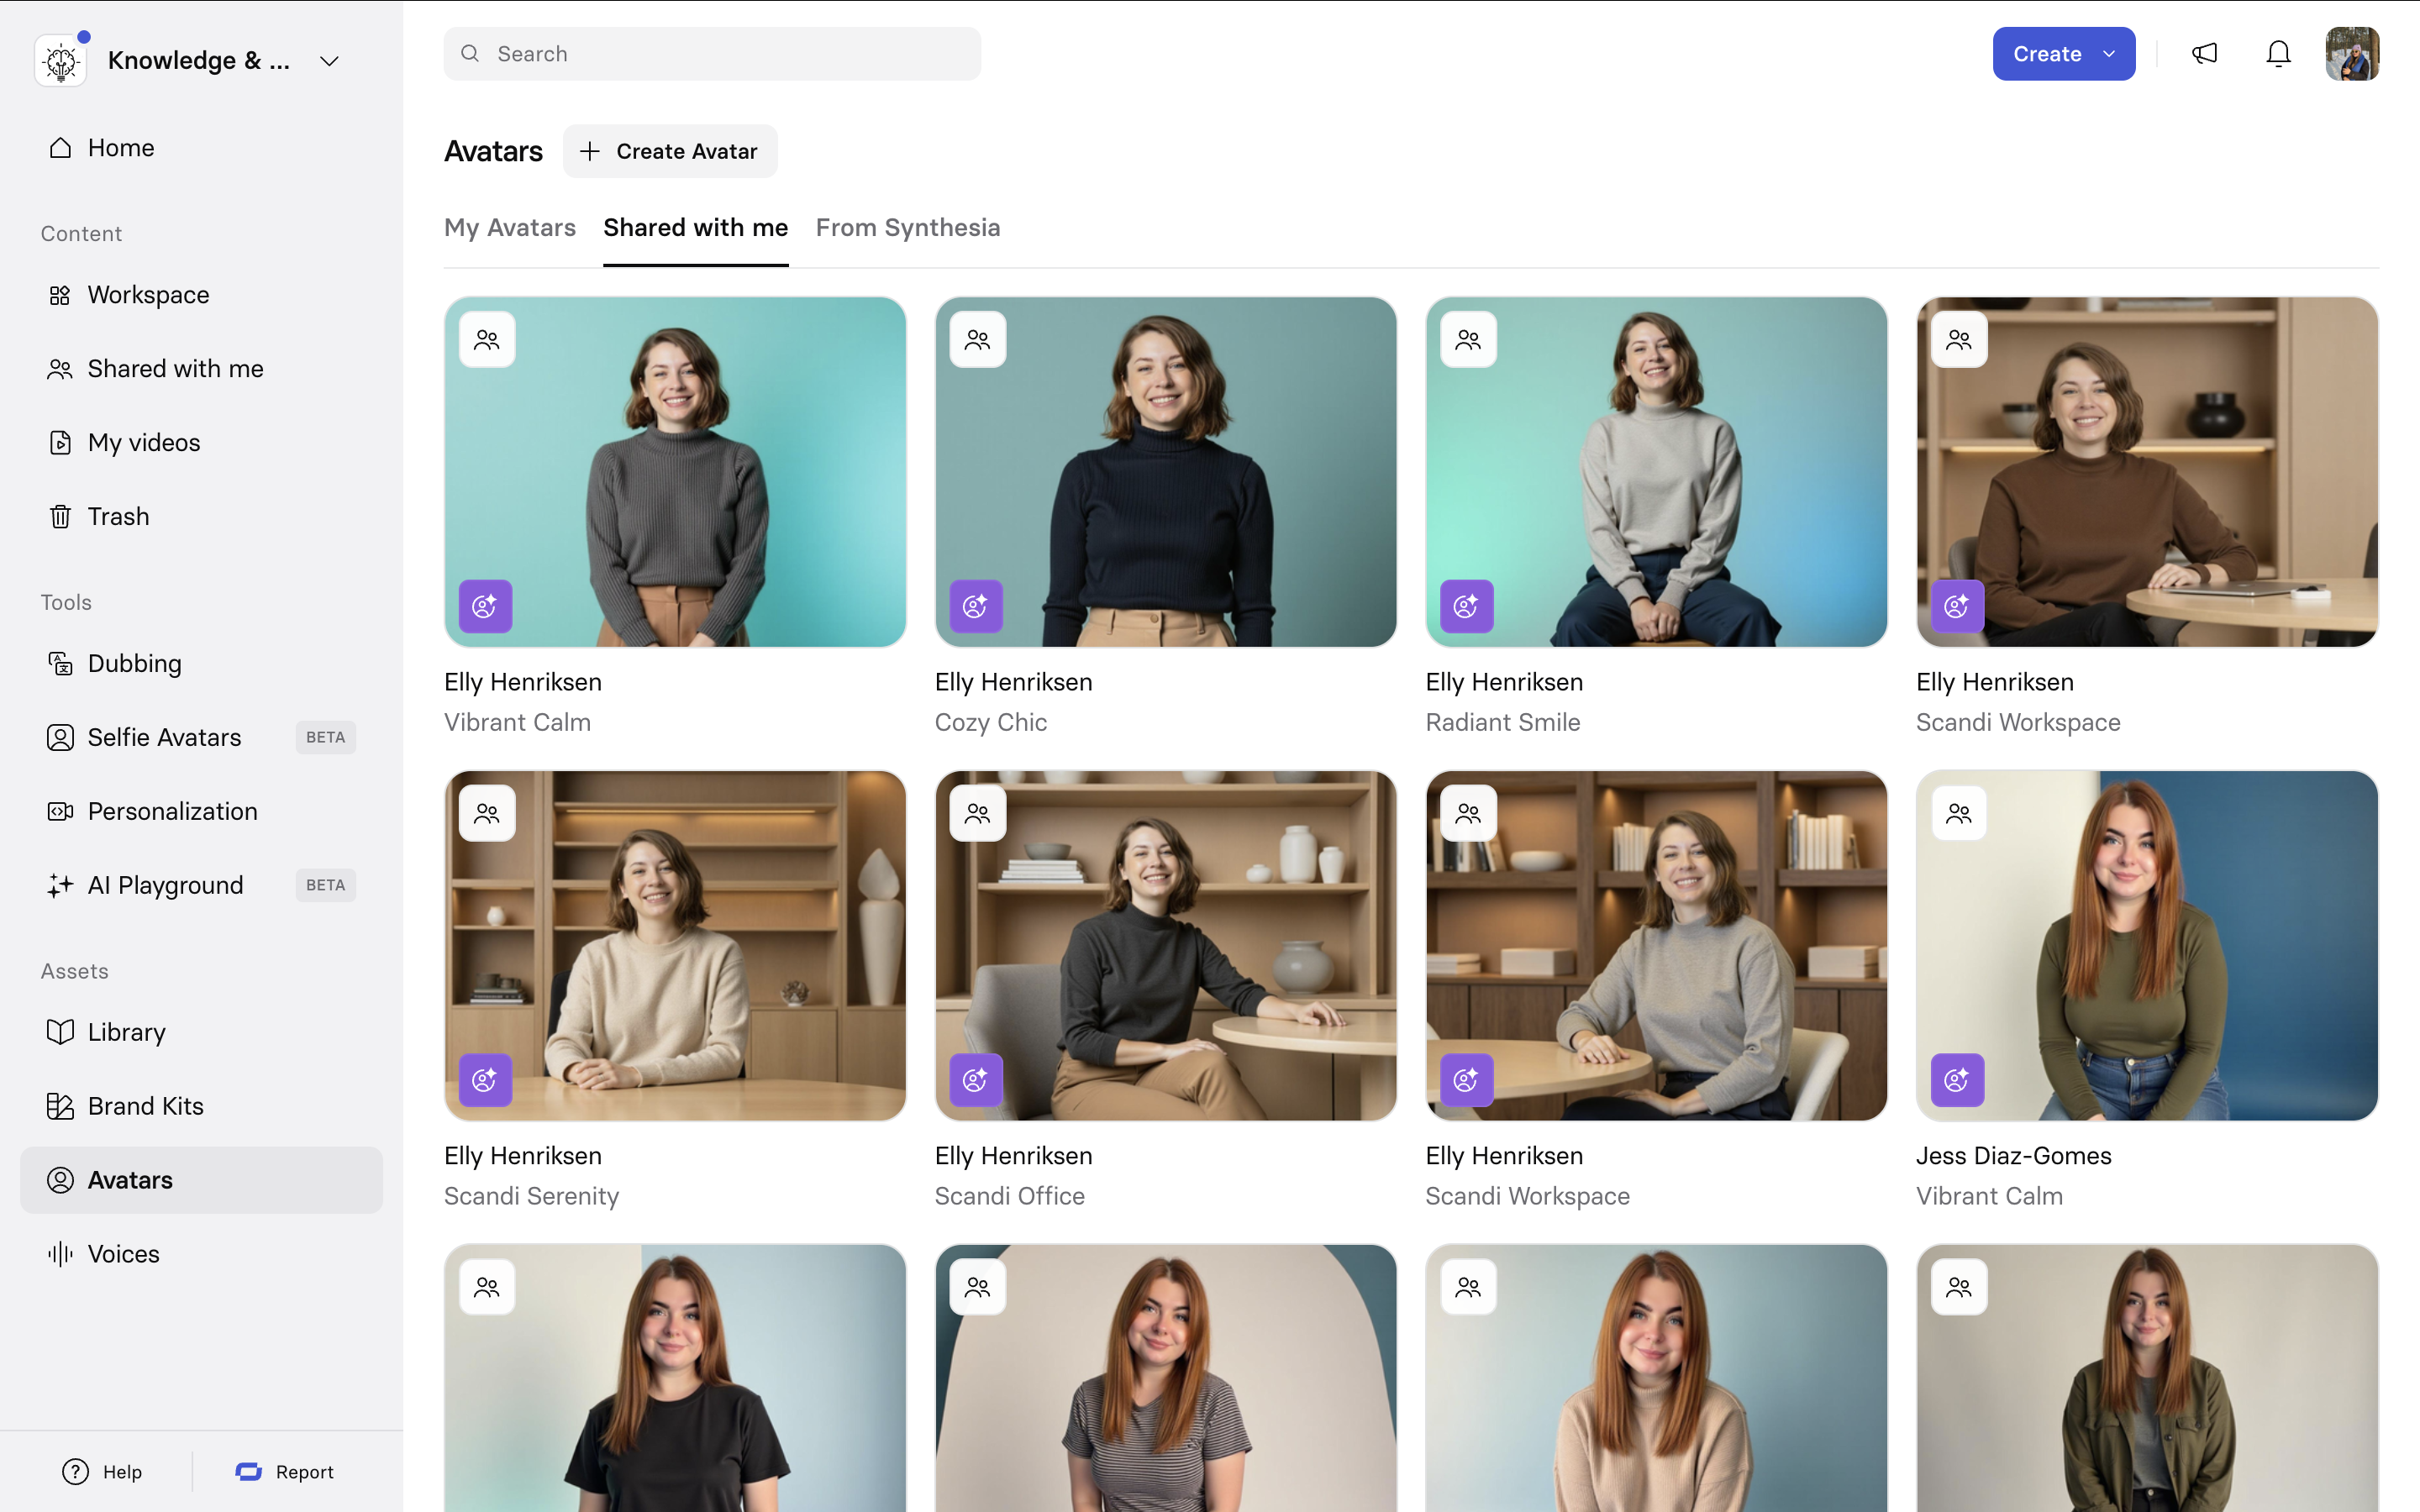
Shared with me
Avatars your team has shared with you. Ready to use in your videos.
Shared with me
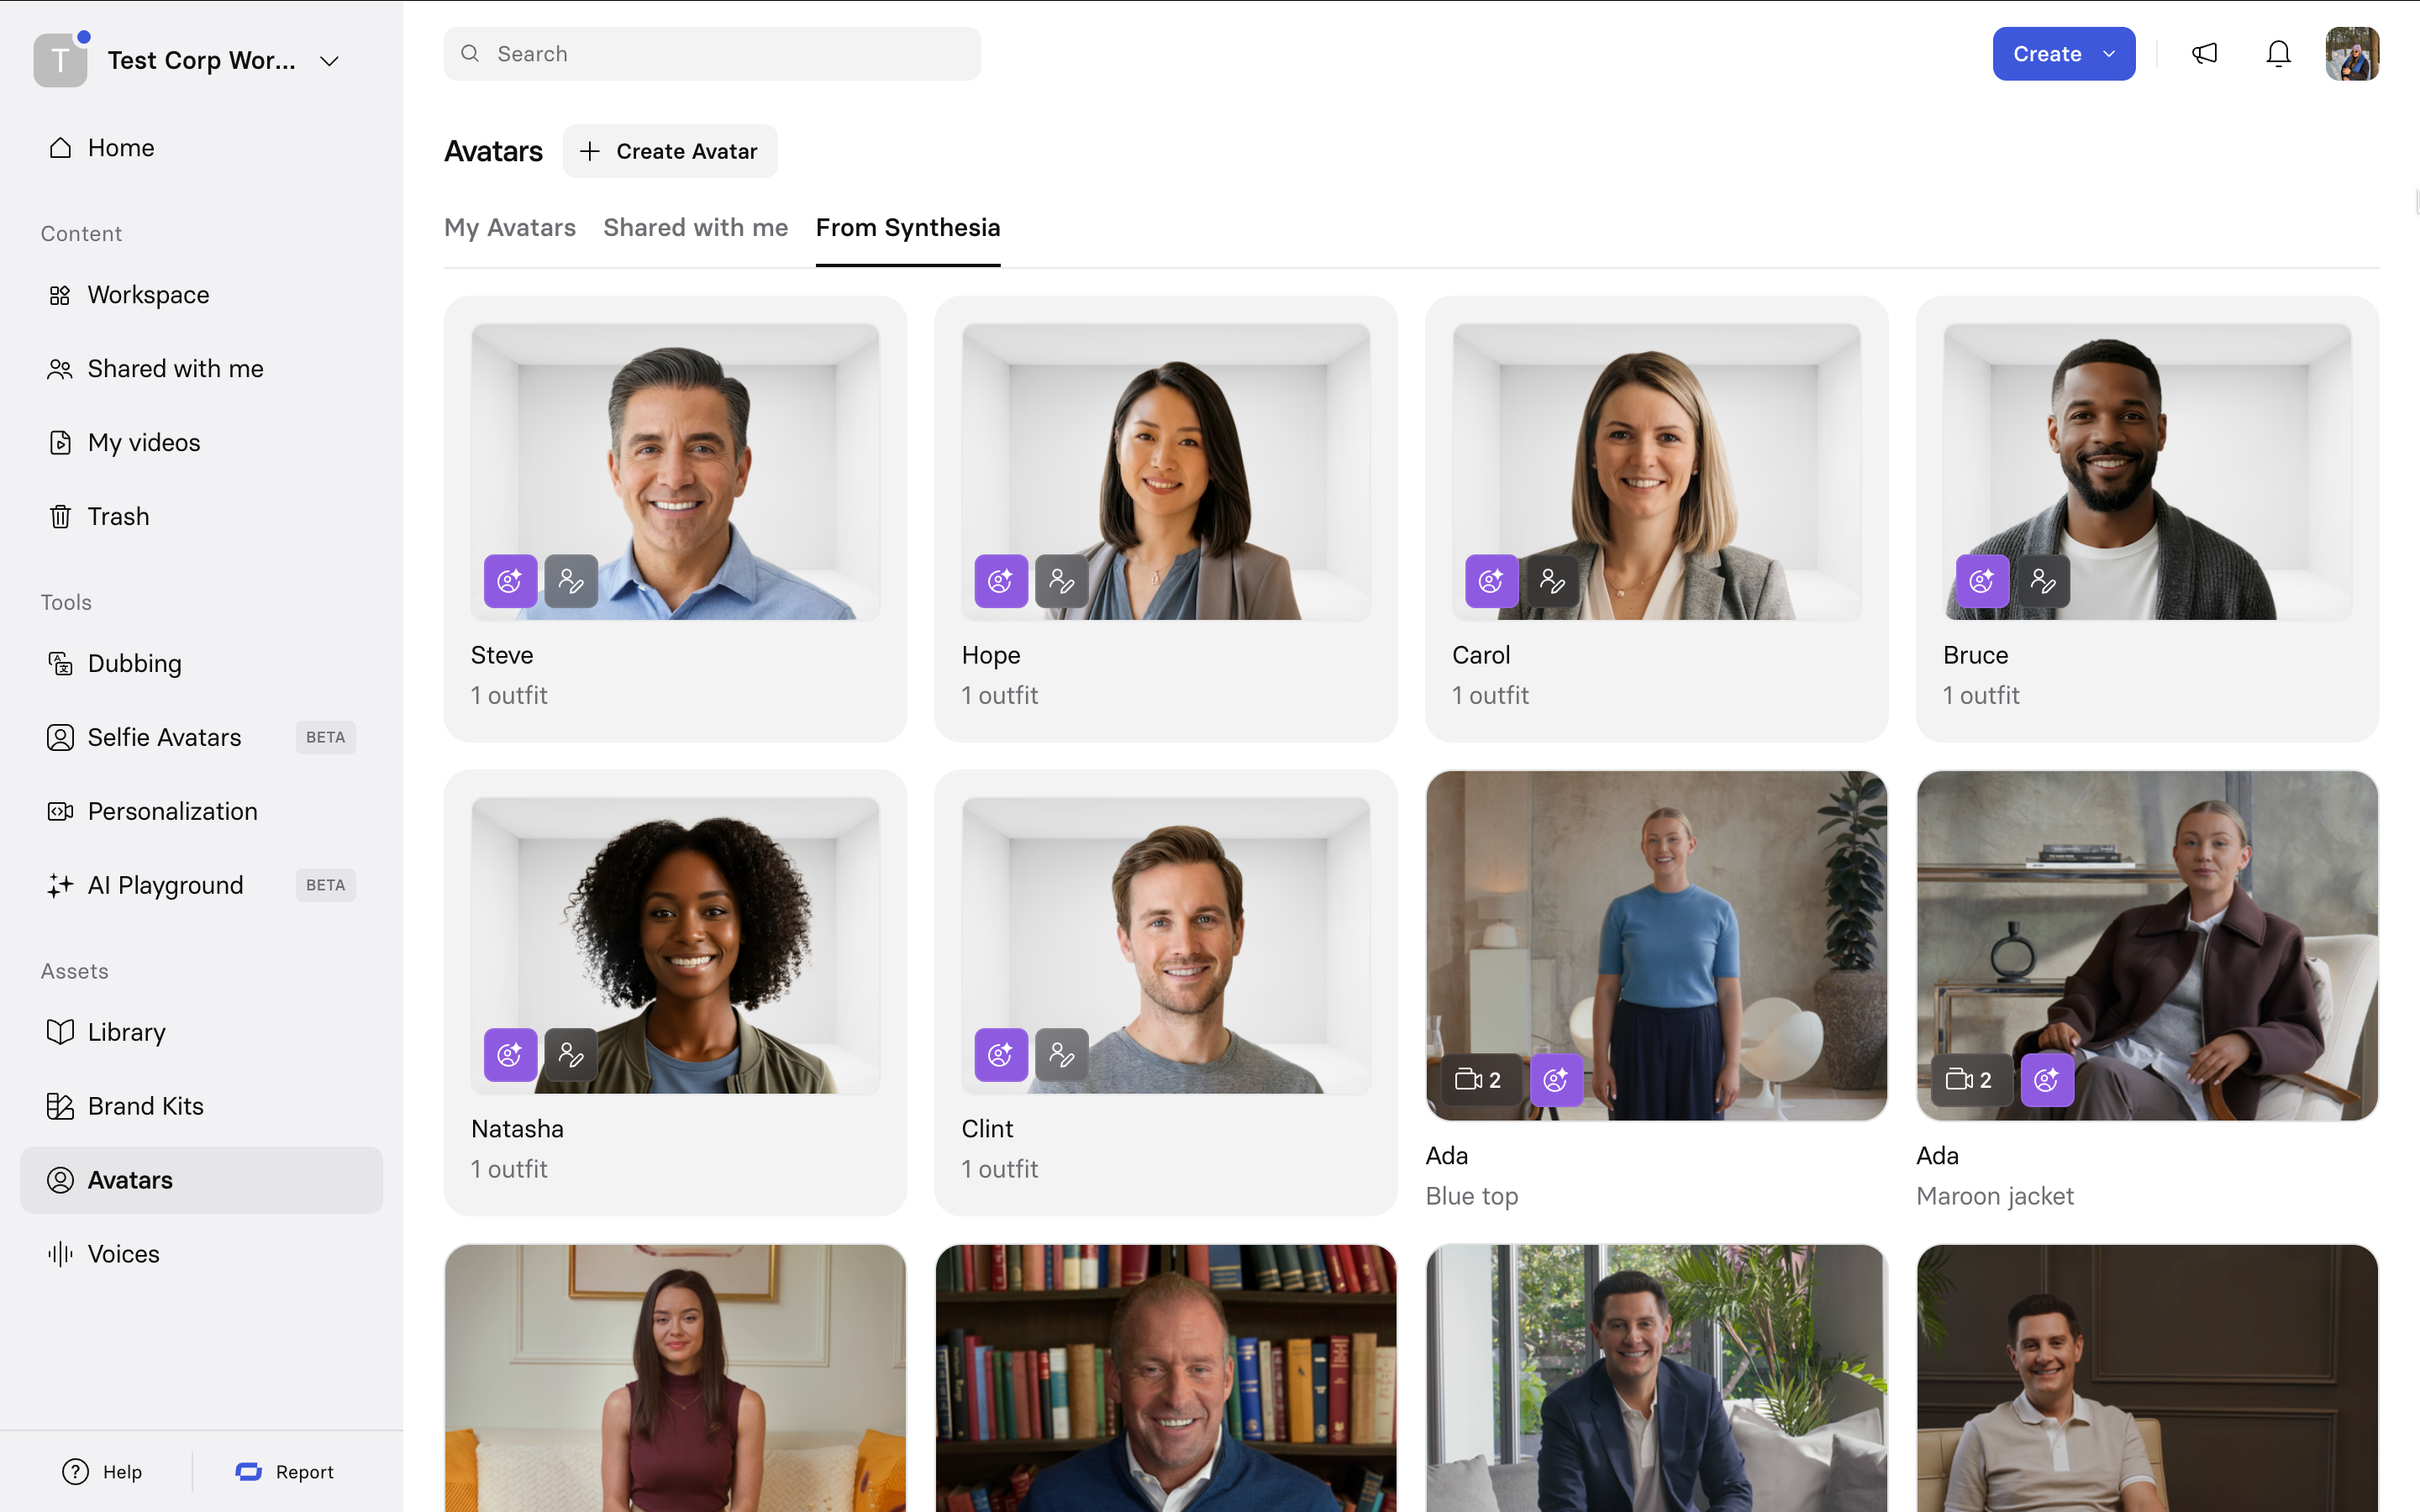
From Synthesia
Our full library of professional, ready-to-use stock Synthesia Avatars.
From Synthesia
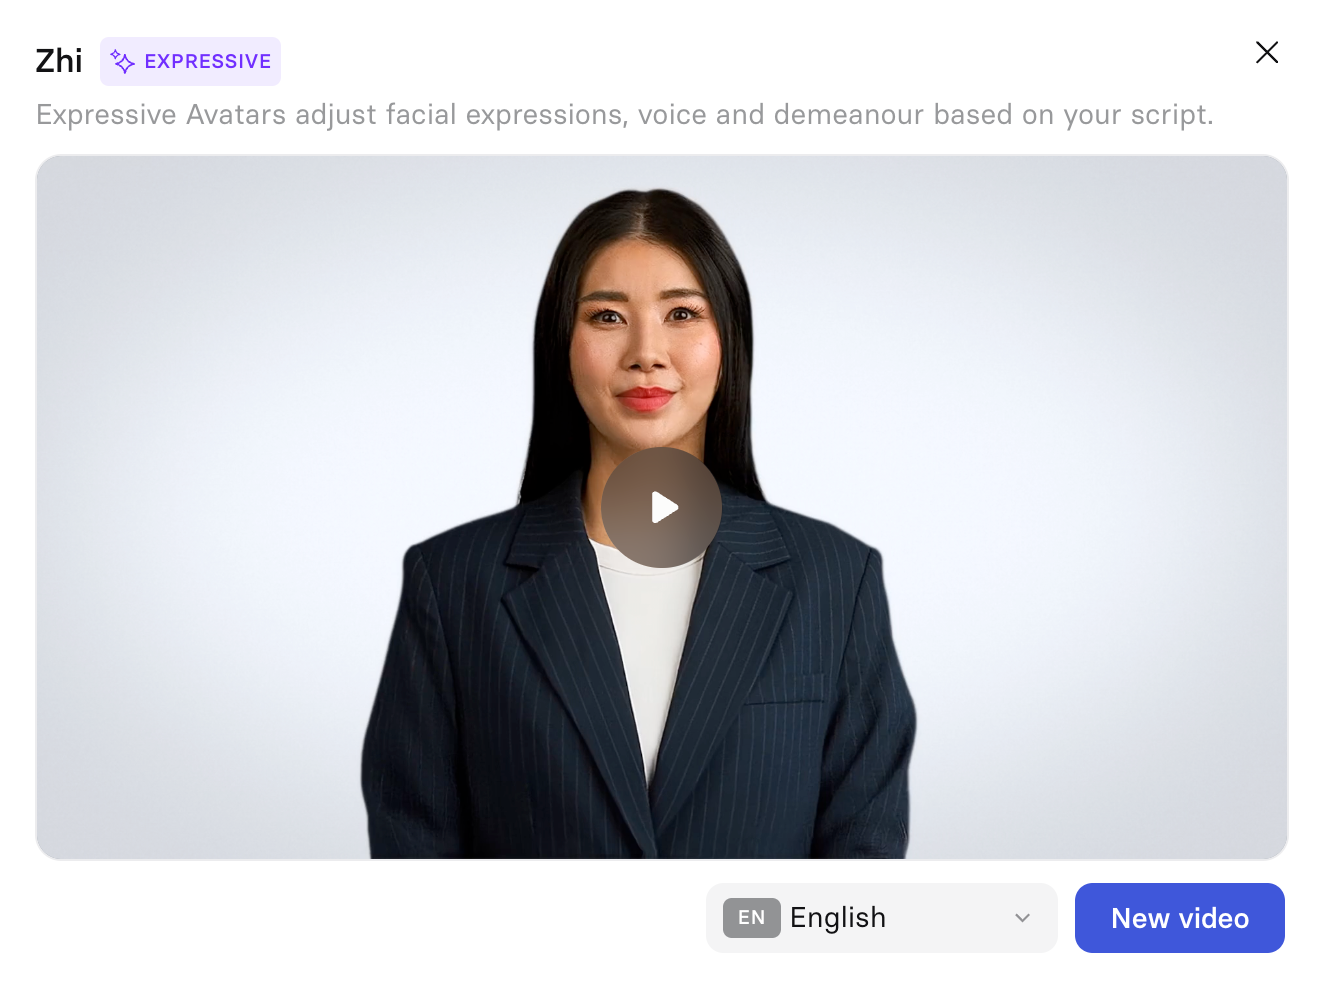
Previewing an avatar
You can preview non customizable avatars to better understand how they will sound and look in motion.
Click on the thumbnail of the avatar you want to preview
- Click the play button in the preview modal
Synthesia's Stock Avatars
Synthesia's stock avatars are created from video footage of real actors who have given their consent. These Avatars will have logos next to them indicating what type of Avatars they are.
My AvatarsThese are your personal avatars. Create, browse, and manage the avatars that represent you.
<Image align="center" border=ea3208 caption="My Avatars" src="https://files.re
My AvatarsThese are your personal avatars. Create, browse, and manage the avatars that represent you.
<Image align="center" border=ea3208 caption="My Avatars" src="https://files.read
This EXPRESS-2 Avatar uses body language based on your script.
My AvatarsThese are your personal avatars. Create, browse, and manage the avatars that represent you.
<Image align="center" border=ea3208 caption="My Avatars" src="https://files.read
This EXPRESS-1 Avatar adjusts its facial expressions based on your script.
My AvatarsThese are your personal avatars. Create, browse, and manage the avatars that represent you.
<Image align="center" border=ea3208 caption="My Avatars" src="https://files.read
Custom Avatars
Click on the + Create Avatar in the upper left corner of the page in order to create a Custom Avatar.
Personal Avatars
Personal Avatars allow you to create Avatars using your own likeness, background and voice.
To create a Personal Avatar, you must be at least 18 years of age. It is not possible to transform the footage of a cartoon character into a personal avatar, or footage of a person into a cartoon avatar.
See Personal Avatars to learn more about how to create one, along with all of our tips, tricks, and best practices.
Studio Avatars
Studio Avatars, like our Stock Avatars, leverage our EXPRESS-1 model to drive their performance. This results in performances that are astonishingly naturalistic and human-like.
To create a Studio Avatar, you must be at least 18 years of age.
See Studio Avatars to learn more about how to create one, along with best practices for capturing your footage.
Managing your avatars
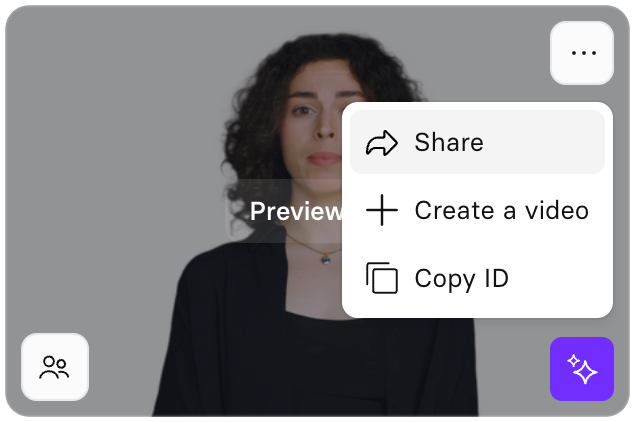
Options menu for a Studio Avatar
Custom Avatar sharing
After you create an avatar, it will only available to you, and only accessible from the account that you were logged into when you created it. You can share it with any team member in your workspace, or with the entire workspace.
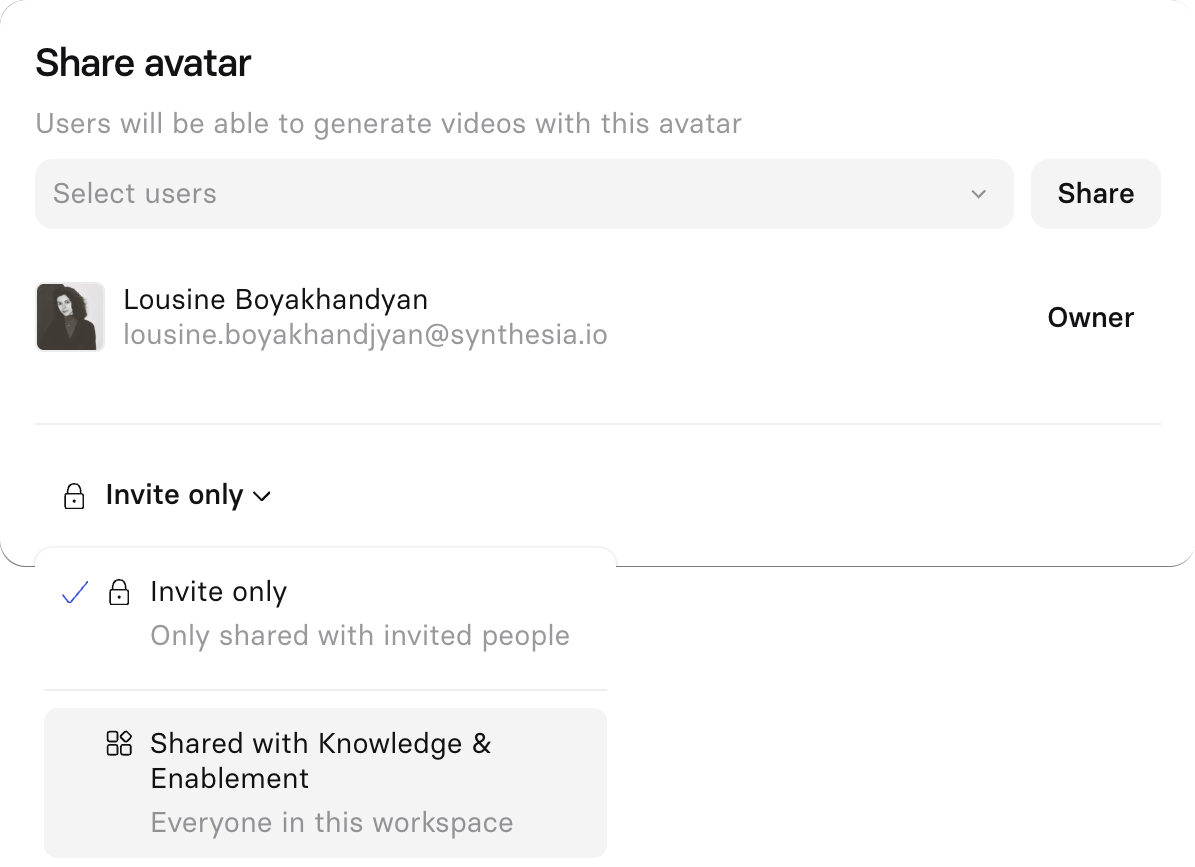
Avatar sharing menu
Note:Avatars and voices are shared individually. Sharing an avatar does not automatically share the corresponding voice.
Go to the Avatars page in your Synthesia account and find the avatar you want to share.
To share it with a specific user, or several users:
- Open up the 3-dot menu and select
Share. - Type the names of the users you'd like to share it with in the
Select usersfield, or click on the dropdown button for that field to find them in a list of workspace users. - Click the
Sharebutton next to theSelect usersfield to share your avatar.
To share it with the entire workspace:
- Open up the 3-dot menu and select
Share. - In the bottom-left of the Share menu, click on the
Invite onlydropdown. - Select the
Shared with _Your Workspace Name_option.
Custom outfits and spaces can only be shared alongside the synthetic or personal avatar photo they were created with. Recipients cannot generate new outfits or spaces using a shared personal avatar.To learn more: How do I share a custom outfit or space?
You can return to the Share menu anytime to:
- Manage users your avatar is shared with (add or remove access)
- Switch between sharing your avatar with the entire workspace or with specific users
Note:
- If the option to share your avatar with the entire workspace is grayed out, your workspace admin has likely disabled this functionality. Contact them for further instructions.
- You can only share your avatar within the workspace it exists it. If you need to share an avatar with another workspace, contact Support ([email protected]) and provide them with:
- The avatar ID (via
Copy IDin the options menu)- The workspace you'd like to create a copy of the avatar in
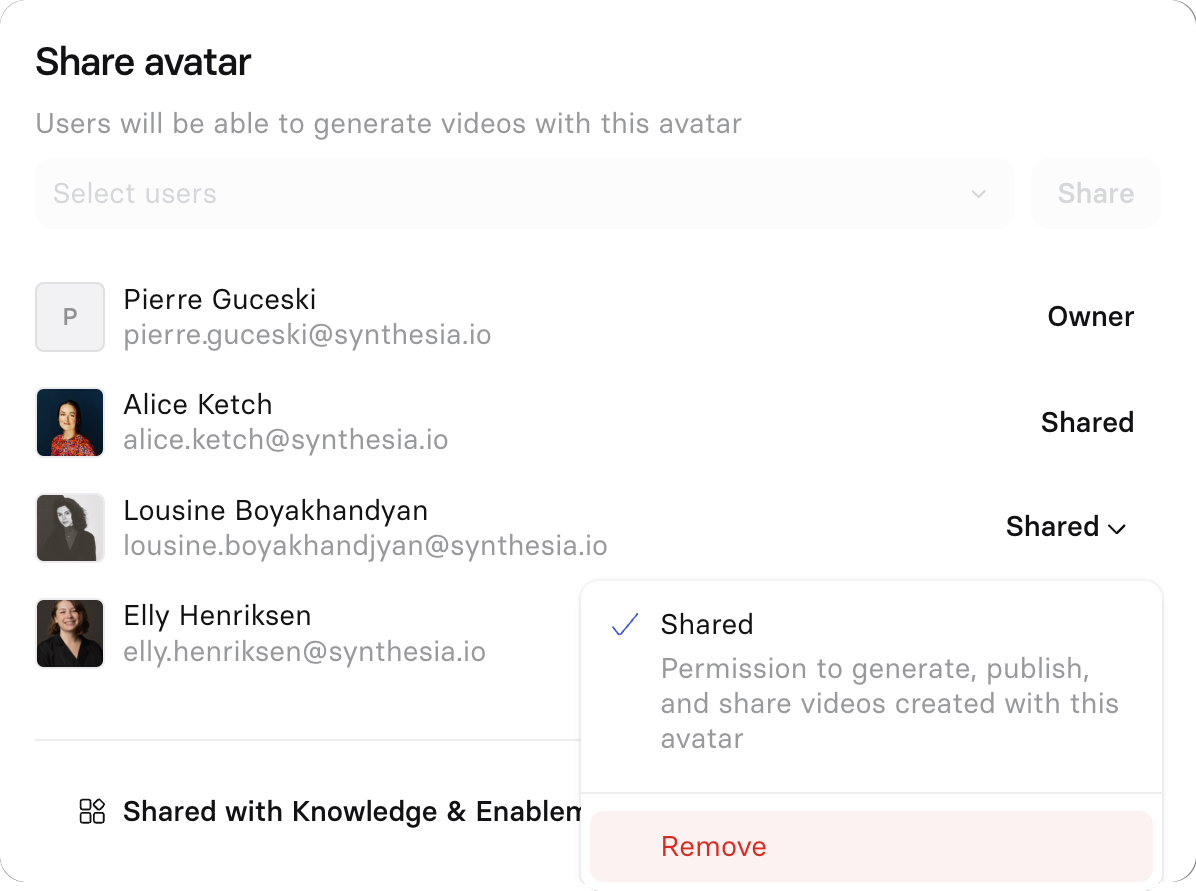
How to remove access to your avatar
For a specific user:
- Open up the 3-dot menu and select
Share. - Find the user in the list of users and click on the
Shareddropdown. - Select the
Removeoption.
For the entire workspace:
- Open up the 3-dot menu and select
Share. - In the bottom-left of the Share menu, click on the
Shared with _Your Workspace Name_dropdown. - Select the
Invite onlyoption.
Removing access doesn’t retroactively remove the avatar from already-generated videos by other users.They'll have to replace the avatar in each video the avatar has been used in, regenerate them, and republish them.
Permissions and notifications
- Avatar owners can grant and revoke access at any time.
- If someone shares an avatar with you, you’ll get:
- An email notification.
- An in-product notification.
How to rename an avatar
Use the 3-dot menu on a Personal Avatar and select Rename to give it a new name. You can only rename Personal Avatars.
Options menu for a Personal Avatar
How to delete an avatar
Deleting an avatar will permanently delete it and all data associated with it. This action cannot be undone.Deleting an avatar will not remove it from any videos that have already been generated with it, but if you need to update and regenerate any of those videos, you'll have to replace the deleted avatar.
You can delete Custom Avatars created with the Avatar Builder and your own Personal Avatars yourself.
Use the 3-dot menu on a Custom Avatar and select the Delete option to delete it. You will be prompted to confirm this action before the avatar is deleted.
Studio Avatars
You cannot delete Studio Avatars yourself.
To delete your Studio Avatar:
- Copy the avatar ID by selecting the
Copy IDoption from the 3-dot menu - Email [email protected] and provide the avatar ID for the avatar you want to delete
Shared avatars
You cannot delete avatars that have been shared with you. Instead, you'll have to remove yourself from the list of users the avatar has been shared with.
Removing your access to an avatar that has been shared with you
To remove your access to a shared avatar:
- Go to the Avatars page in your Synthesia account.
- Find the avatar you want to remove your access from.
- Open up the 3-dot menu and select
Share. - Find your name in the list of users and click on the
Shareddropdown. - Select the
Removeoption.
Updated 2 days ago
What’s Next
- How do I create my Personal Avatar? - Synthesia Knowledge Base
- How to use the Synthesia Avatar Builder? - Synthesia Knowledge Base
- How do I create a Studio Avatar? - Synthesia Knowledge Base
- How do I use the Synthesia Avatar Builder? - Synthesia Knowledge Base
- Who has access to my Custom Avatar? - Synthesia Knowledge Base
- How do I share avatars and voices with my team? - Synthesia Knowledge Base