Media
Add images, videos, animated GIFs, icons, Lottie Animations, and logos to your scenes.
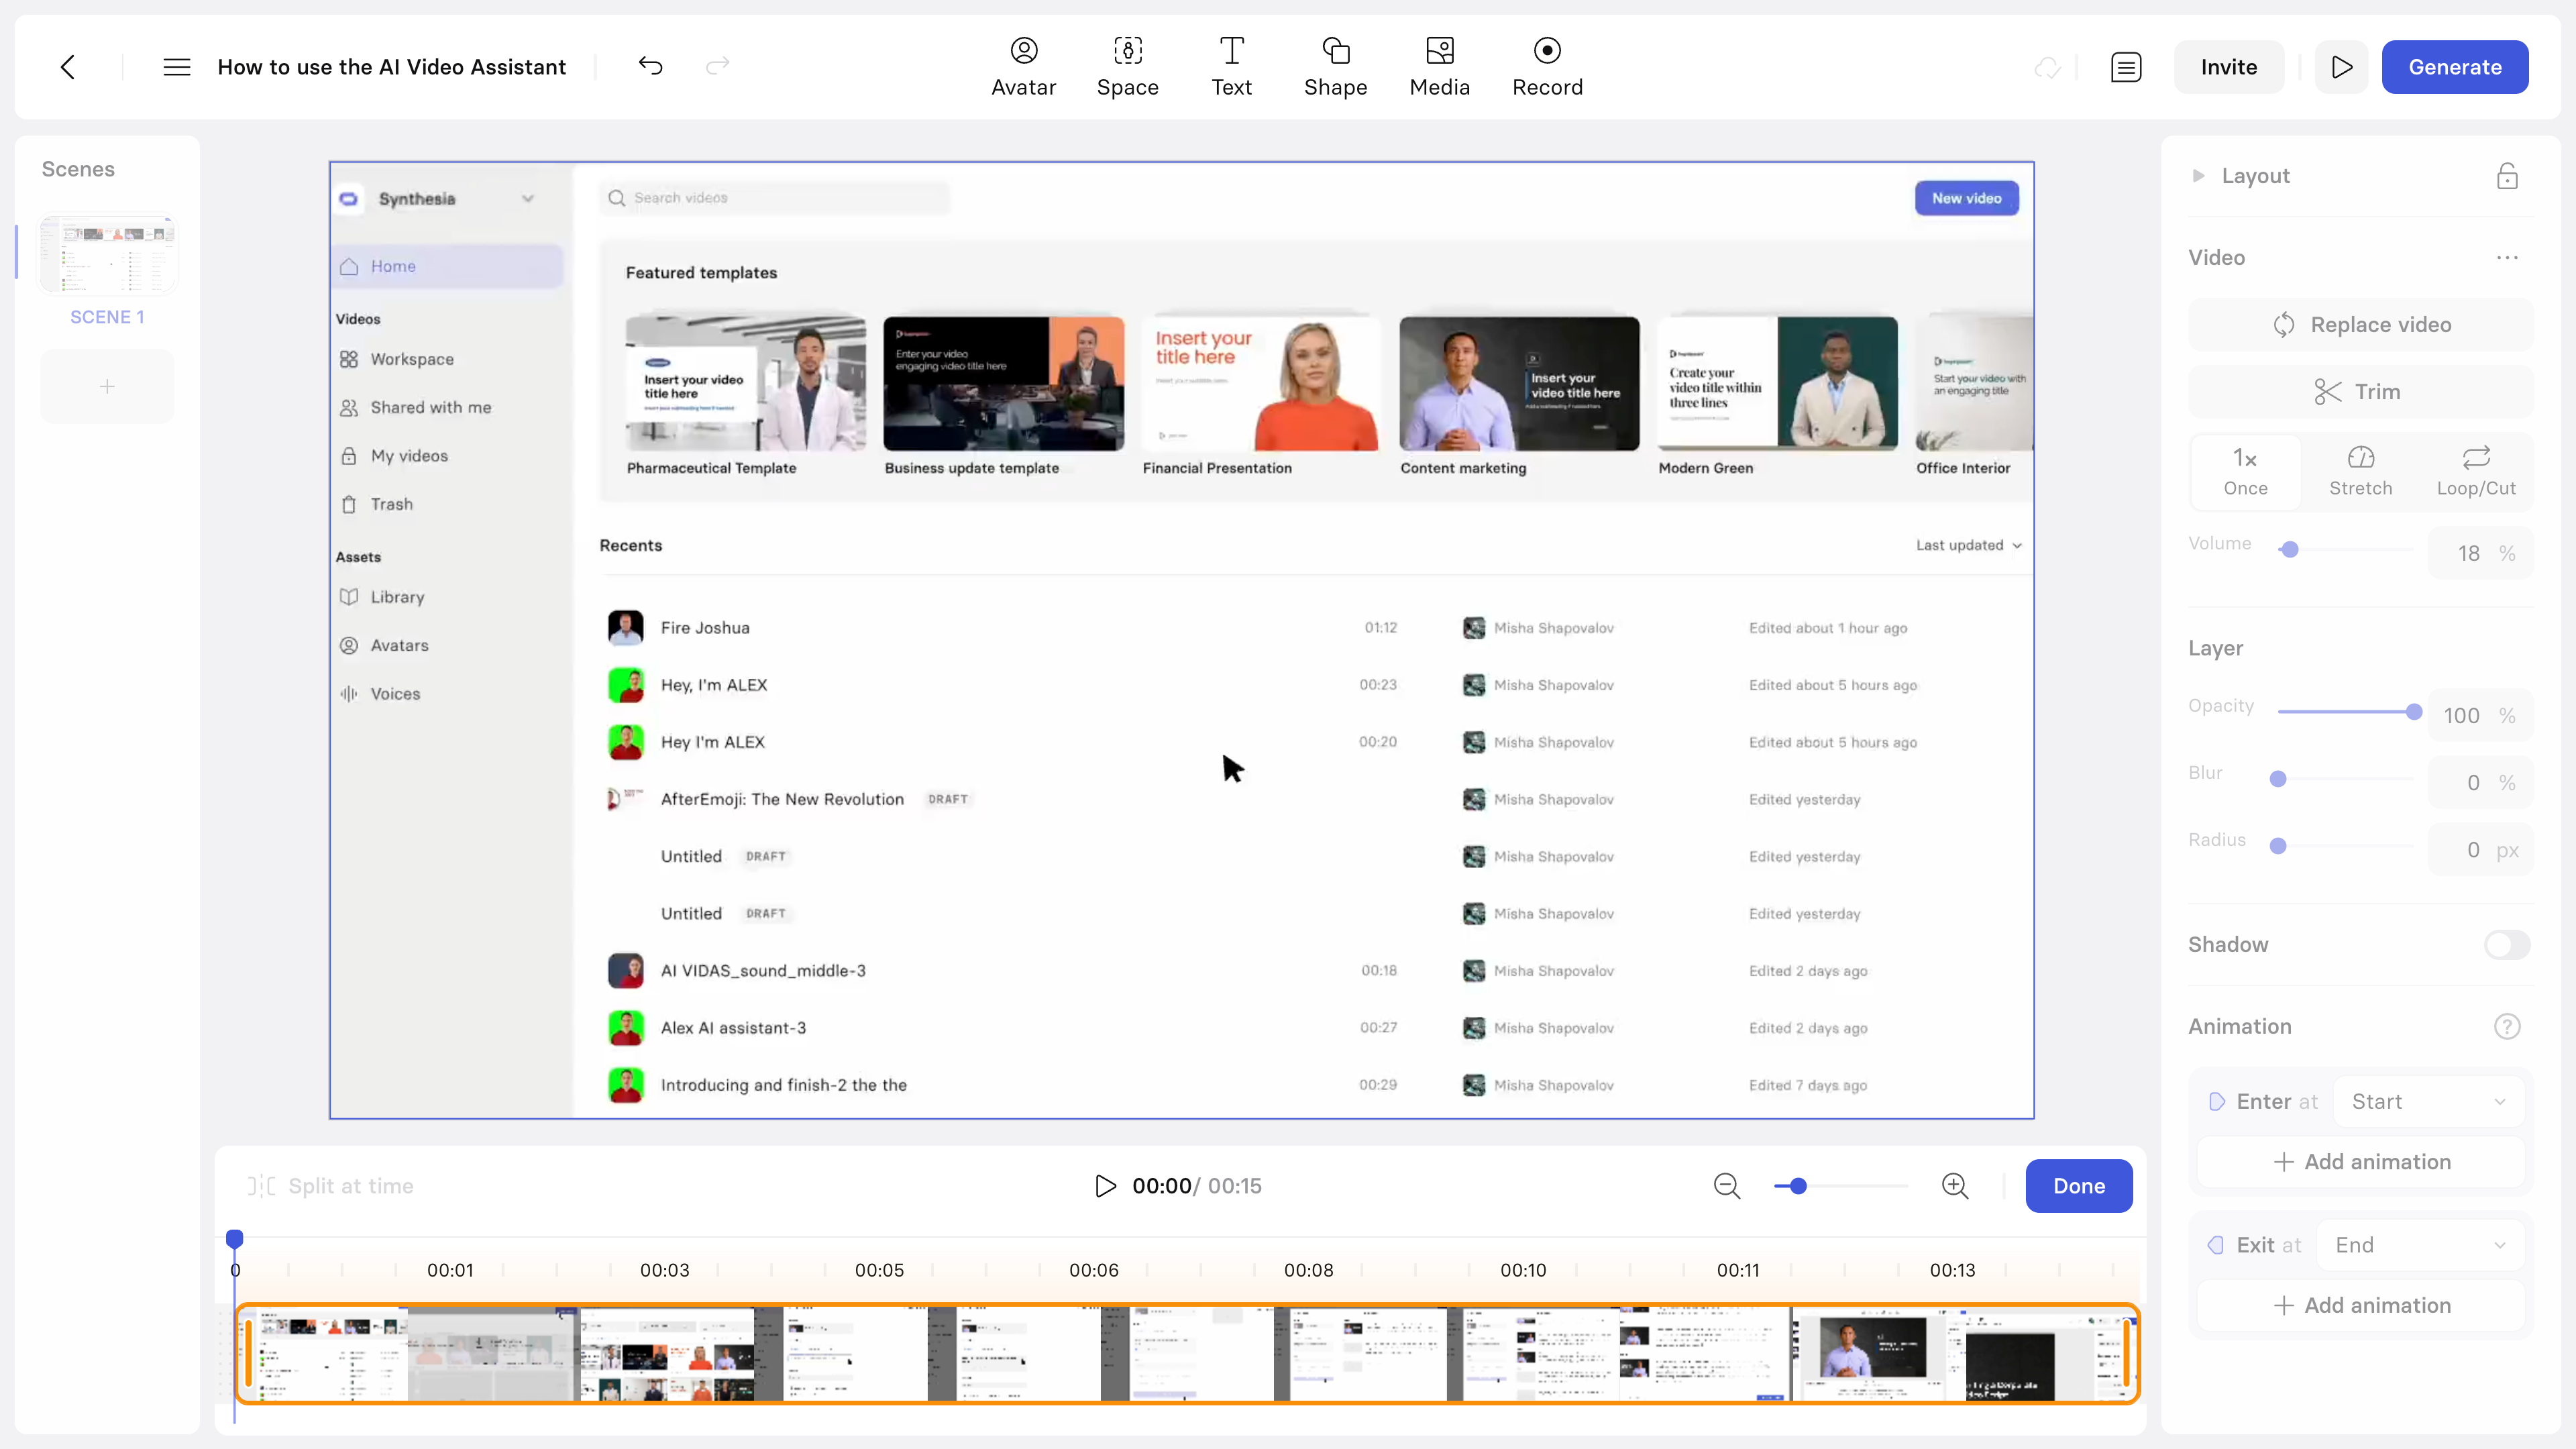
Adding media elements to a scene
Add images, videos, animated GIFs, icons, Lottie animations, and logos to your scene by clicking the Media button in the toolbar.
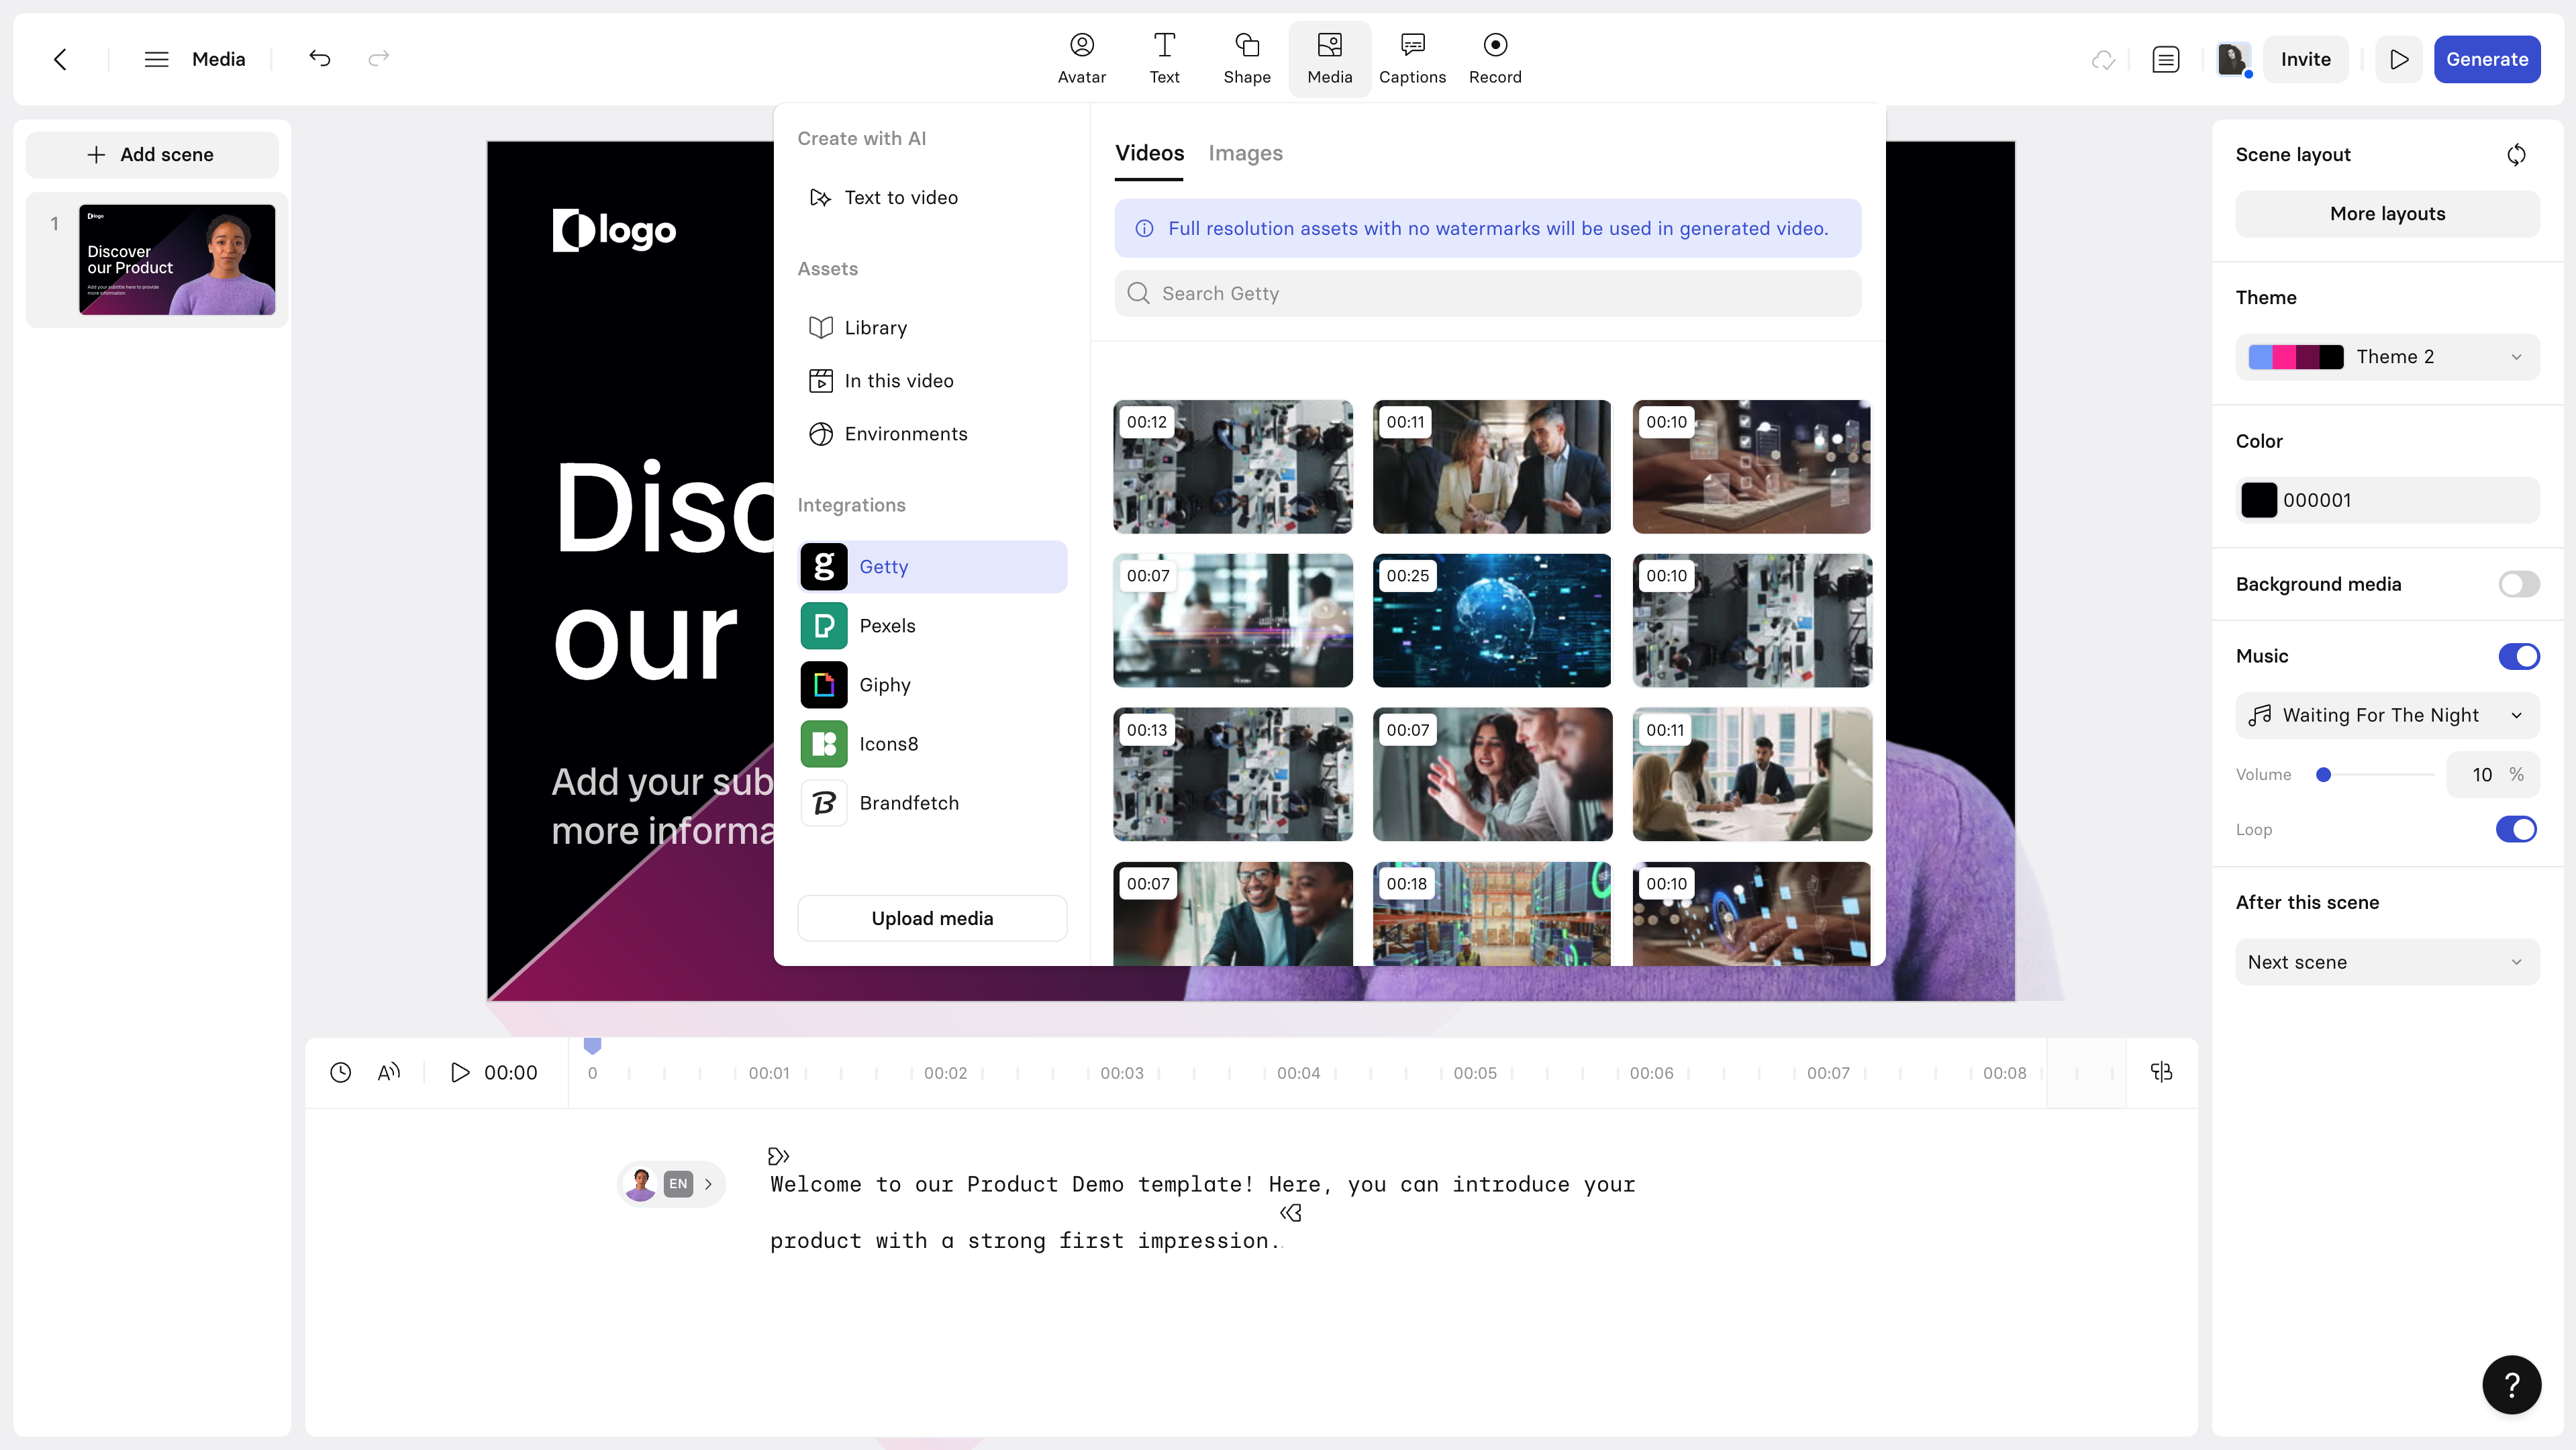
Media menu
Create with AI (third party model integrations)
Third party model integrations are available for all plans.The current third party model integrations and Veo 3.1 (Google) are enabled by default but can be toggled off at the Organization or Workspace level by admins.
Can't see the Gemini Omni model?If you are on an Enterprise plan and do not see the Gemini Omni generative model, ask your workspace admin to confirm that the Gemini Omni feature setting is enabled.
Use AI to generate custom visual assets from simple text prompts:
- Video generation: Create high-quality, cinematic 8-second video clips with Veo 3.1 (Google), Veo 3.1 Fast (Google), or Gemini Omni [Beta] (Google).
- Image generation: Create 1080p images (1920 x 1080) with FLUX.2 (Black Forest Labs), Nano Banana Pro (Google), or GPT-Image-2 (OpenAI).
Once generated, outputs are saved to your user account—not your workspace. The asset stays in your Media panel for reuse in any project.
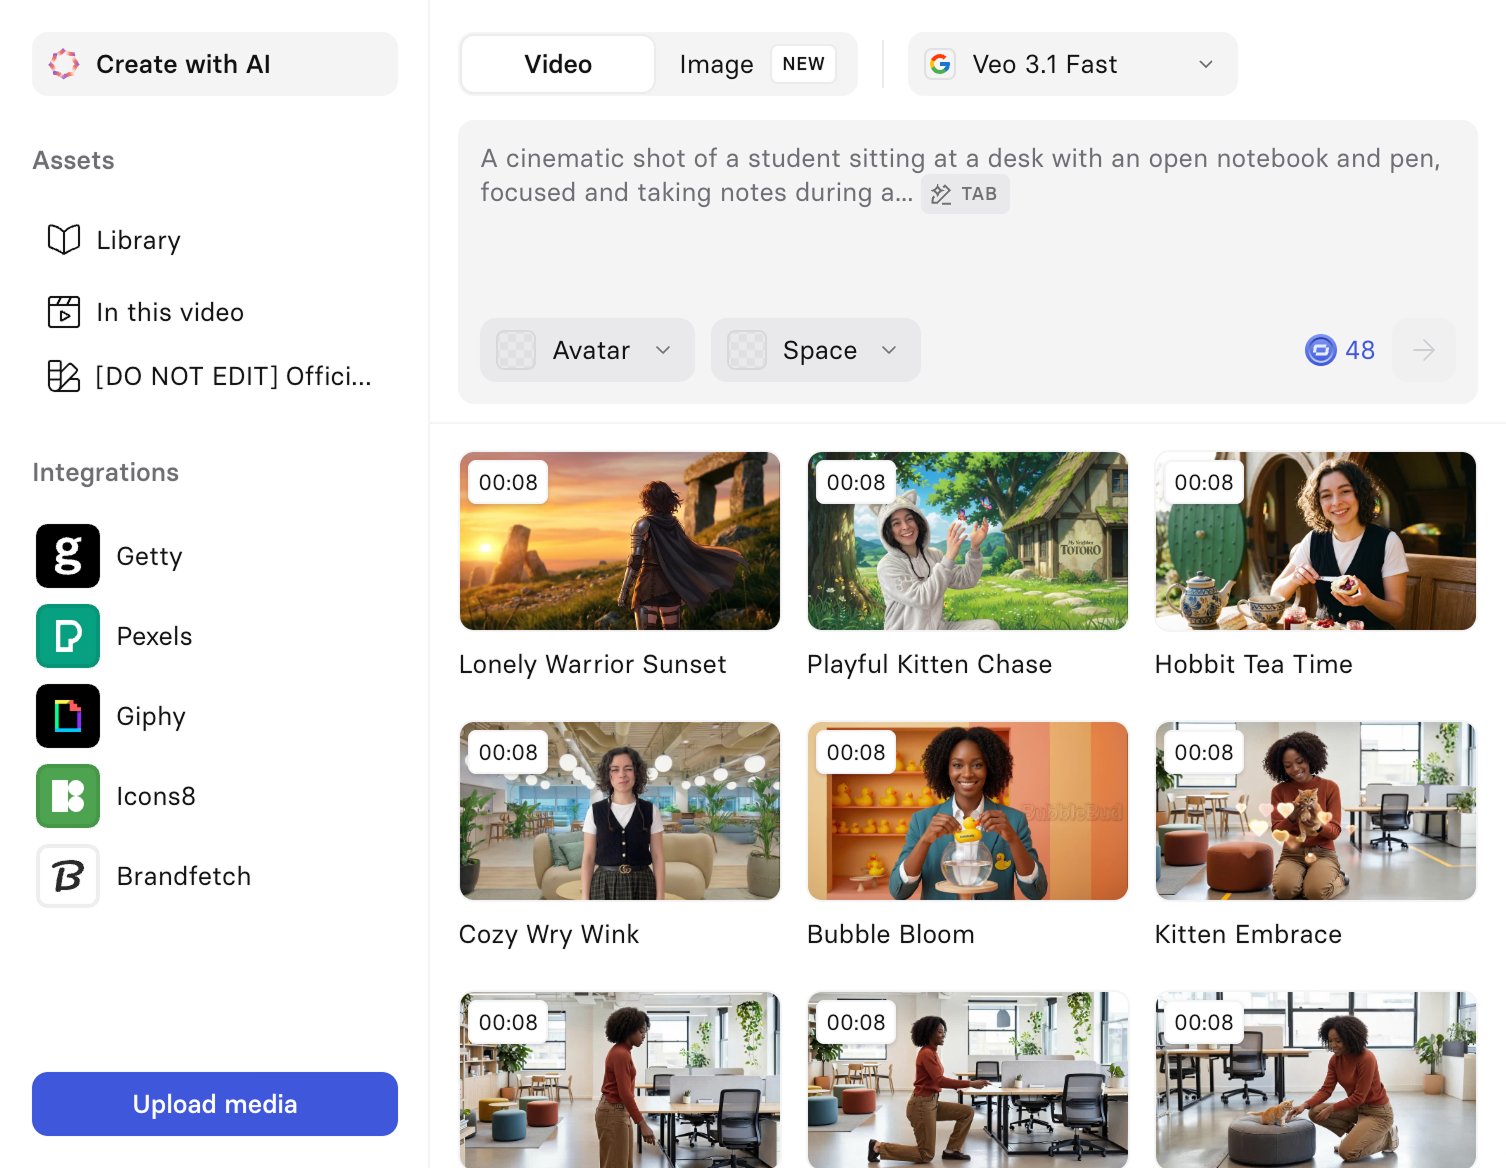
Create with AI via the Media panel: Toggle to create either a video or an image
How it works
- In the Media panel, open the Create with AI tab.
- Select your model:
- For videos: Choose Gemini Omni [Beta], Veo 3.1, or Veo 3.1 Fast.
- For images: Choose either FLUX.2, Nano Banana Pro, or GPT-Image-2.
- Either:
- Type a prompt describing the asset you want to generate. Example: "A diverse group of employees brainstorming at a conference table."
- Press
Tabto auto-fill a prompt based on your scene's script.
- Click
Create. Note: You can close the Media panel while the asset is generating—you'll be notified when it's ready. - Your asset will appear in the panel, ready to use:
- Videos: Generation takes approximately 3–5 minutes.
- Images: Generation is faster, typically under a minute.
Model costs
CreditsEach generated asset consumes the amount credits indicated in the editor. You'll see this displayed next to the
Createbutton before you generate.
- FLUX.2: 3 credits per image (free for Enterprise plans)
- Nano Banana Pro: 9 credits per image
- OpenAI GPT Image 2: 9 credits per image
- Gemini Omni [Beta]: 48 credits per video with or without audio
- Veo 3.1 Fast:
- 48 credits per video with audio disabled
- 60 credits per video with audio enabled
- Veo 3.1:
- 96 credits per video with audio disabled
- 192 credits per video with audio enabled
Stock content
We make certain types of stock content available as part of the Synthesia service offerings. These assets are generally referred to as "Synthesia Content" in our terms of service, and includes:
- Videos and images from Getty
- Icons from Icons8
We also offer integrations with third-party services, so that you can choose to enrich the content and video creation capabilities of the service offerings in various ways, beyond what Synthesia makes available as Synthesia Content. These are "Non-Synthesia Products" and are subject to separate terms between you and the third parties. They currently include:
- Videos and images from Pexels
- GIFs from Giphy
- Brand logos from Brandfetch
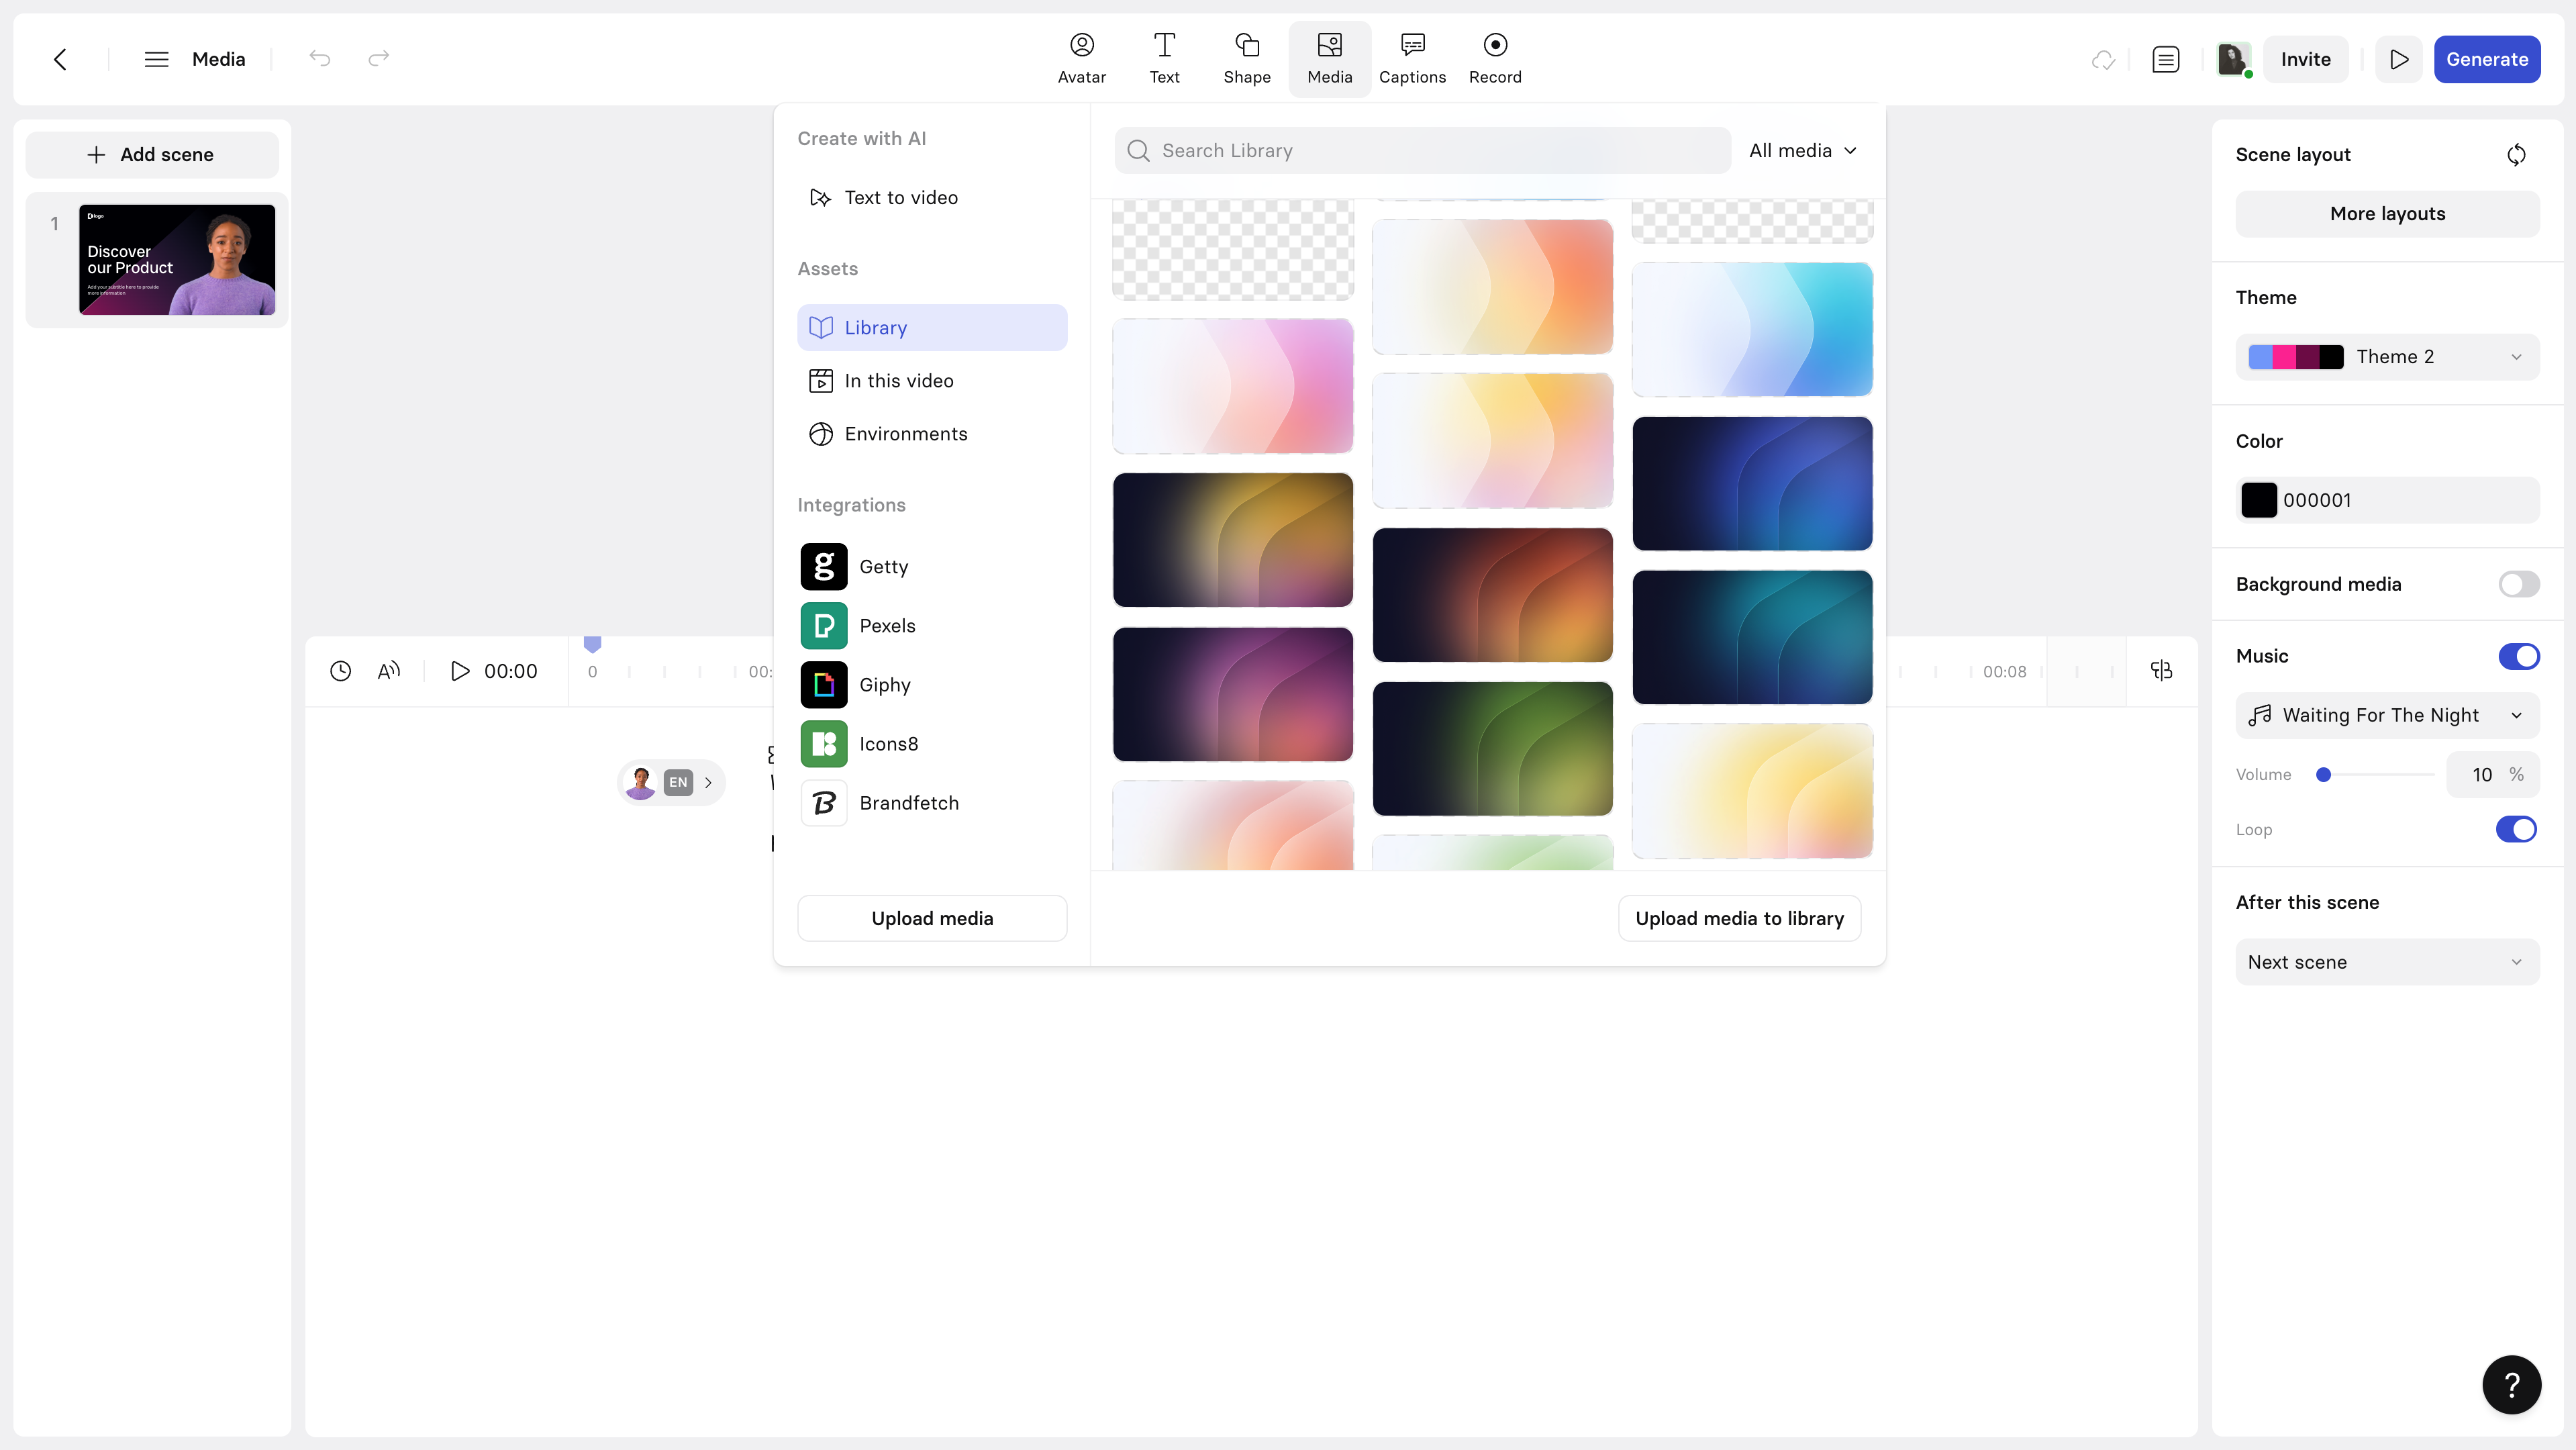
Library
Click on Library to access images and videos that have already been uploaded to your Library.
Upload new media for use in just this video with the Upload media button, or upload media directly to your Library with the Upload media to library button (that way, you'll have access to it from your Library when you create new videos).
Workspace library
See How do I upload an image to Synthesia? to learn more on media import within Synthesia.
In this video
Click on In this video to access media elements already in use in the current video.
Editing media
To control the style of your imported media on your scene, select it, then adjust the settings in the inspector panel on the right side of the editor.
Editing images
After you have selected an image in your scene, using the right-side menu available you can:
- Replace the image with another one.
- Adjust the image's opacity.
- Apply a blur filter to the image.
- Specify a border radius for the image.
- Add a drop shadow to the image.
Image settings
To access all of the available image settings in the inspector panel, click on the three-dot icon in the top-right of the Image section.
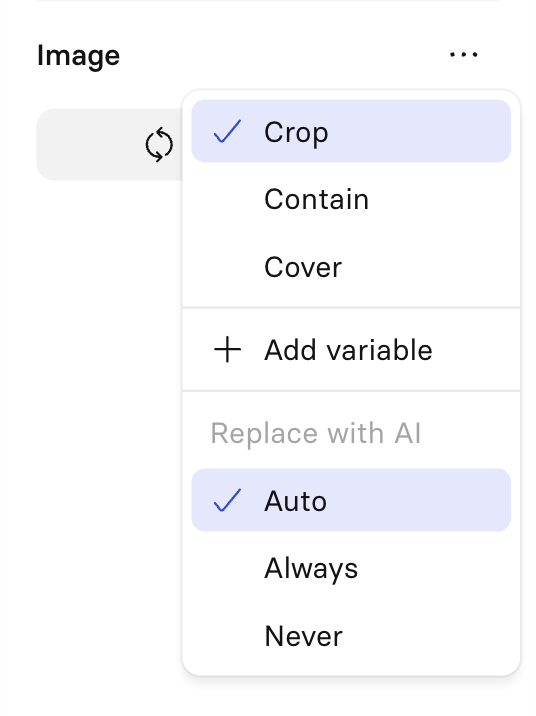
Image settings
From there, you'll be able to:
Crop: Crops the selected image to only display a subset of it when playing with its borders on the scene.Contain: Contains the selected image when playing with its borders on the scene.Cover: Covers the selected image to only display a subset of it when playing with its borders on the scene.+ Add variable: Add a variable to the image. In a video all images that have the same variable name have their style updated together.
Note:Variables allow you to use Synthesia's API to control the content of your videos. See the Guide: Create a video from template page to discover how to leverage this feature.
You can also use variables to automate video creation by using Synthesia's Zapier integration. See the Guide: Synthesia <> Zapier integration to get started.
Editing Lottie animations
After you have selected the Lottie animations in your scene, using the right-side menu available, you can:
- Change the Lottie animation Opacity
- Change the Lottie animation colors
- Loop or not the Lottie animation.
Editing videos
To access all of the different video editing options in the inspector panel, select your video in the canvas.
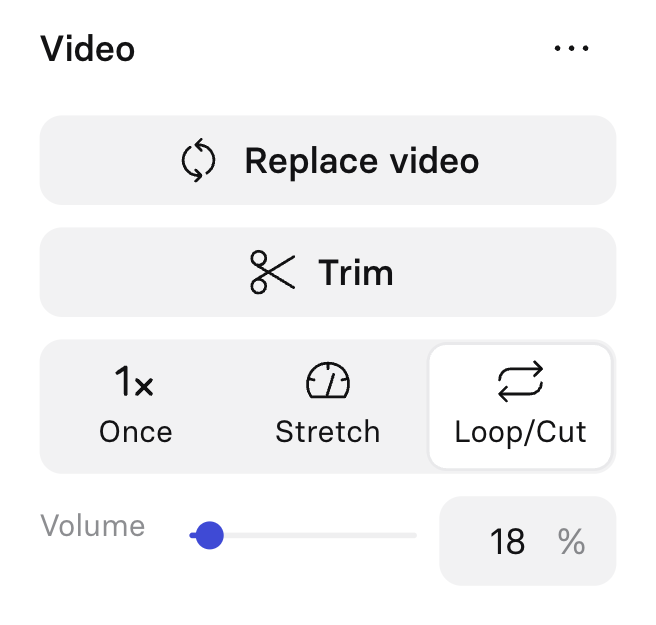
Video settings
Video playback
| Playback setting | Description |
|---|---|
| Once | The video will play all of the way through one time, at its original playback speed, regardless of the length of the script. If your video is longer than the duration of your scene, a pause will automatically be added to the end of the script to account for the discrepancy between the two. |
| Stretch | The playback speed of the video will either speed up or slow down to fit the duration of the scene. If the video you've added to the scene has audio, the audio within the video itself will be affected. For this reason, we recommend that you set the video's volume slider to 0% when using the |
| Loop/Cut | The video will play at its original playback speed, and will be either looped or cut based on the duration of the script.
|
Trim
To trim a video, click the Trim button in the inspector panel.
This will open up the video editor:
Trim a video
The seek bar at the bottom is where you'll make your edits:

Video seek bar
Click the preview button the preview your edits, and drag the zoom slider to increase or decrease the specificity of the timeline to make it easier to make more precise edits to the clip.
You can undo any edits you make to the video by clicking the undo button in the toolbar, or by using the keyboard shortcut.
Once you're satisfied, click the Done button to return to the scene.
Trim
- Click and drag the trim handle on the left to the right to trim the beginning of the video.
- Click and drag the trim handle on the right to the left to trim the end of the video.
In either case, you can restore a portion of, or all of the trimmed content by clicking and dragging the handle in the opposite direction.

Trimming a video
Split
Splitting allows you to divide your video clip into segments. You can choose to either duplicate the segment, add the segment to a new scene, or delete it.
To split your video clip, you can either:
- Drag the blue seeker handle along the timeline to where you want to split it, then click the
Split at timebutton. - Mouse over where you'd like to split the video in the timeline, then right click. The seeker will jump to that time, and you'll open a menu. Click the
Split at timeoption to create a segment.
After you've split the video into segments, you'll be able to trim the beginning and the end of each segment.
Splitting a video
Updated about 23 hours ago