Record
Create a screen recording in Synthesia by recording live with the AI screen recorder, or by uploading an MP4.
Add a screen recording to your Synthesia video in minutes—either by recording your screen live with the AI screen recorder, or by uploading an existing MP4.
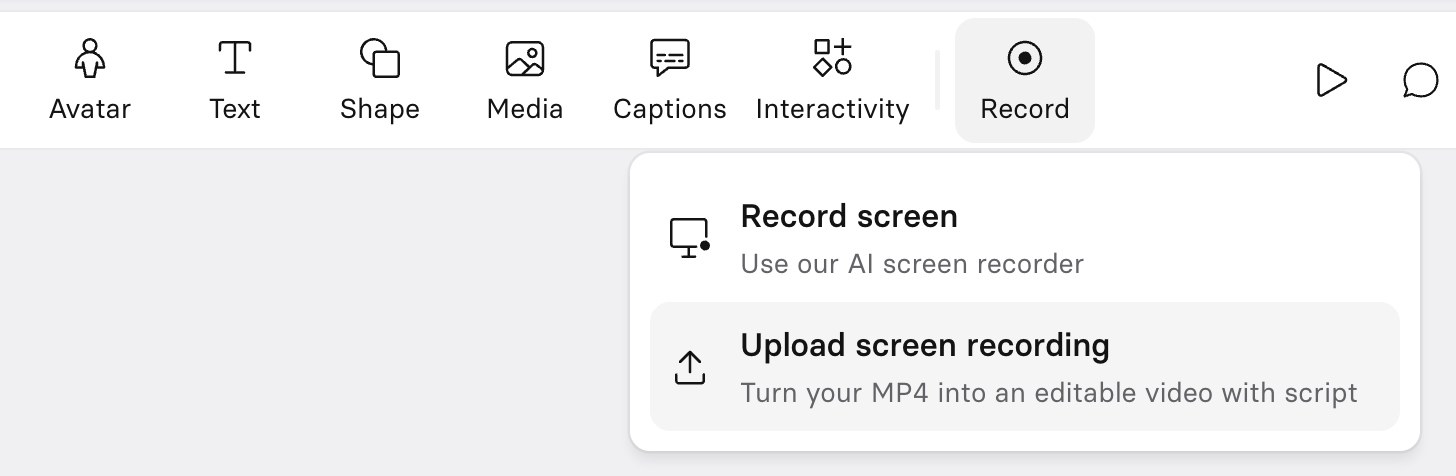
The Record button in the editor is your starting point. When you click it, you can choose one of two paths:
Record screen: Use the AI screen recorder browser extension to capture your screen live.Upload screen recording: Import an MP4 you recorded and/or edited with an external tool (such as Camtasia or Loom).
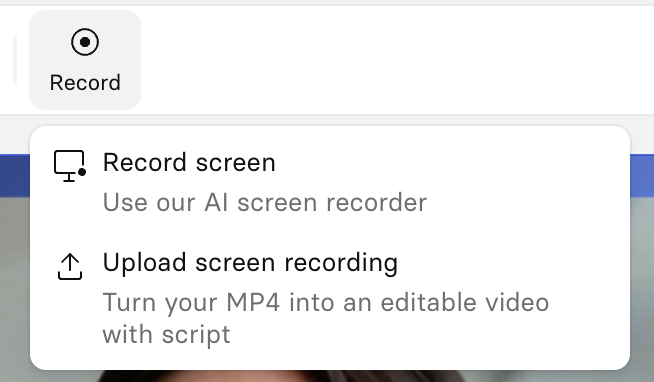
Record button options
Ways to add a screen recording to your video
Choose the method that best fits your workflow:
AI screen recorder
1. Browser extension (create a new video)
Use when: You want to start a new video project from a screen recording.
Result: A new Synthesia video will be created, with your screen recording split into logical scenes with a default Synthesia template.
How it works: Launch the extension directly from your browser to record your screen. Once done, the recording becomes a standalone video project in Synthesia.
2. Record button (pre-written script)
Use when: You already have a written script and want to record visuals to match it.
Result: Your screen recording will be added to the current video scene.
How it works: While editing a scene, use the Record button. Synthesia reads your script aloud during the screen recording to guide your actions. The result is added as a video asset to the current scene.
3. Record button (transcribe your voiceover)
Use when: You prefer to speak freely while recording and have the script created automatically.
Result: Your screen recording will be split into logical scenes with a default Synthesia template and added to your current video as new scenes.
How it works: Start recording from a scene using the Record button. Your live voice is recorded and transcribed by Synthesia, which automatically segments the result into multiple scenes based on pauses in your speech.
Upload a screen recording
Use when: You have an MP4 recorded and/or with an external tool (such as Camtasia, QuickTime, or Loom) and want to bring it into Synthesia, or you cannot use the browser extension due to security or IT policy restrictions.
Result: Your MP4 is transcribed, split into scenes, and added to your current video as editable scenes with voiceover in the script.
How it works: In the editor, click Record → Upload screen recording. Select your MP4 file (maximum file size: 500MB / maximum duration: 30 minutes). Synthesia transcribes the voiceover, removes filler words, splits the recording into scenes, and applies your video's existing template and brand kit.
AI screen recorder
With the AI screen recorder, you'll be able to create professional-quality screen recordings in just a single take. If you record a voiceover, it'll be transcribed so you can edit it in the script, make corrections, and add any additional context or information necessary. If you don't record a voiceover, try adding a script to the scene in advance—it'll be read aloud to you once you start recording to help you make sure you don't miss any steps.
The AI screen recorder enables you to:
- Record your entire screen, a specific application window, or a specific browser tab.
- Either record a voiceover with your microphone, or have a pre-written script read aloud from your scene to guide your actions and timing as you record.
- Split, trim and adjust the timing of your screen recordings.
- Blur sensitive content either before you start recording, or during your recording.
The AI screen recorder will automatically:
- Transcribe your voiceover (and remove filler words).
- Split your screen recording into logical scenes.
- Align your voiceover with your video based on pauses in your script.
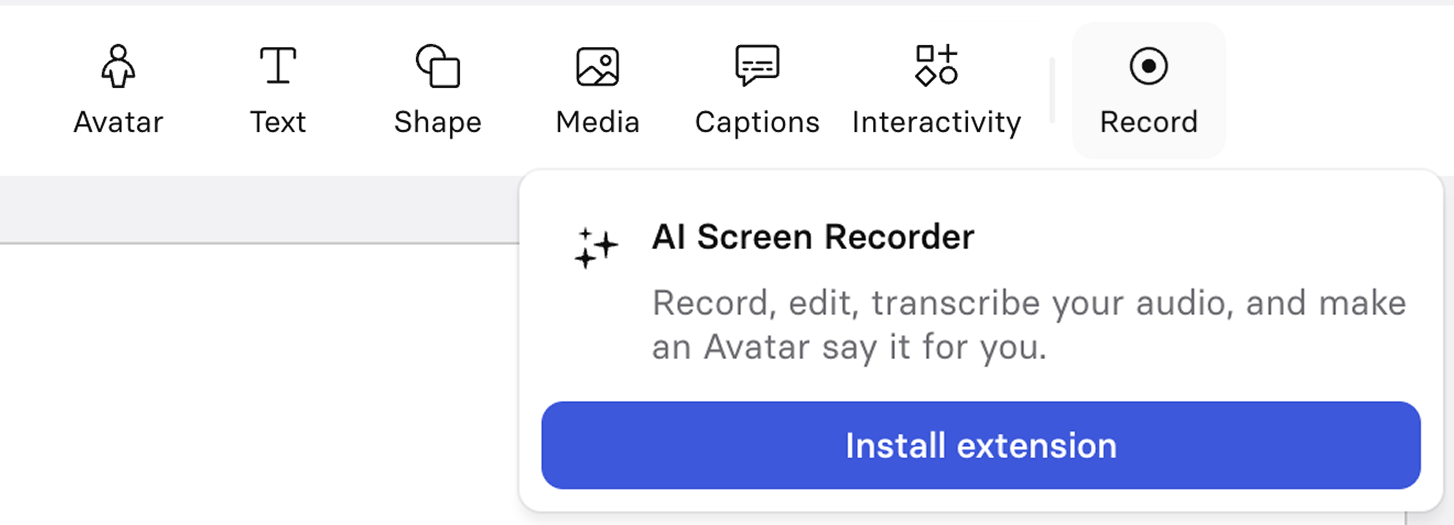
Installation
If you haven't already installed the AI screen recorder browser extension, click the Record button to get a link to the extension's installation page for your browser.
- Download the AI screen recorder extension for either Google Chrome or Microsoft Edge.
- Install the AI screen recorder and allow the permissions requested by the extension.
Installation requirements
The AI screen recorder extension is officially supported for use with Google Chrome and Microsoft Edge for desktop/laptop.
While you may be able to download and install the extension on other Chromium-based browsers, or Safari, or Firefox, Synthesia cannot guarantee its functionality as it is not officially supported on browsers other than Google Chrome or Microsoft Edge.
Create a screen recording
- Start creating a screen recording:
- To add a screen recording to an existing Synthesia video, open the video in the editor and click the
Recordbutton from the editor's toolbar. - To create a new Synthesia video, start by clicking on the AI screen recorder extension in your browser's toolbar. When you finish recording your screen, your new Synthesia video will open up in a new tab.
- To add a screen recording to an existing Synthesia video, open the video in the editor and click the
Adding a screen recording to an existing video from the editor
- Decide whether you'd like to record your entire screen, a specific window, or a specific tab.
- Either select a microphone to use for your voiceover, or select the
No microphoneoption if you won't be recording a voiceover. - If you want to blur any sensitive content, click on the blur button and select the elements on the page that you'd like to blur. If you don't need to blur anything just yet but will need to later while you're already recording, you'll still be able to access the blur button while recording.
Blurring part of screen recording
The AI screen recorder allows for a maximum duration of 60 minutes.It is recommended to keep recordings under 30 minutes for smoother transcription and easier editing.
AI screen recorder controls:
Screen recorder controls
| Button | Description |
|---|---|
| Discard | Cancel a screen recording session by clicking the Discard button. |
| Restart | Restart the recording process by clicking the Restart button. |
| Pause | Pause the screen recording session by clicking the The pause button will come in handy if you need to blur parts of the screen—pause the recording, blur any irrelevant, proprietary, or sensitive content with the blur feature, and click |
| Resume | Resume a paused screen recording by clicking the Resume button. |
| Blur | At any point during the recording process, you can click on the blur button and select elements that you'd like to blur. |
| Done | Press the Done button to end your screen recording and return to the editor. |
| Hide/Show | Click the chevron arrow to minimize (and un-minimize) the appearance of the screen recorder. |
Keyboard Shortcuts
To speed things up, use these keyboard shortcuts to control the browser extension.
| Action | Shortcut MacOs | Shortcut Windows |
|---|---|---|
| Hide/show screen recorder | ⌥ + Shift + h | Alt + Shift + h |
| Pause/resume recording | ⌥ + Shift + p | Alt + Shift + p |
| Finish recording | ⌥ + Shift + d | Alt + Shift + d |
Upload a screen recording
This option is only accessible from within an existing video project in Synthesia.
- Open an existing video in the editor.
- Click
Record, thenUpload screen recording. - Select your MP4 file.
- Maximum file size: 500MB.
- Maximum duration: 30 minutes.
- Wait while Synthesia processes your recording. It will automatically:
- Transcribe the voiceover.
- Remove filler words.
- Split the recording into scenes (for recordings over 5 minutes).
- Apply your video's existing template and brand kit.
- Review the generated scenes and edit as needed.
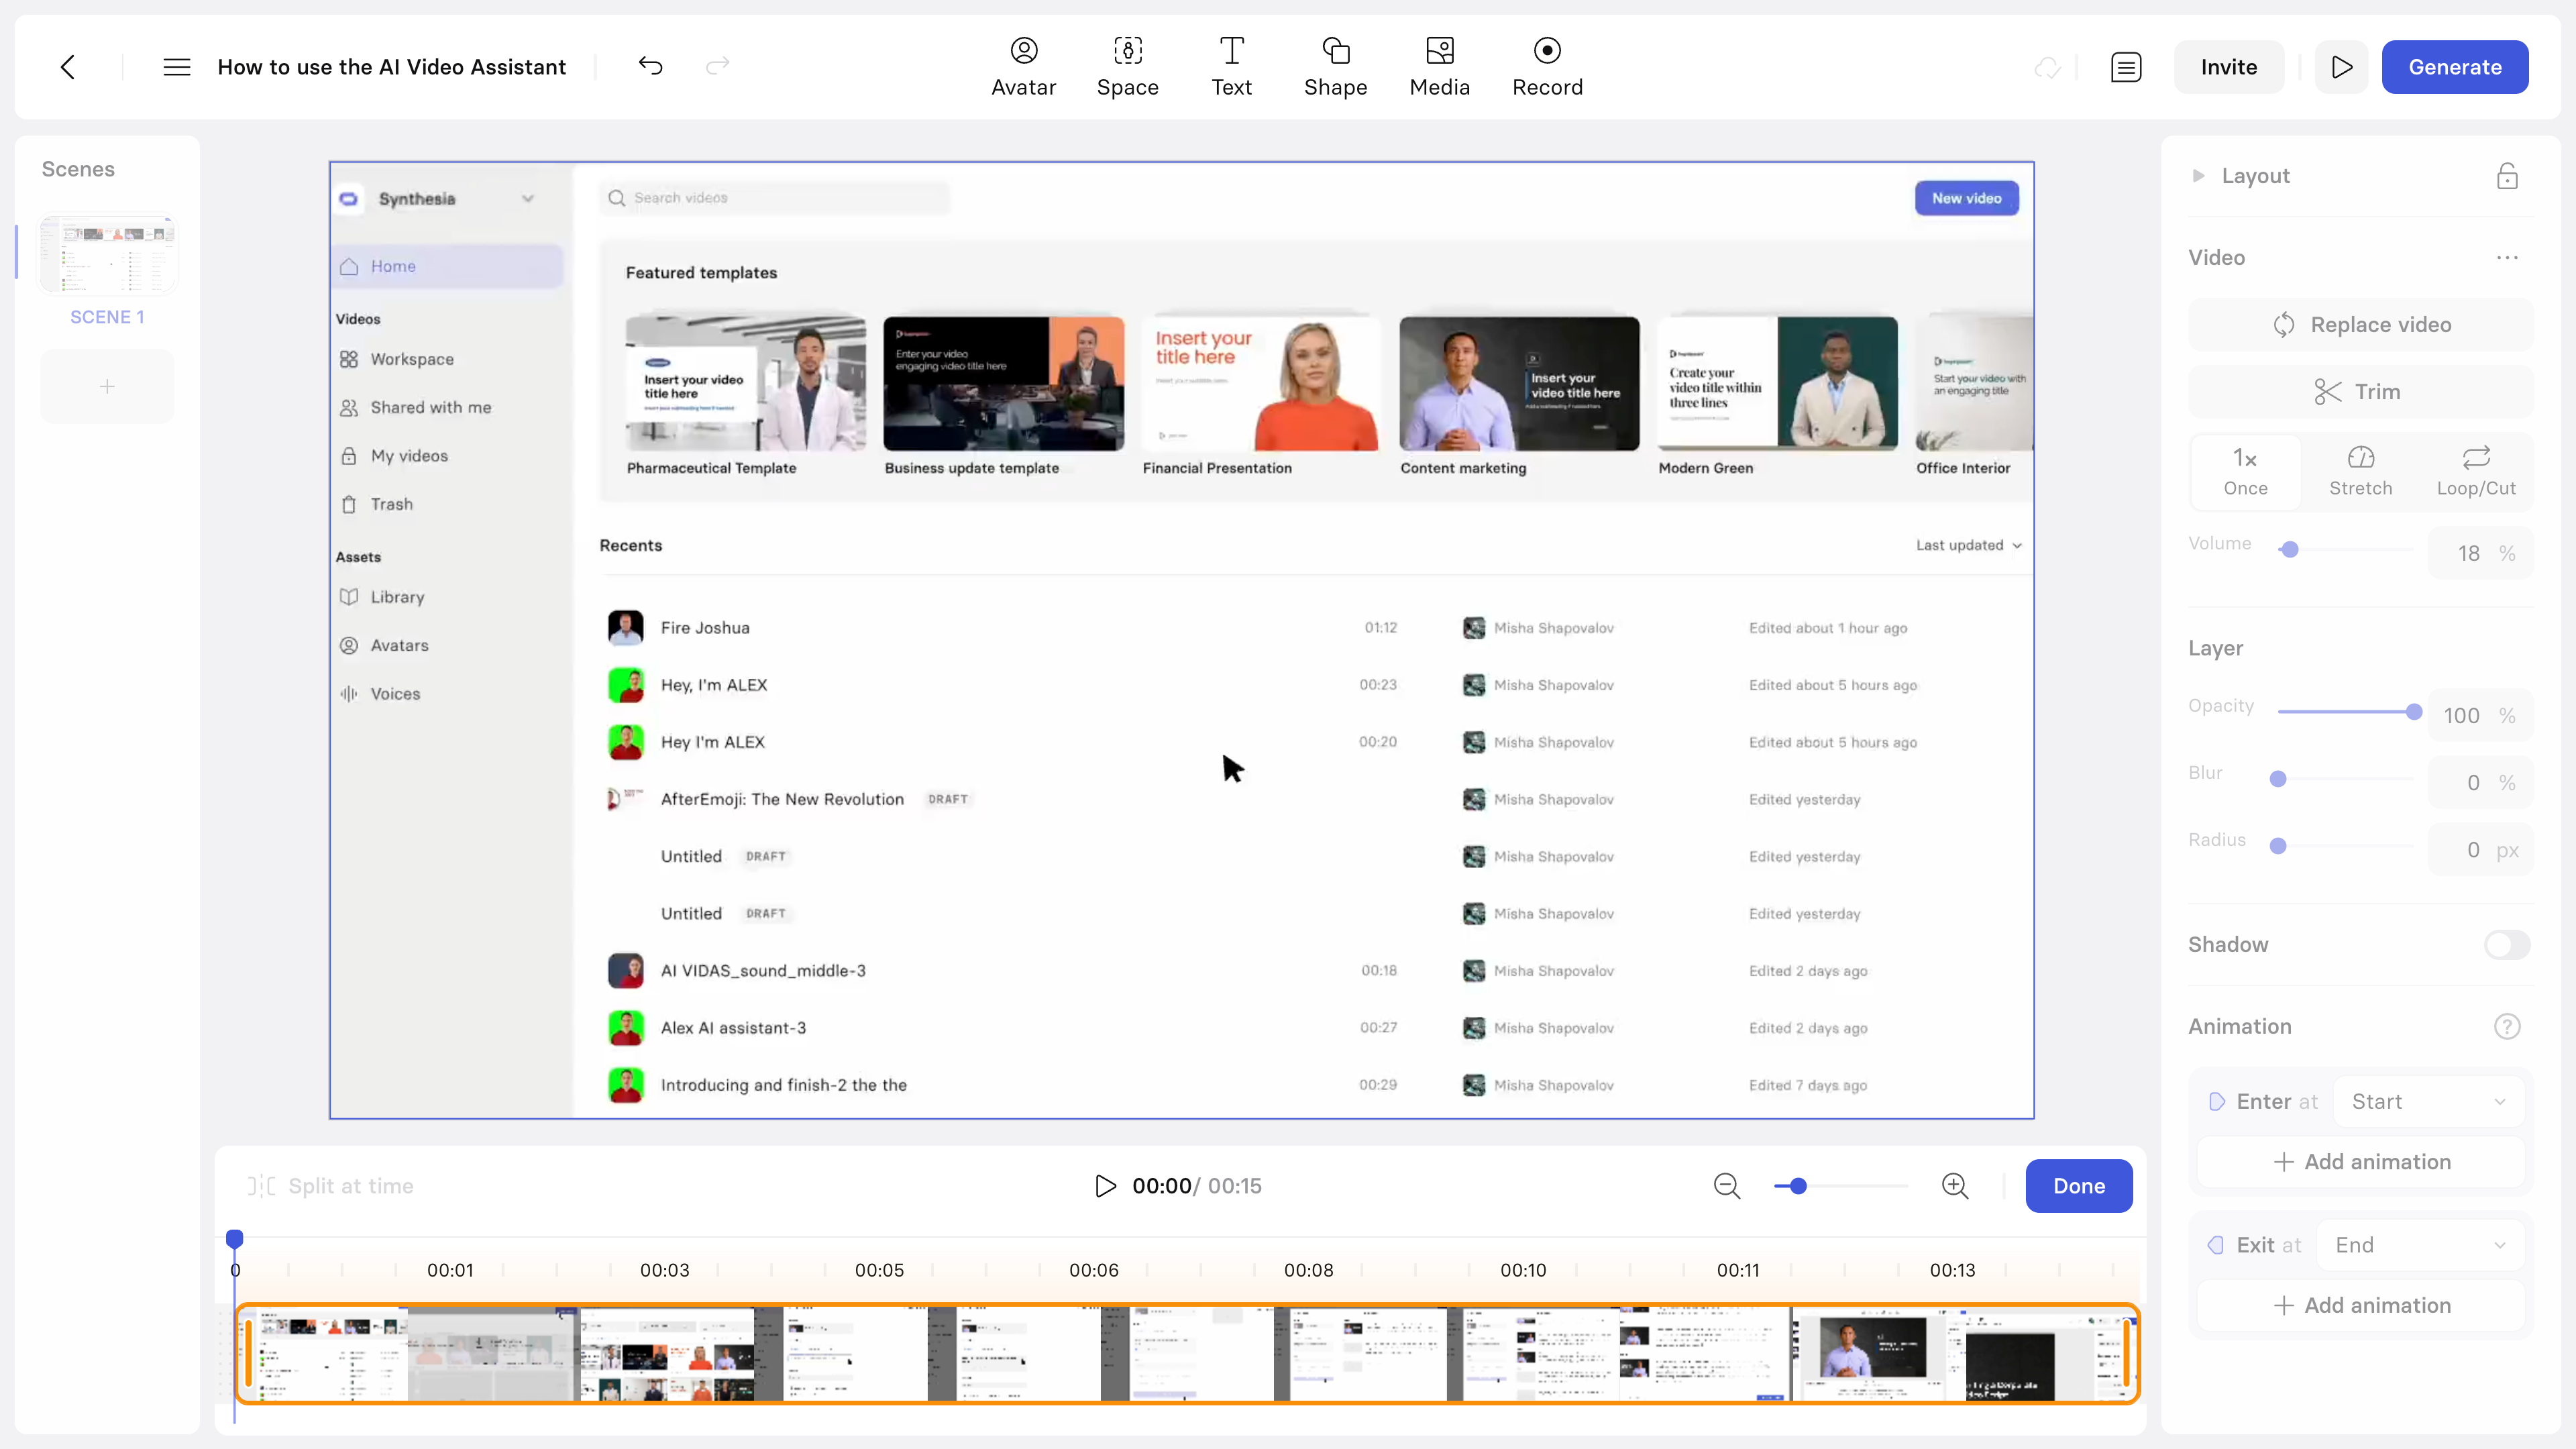
Edit a screen recording
You can edit a screen recording in all of the same ways you can edit any other video you add to a scene.
To access all of the different video editing options in the inspector panel, select the screen recording in the canvas.
Editing a screen recording
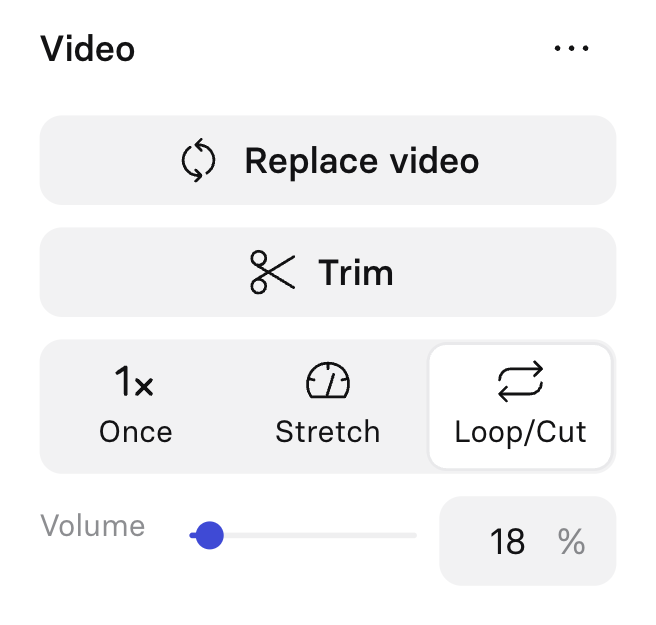
Video playback
| Playback setting | Description |
|---|---|
| Once | The video will play all of the way through one time, at its original playback speed, regardless of the length of the script. If your video is longer than the duration of your scene, a pause will automatically be added to the end of the script to account for the discrepancy between the two. |
| Stretch | The playback speed of the video will either speed up or slow down to fit the duration of the scene. When you record a voiceover with the AI screen recorder, it will be transcribed and added to the script for the scene your screen recording is in, so you don't have to worry about the audio speeding up or slowing down. However, if there was any audio playing in the window, tab, or screen that you were recording, the audio within the video itself will be affected. For this reason, we recommend that set the screen recording's volume slider to 0%. |
| Loop/Cut | The video will play at its original playback speed, and will be either looped or cut based on the duration of the script.
|
Note:Trimming or splitting your video clips will remove any video effects you've already applied to the screen recording.
Trim
To edit the video clip, click the Trim button in the inspector panel.
This will open up the video editor:
Trimming a screen recording
The seek bar at the bottom is where you'll make your edits:

Seek bar screen recording
Click the preview button the preview your edits, and drag the zoom slider to increase or decrease the specificity of the timeline to make it easier to make more precise edits to the clip.
You can undo any edits you make to the video by clicking the undo button in the toolbar, or by using the keyboard shortcut.
Once you're satisfied, click the Done button to return to the scene.
Trim
- Click and drag the trim handle on the left to the right to trim the beginning of the video.
- Click and drag the trim handle on the right to the left to trim the end of the video.
In either case, you can restore a portion of, or all of the trimmed content by clicking and dragging the handle in the opposite direction.

Trimming a screen recording
Split
Splitting allows you to divide your video clip into segments. You can choose to either duplicate the segment, add the segment to a new scene, or delete it.
To split your video clip, you can either:
- Drag the blue seeker handle along the timeline to where you want to split it, then click the
Split at timebutton. - Mouse over where you'd like to split the video in the timeline, then right click. The seeker will jump to that time, and you'll open a menu. Click the
Split at timeoption to create a segment.
After you've split the video into segments, you'll be able to trim the beginning and the end of each segment.
Splitting a screen recording
Volume
If you edited the video clip by trimming or splitting, or if you set the video's playback to stretch, or if there was any audio playing in the window, tab, or screen that you were recording, we recommend muting the screen recording video. Drag the volume slider to 0% or update the text field to mute it.
Otherwise, if there's audio in the screen recording that's relevant to what you're demonstrating, set the volume to your desired value.
Use video effects with screen recordings
Screen recordings created with the AI screen recorder can be enhanced with video effects:
- Zoom/Pan: Focus attention on specific areas by zooming in, zooming out, or panning. Configure the zoom level, position, and speed. Chain multiple effects together using "Add Zoom Out."
- Play/Pause: Synchronize your video with your script by setting frames to pause or play at specific words. Use the scrubbing tool to pinpoint the exact frame.
Learn more about using animations and effects.
Updated 2 months ago