Elements
Add Avatars, backgrounds, images, videos, text, and shapes to your scenes.
Toolbar
The toolbar is found at the top of the editor:

Elements toolbar
Use the toolbar to add the following elements to your canvas:
Asset | Description |
|---|---|
Search for and add a stock avatar from Synthesia's library, or one of your own custom avatars (e.g. a Studio or Personal avatar). All the avatars available for use with your account will be visible from the Avatars page in your library. | |
Text elements. | |
Squares, arrows, circles...and more! | |
Images, videos, animated GIFs, icons, Lottie animations, and logos. | |
**Captions ** | Display script text dynamically in your video and style them as desired. |
Add a screen recording to your scene. |
Elements
Lock an element
Locking an element prevents the element from being moved, resized or rotated on the canvas.
To lock an element:
- Select the element on the scene.
- Once selected, right-click the element and select Lock from the menu drop down.
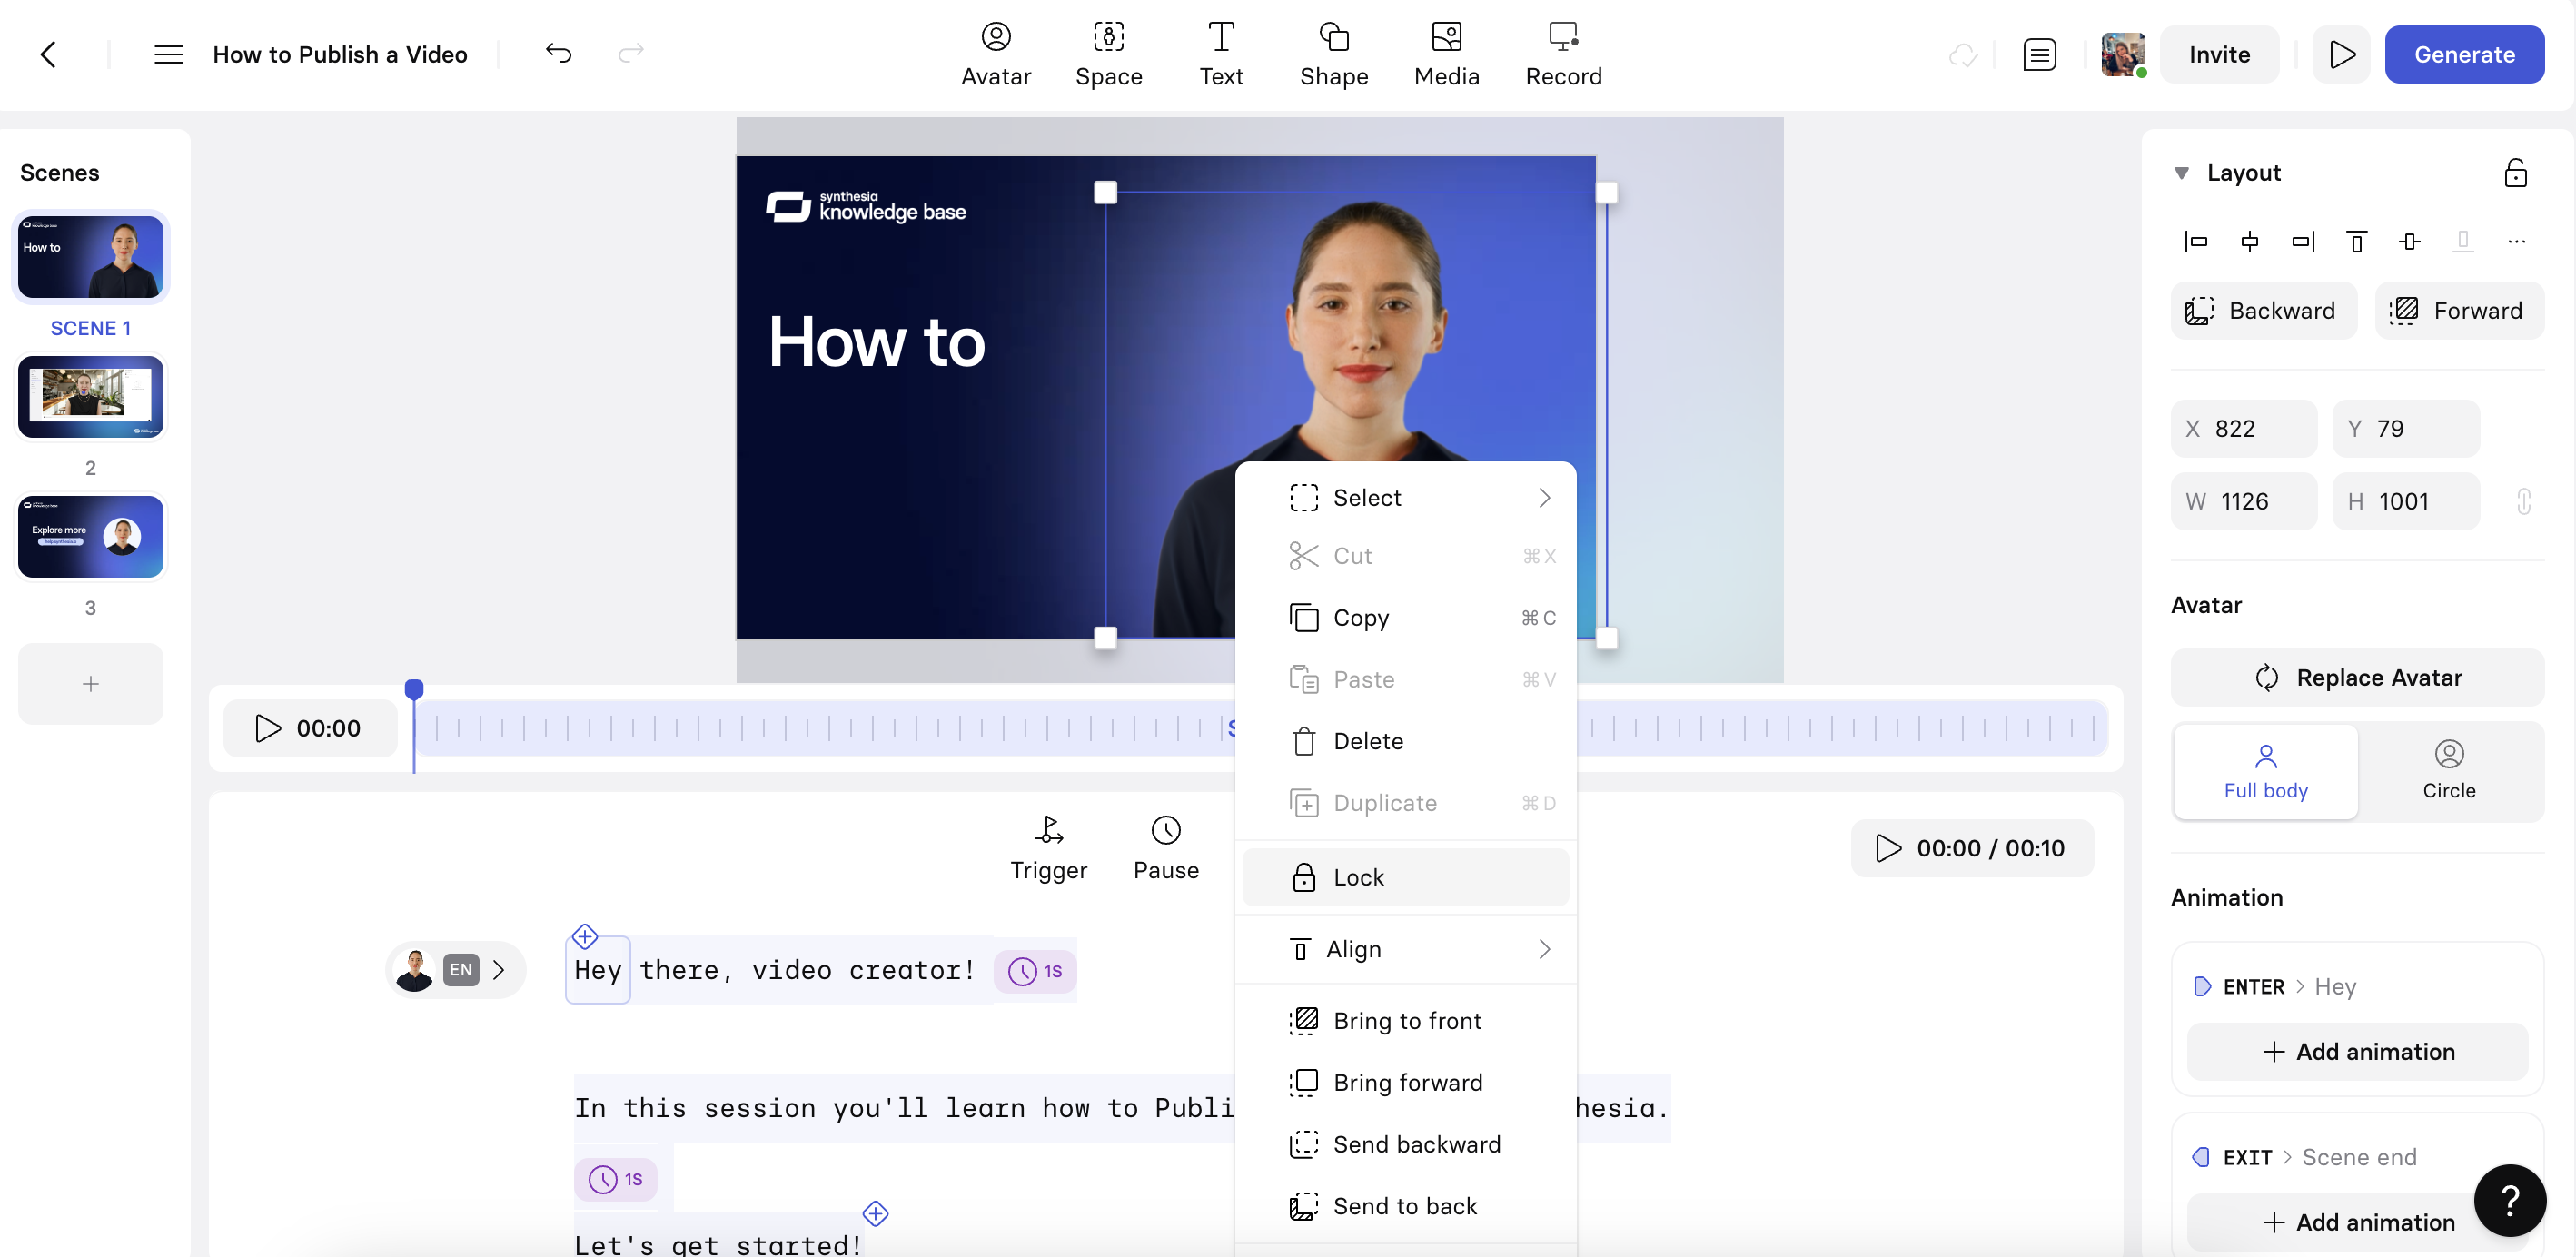
Locking an element
To unlock an element:
- Select a locked element on the scene.
- Once selected, right-click the element and select Unlock from the menu drop down.
Selecting elements
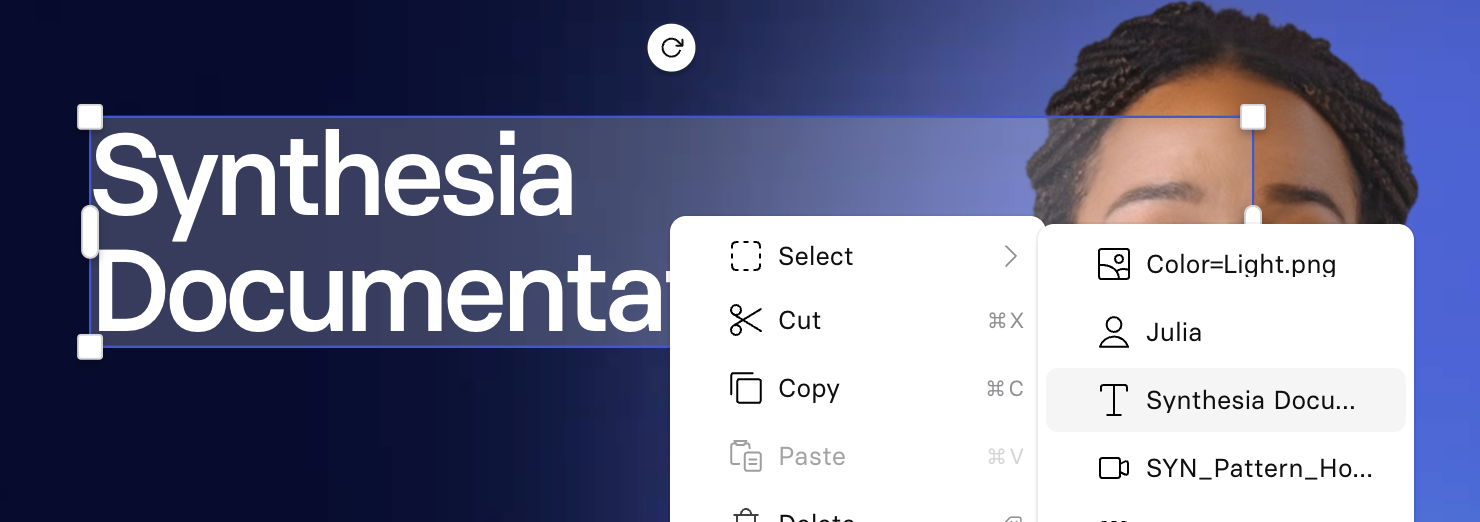
Selecting an element
To select a specific element when multiple elements overlap:
- Right-click anywhere on the canvas.
- Click on the
Selectoption at the top of the menu. - Hover any element from the list of elements displayed to highlight it on the scene.
- Click on an element from the list to select it.
Note:
The elements in the list will be displayed in the order that they are layered in the canvas. The first list will be the top-most element in the foreground, and the last item will be the element that's the furthest in the background.
Animating elements
Synthesia offers various animations to enhance the elements within a scene, they help create an engaging and visually appealing set of scenes in your Synthesia videos. These animations add dynamic effects to text, media, shape, and avatar in your video.
Animating an element
Additionally for some animations set the following parameters:
- Duration: Time taken for the animation to complete in seconds.
- Delay: Time to wait between the trigger and the beginning of the animation in seconds.
- Velocity: The velocity to give to the element, to choose between bounce, smooth, and linear.
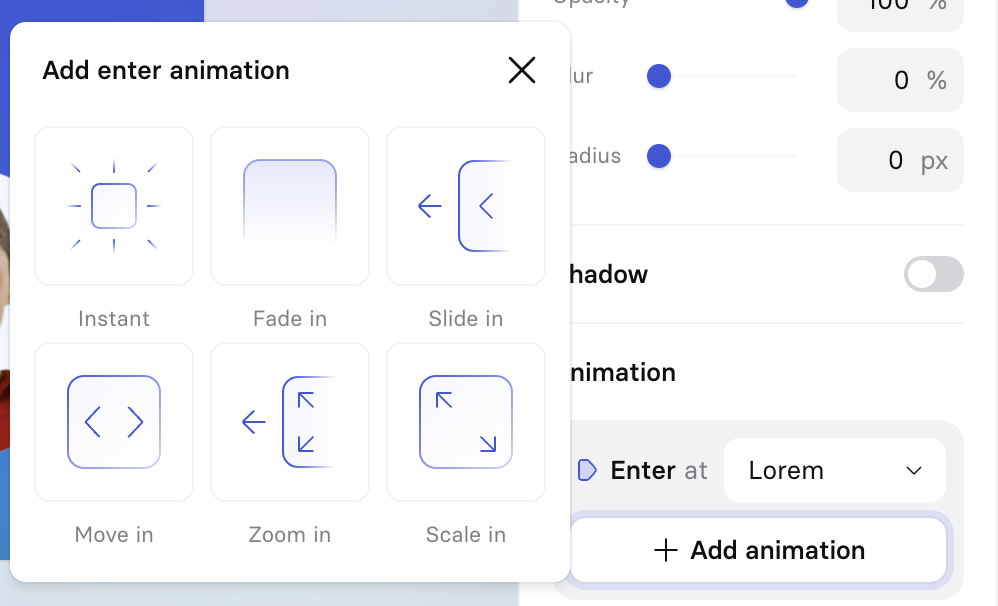
Entrance Animations
Entrance animations can be applied to any media, text, shapes, and avatars.
- Instant: Instantly displays the element(s).
- Fade in: Gradually brings the element(s) into view.
- Slide in: Slides the element(s) in from the left/right/top/bottom.
- Zoom in: Gradually zooms in the element(s) while fading in.
- Scale in: Gradually scales the element(s) to its final size.
Exit Animations
Exit animations can be applied to any media, text, shapes, and avatars.
- Instant: Instantly removes the element(s).
- Fade out: Gradually removes the element(s) from the view.
- Slide out: Slides the element(s) out from the left/right/top/bottom.
- Zoom out: Gradually zooms out the element(s) while fading out.
- Scale out: Gradually scales down the element(s).
Triggers
Triggers allow you to trigger when an entrance/exit animation should start. After selecting an element, and setting an animation for it, use the little blue arrow in the script to move the trigger to the right word.
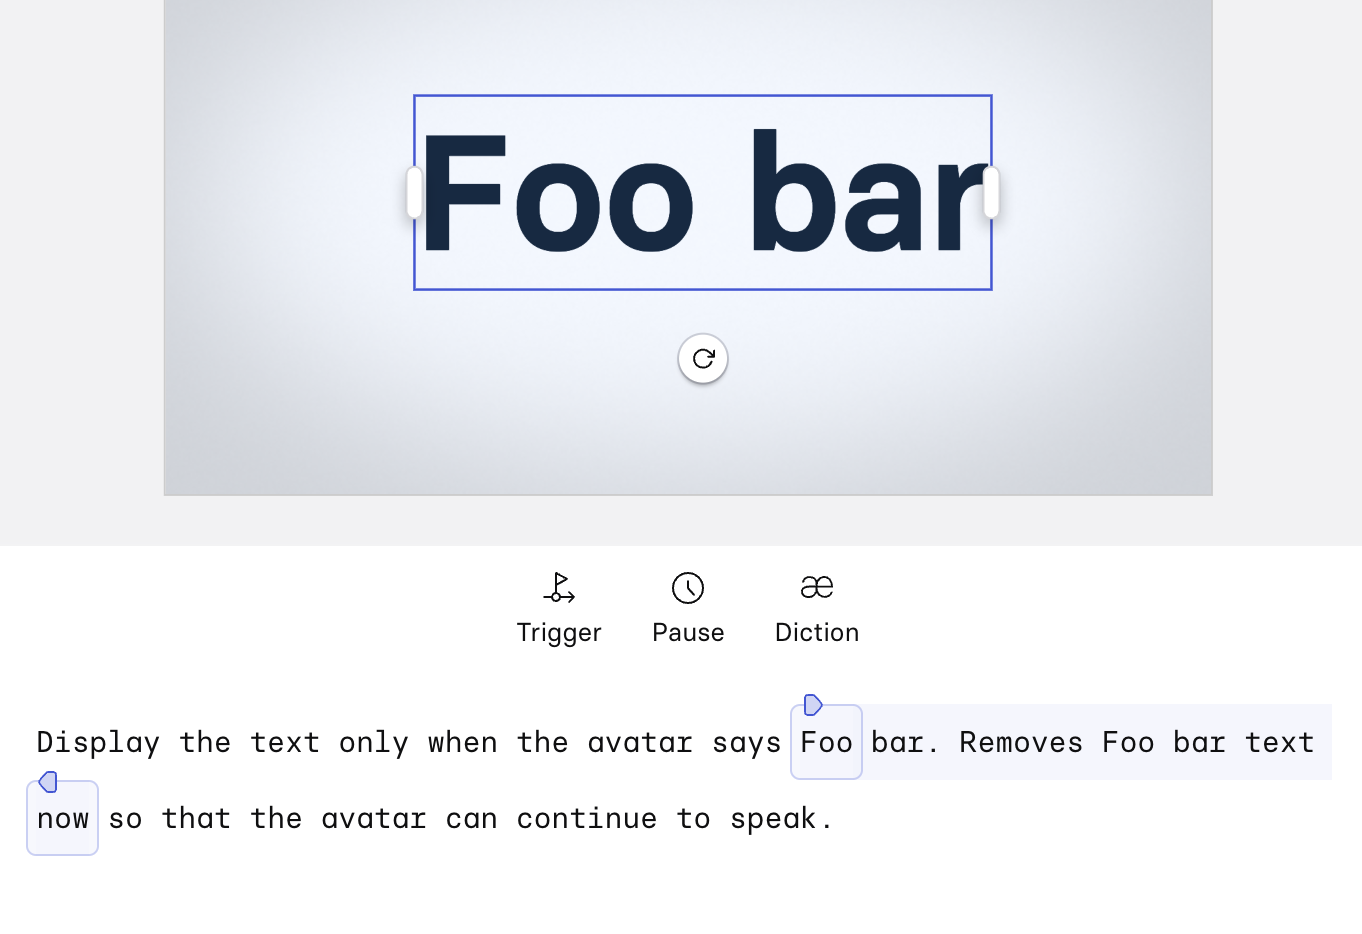
Triggers in script
Alternatively if you have a long script, select the word for the trigger directly next to the animation configuration. All words with an existing trigger attached are displayed, if you want to add a new one, click on + New trigger, then click on the corresponding word in your script.
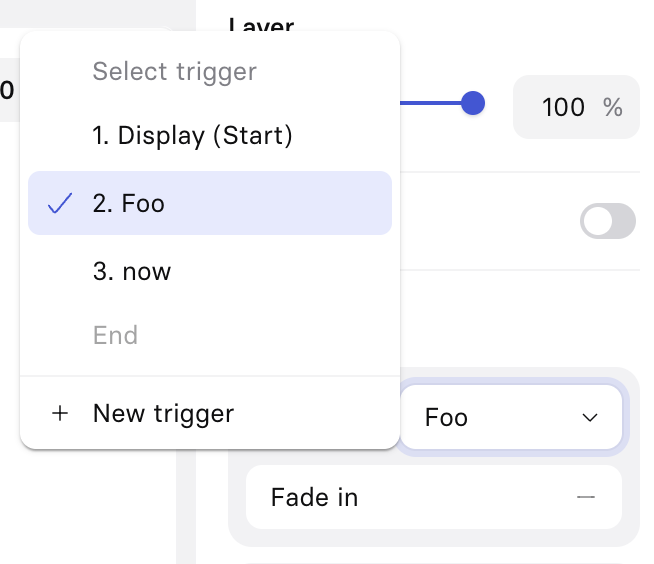
Adding a new trigger
See How do I use Animation Triggers? in order to see this feature in action.
Updated 19 days ago