Automatically produce personalized, professional-looking video content with API templates.
The goal of this guide is to give an overview of the API templates feature. It starts by creating a video template to then render videos using it. We'll use the example of an onboarding video to welcome new employees.
Create a video from template
To create a video from a template with Synthesia's API:
- In Synthesia start by creating a video that would be targeted to a specific employee to get the overall flow and layout.
- Once done, replace the targeted employee name with
{{name}}variables in your script and canvas . See the template variable section to learn how to. - Add a variable to a background image.
- Publish the video with variable as a new template.
- Select your template and copy the template ID from the list of templates in your library.
- In the Create a video from a template endpoint two parameters need to be configured:
- The
templateIdwith the template ID from the step above. - The
templateDatacontaining an array ofkey:valuepairs where the key is the variable name you set and the value is the string to replace the variable with.
For image and video variables, there are two ways of providing values:- Specify a URL and Synthesia will attempt to fetch and use the asset.
- Upload an asset and use the resulting asset ID as the value.
- The
- If you would like to personalize the title and description of your video, you can do so by specifying:
- The
titleparameter - The
descriptionparameter
- The
- That's all there is to it! Once Synthesia received your request, the video is processed and available shortly after.
Variables are case sensitive.When you type the variable name as a key in the
templateDataJSON object, its casing must match the casing you used when you named the variable in your template.
Template variables
The next step is to add variables to your video. A variable is a dynamic value that you specify later when you call the create a video from a template endpoint.
You can set variables for text and media elements.
Variable names for text and media elements can only contain alphanumeric characters and underscores.Alphanumeric characters include all uppercase and lowercase letters in the Latin alphabet (
A-Z,a-z), along with numbers (0-9).Underscores (
_) are the only special character permitted for variable names.
Text variables
There are two places you can add text variables:
- Script variables: add a text variable as a part of the script (or make the whole script a text variable).
- Canvas text variables: personalize text elements on canvas (e.g. "Welcome to ACME,
{{name}}!").
When you pass a value for a text variables in your request to the Create a video from a template endpoint, any special characters in the string will be HTML escaped by default, which encodes them as their HTML entity value.For example: The string
This & thatwould becomeThis & thatIn order to prevent encoding special characters with their corresponding HTML entity, use the HTML escape character itself instead of the special character when specifying a string value for your text variables.
For example:
templateData: {my_text_variable: 'This & that'},
Script variables
Script variables cannot start with a number; they must begin with an alphabetic character (A-Z,a-z).
To add a variable to your script:
- Place the text cursor where you'd like to insert a variable.
- Right click and select
< > Variablefrom the context menu. - Specify a name for the variable. If necessary, you can also add a default value to prevent an empty variable.

Adding a variable to the script
You can place animation triggers on variables in your script.
Canvas text variables
Canvas text variables must be wrapped in double curly braces.For example: To specify the variable name of a text element as
title_text, type{{title_text}}in the text element.This is the only variable you need to wrap in double curly braces.
To add a variable to a text element in the canvas:
- Add a text element or select a pre-existing text element you'd like to replace with a variable.
- Type a variable name, wrapped in double curly braces.
For example:{{name}}.
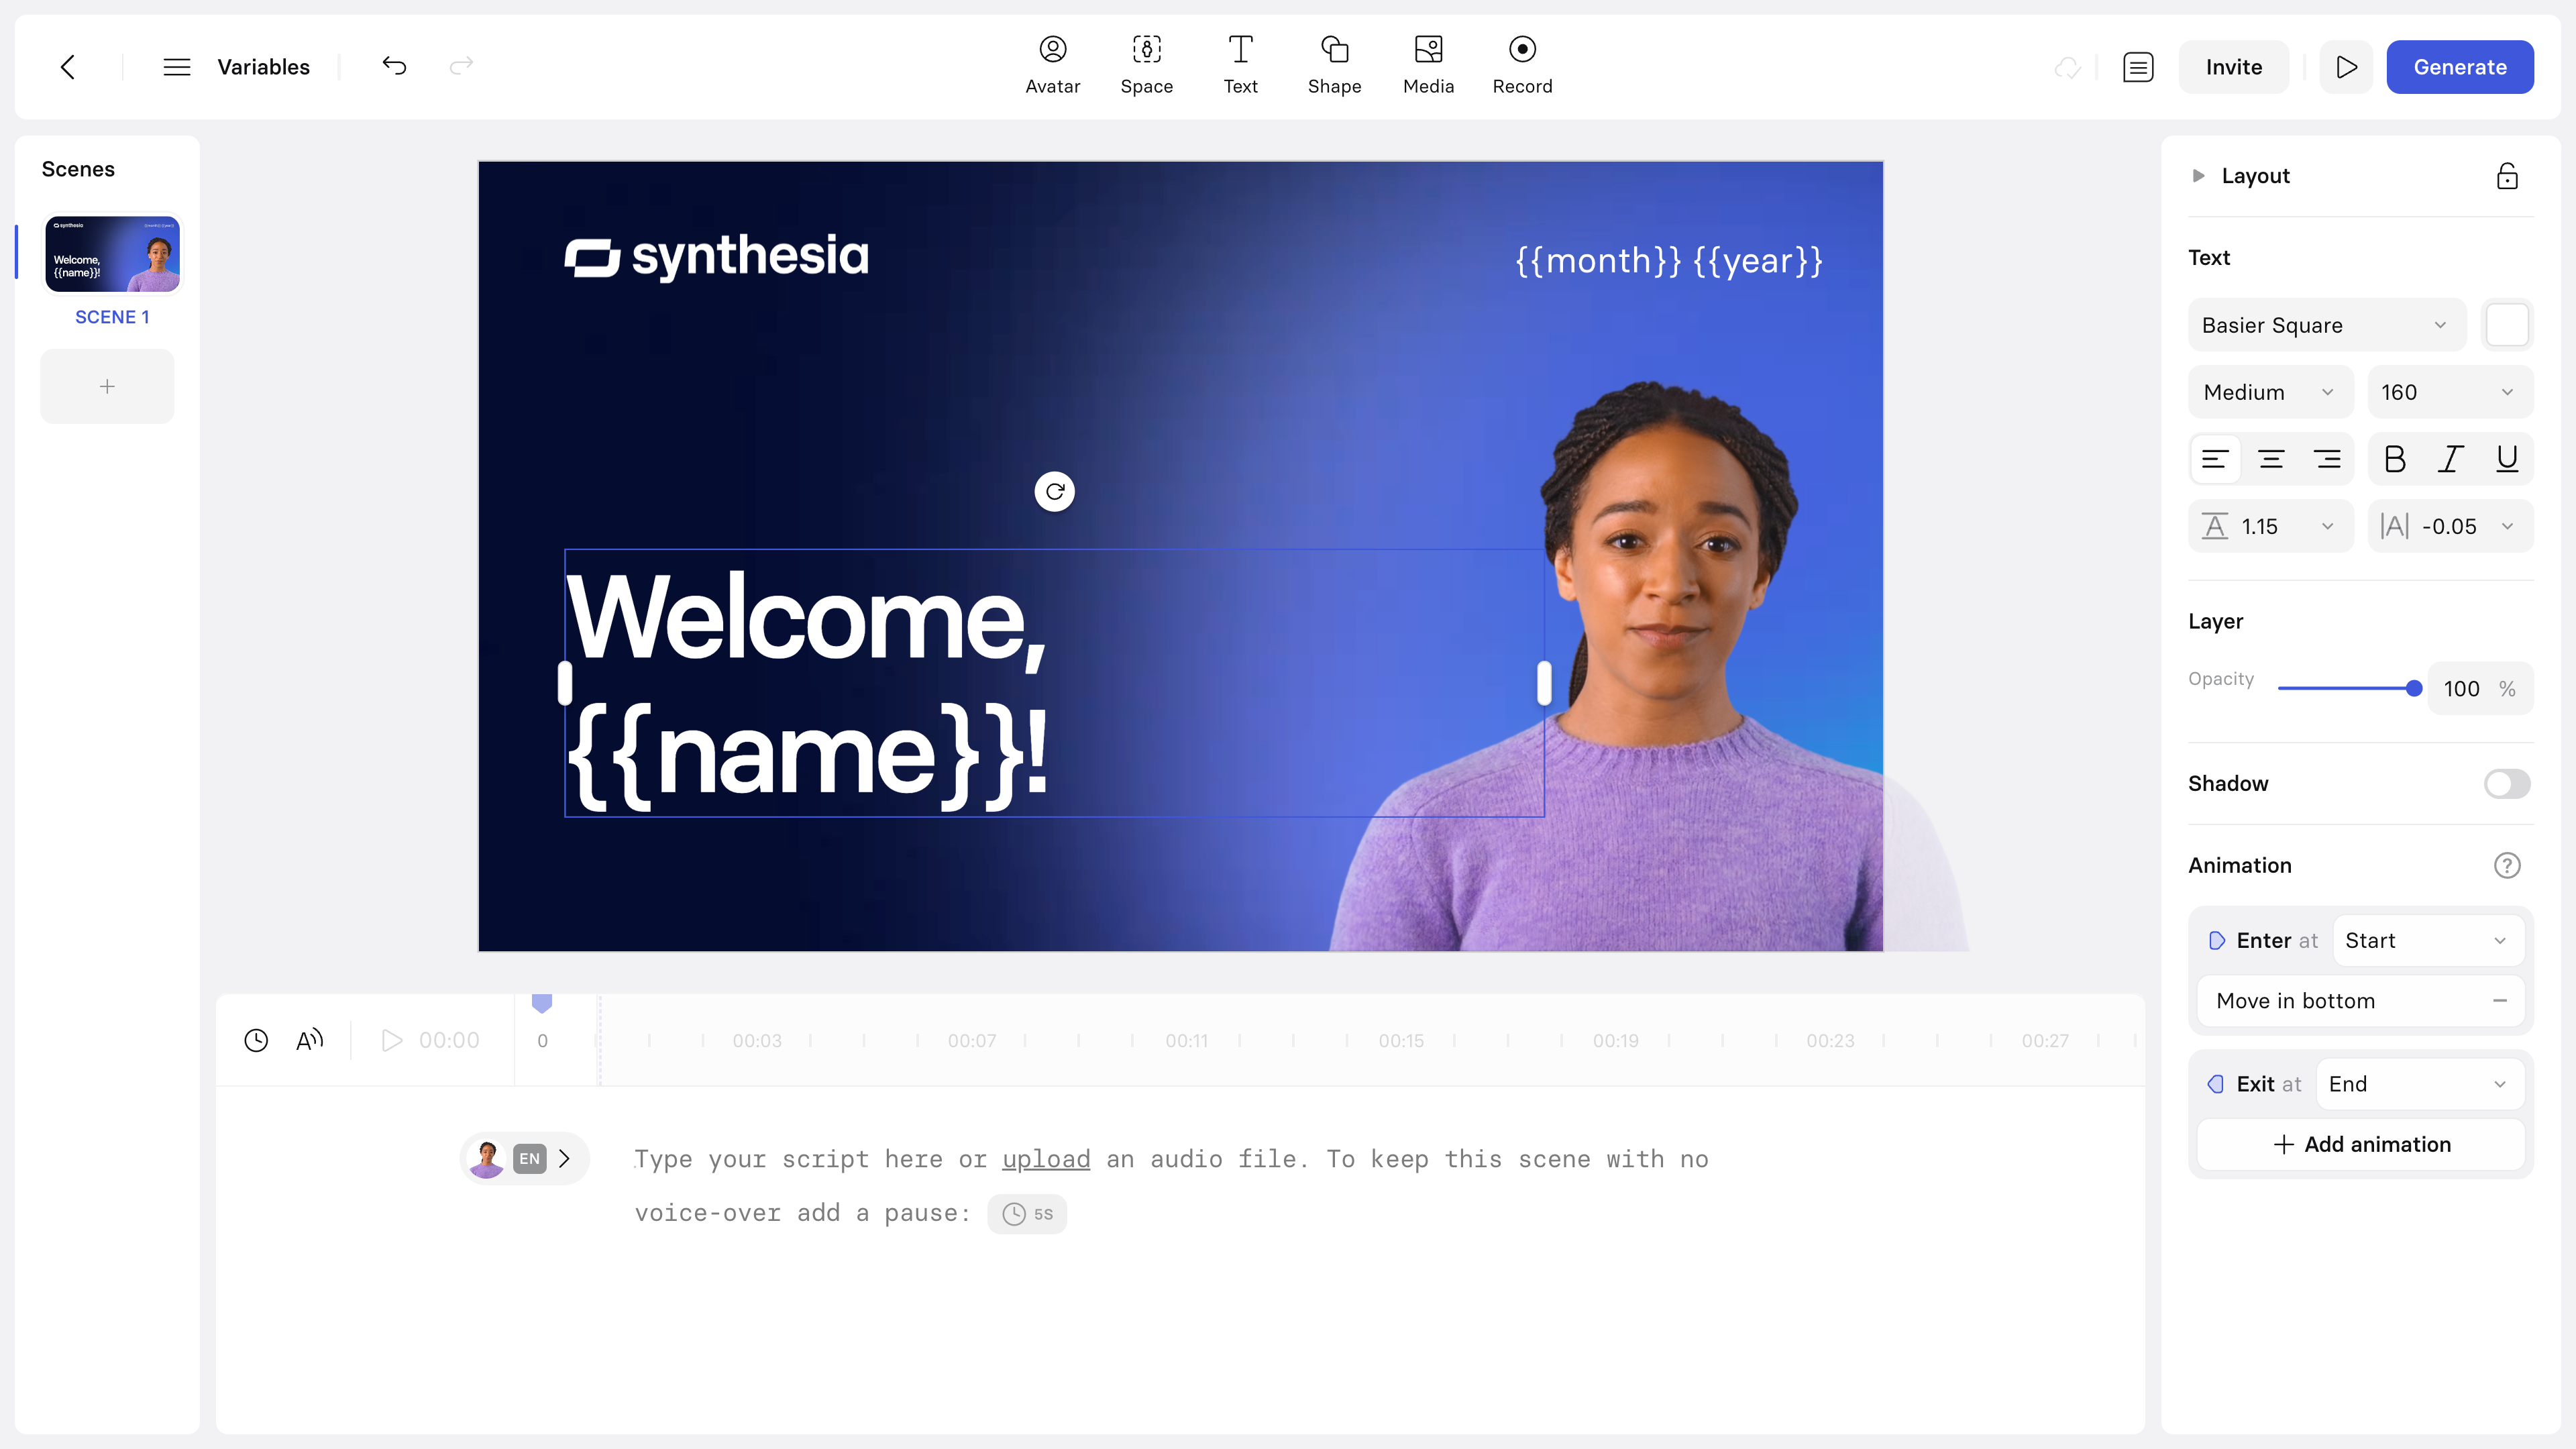
Example of a canvas text variable
Media variables
For background media and image and video elements in the canvas, you'll specify variable names by opening the Add variable dialog from the inspector panel.
- Media elements: personalize images and videos in your scenes (e.g. submit a different company logo based on the intended viewer's email domain).
- Background media: personalize the background of a video scene with a template. You can supply both image or video URLs as backgrounds.
Video and image dimensionsTo avoid unexpectedly stretched media elements and incorrect cropping, the dimensions of images and videos that you provide as values for media variables in your request should have the same aspect ratio of the media it will be replacing.
Background media: The image or video's dimensions should match the aspect ratio of your video.
This means that your provided image or video should have dimensions of 1920 x 1080 pixels if your video has an aspect ratio of 16:9 (landscape format), and 1080 x 1920 pixels if your video has an aspect ratio of 9:16 (portrait/mobile format).
Media elements in the canvas: The image or video's dimensions should match the aspect ratio of the media element it will be replacing.
This means that if the image in the canvas has dimensions of 800 x 600 pixels, the image you specify as a value in your request should have the same aspect ratio (so it can be 800 x 600 pixels, or 1200 x 900 pixels).
Media element variables
To add a variable to a media element in the canvas:
- Select the media element.
- In the inspector panel on the right, click on the three-dot menu icon in the top-right of the Image/Video section.
- Click
+ Add variableto open the Add variable dialog. - Specify a name for the media element variable and click
Save
Adding a variable to an image
Background media variables
To add a variable to a scene's background media:
- Deselect any canvas elements to access the scene settings in the inspector panel on the right.
- Toggle on background media and add a placeholder image or video if your scene doesn't already have background media enabled.
- In the background media section, click on the three-dot menu icon next to the toggle.
- Click
+ Add variableto open the Add variable dialog. - Specify a name for the background media variable and click
Save
Adding a variable to a scene's background media
Avatar variables
To add a variable to an avatar:
- Select the avatar.
- In the inspector panel on the right, click on the three-dot menu icon in the top-right of the Avatar section.
- Click
+ Add variableto open the Add variable dialog. - Specify a name for the avatar variable and click
Save.
